Macro photography is close-up photography where the subject fills the frame at true size: a 20mm coin photographed at 1:1 magnification lands on your sensor as a 20mm image, showing detail your eyes cannot pick out. You do not need a dedicated macro lens, a studio or a budget to start. A phone on a small tripod gets you the first shot; everything after that is technique.
The trick with macro photography for beginners is that the subject fights you in three ways at once. Focus is razor thin, light falls off across a few centimetres, and any movement from your own hands ruins the frame. Once you know how to manage those three things, the rest is ordinary photography done very close to the lens.
Table of Contents
- What Is Macro Photography?
- What Equipment Do You Need for Macro Photography?
- How Does Macro Photography Work?
- How Do You Take Sharp Macro Photos?
- How Do You Light a Macro Subject?
- What Subjects Are Best for Beginner Macro Photography?
- Macro photography for beginners: the easy first subjects
- How Can You Compose a Macro Photograph?
- How Do You Edit Macro Photos?
- Macro Photography for Beginners: Common Problems and Fixes
- Frequently Asked Questions
- Can a phone do macro photography?
- Do I need a macro lens to start macro photography?
- How close can a 100mm macro lens actually focus?
- How do you photograph moving insects with macro?
- Should I buy a macro lens or use extension tubes?
What Is Macro Photography?
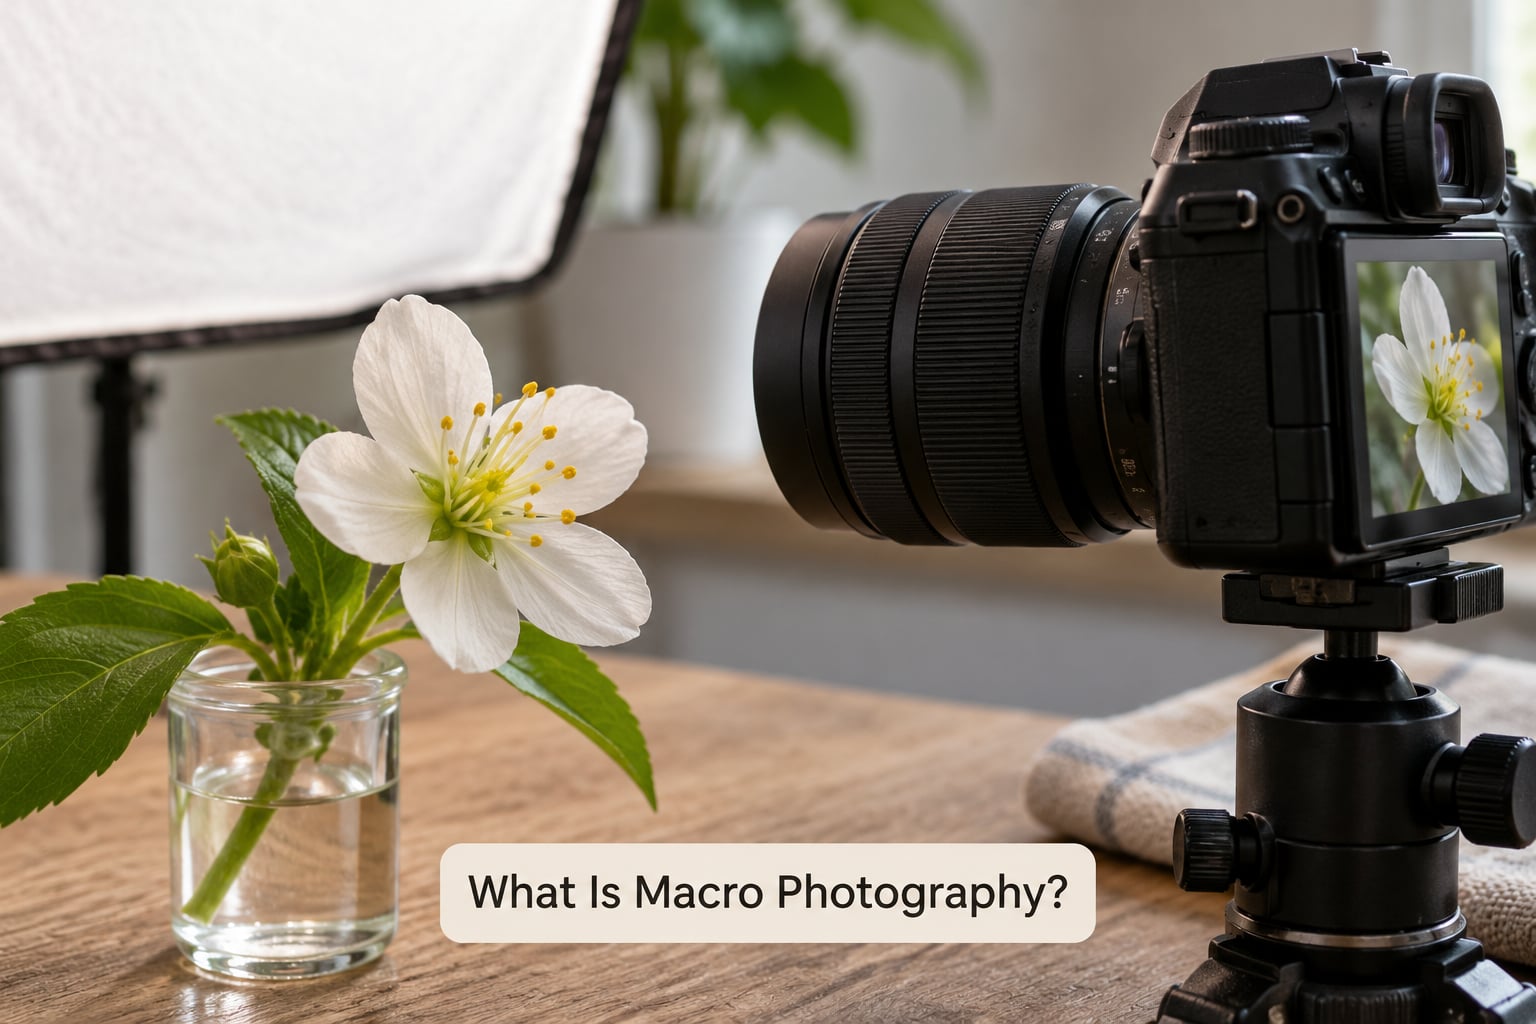
Macro photography means shooting small subjects at very close range so that the image on the sensor is roughly the same size as the object itself. That ratio is called the reproduction ratio, and 1:1 means life size: a coin fills the frame at its real physical size. Some specialist lenses go past life size to 2:1 or even 5:1, where a 5mm screw head fills a full-frame sensor.
Close-up and macro are not the same thing, and beginners often mix them up. You can crop a wide-angle shot of a flower and it looks close, but the sensor never saw the detail — you magnified pixels instead of capturing them. True macro means the lens actually focuses that close and the detail was recorded optically.
What you can photograph depends on what you already own. A phone with a macro mode or an inexpensive clip-on lens handles coins, fabric weave and food texture. A compact camera with a close-focus option covers more. A DSLR or mirrorless body with any lens that focuses close gets you flowers and leaves, and adding a true macro lens or extension tubes unlocks insects and fungi.
Macro is also the cheapest genre to practise. Subjects sit in your garden, on a pavement or in a kitchen drawer. There is no model to book and nowhere to travel.
What Equipment Do You Need for Macro Photography?
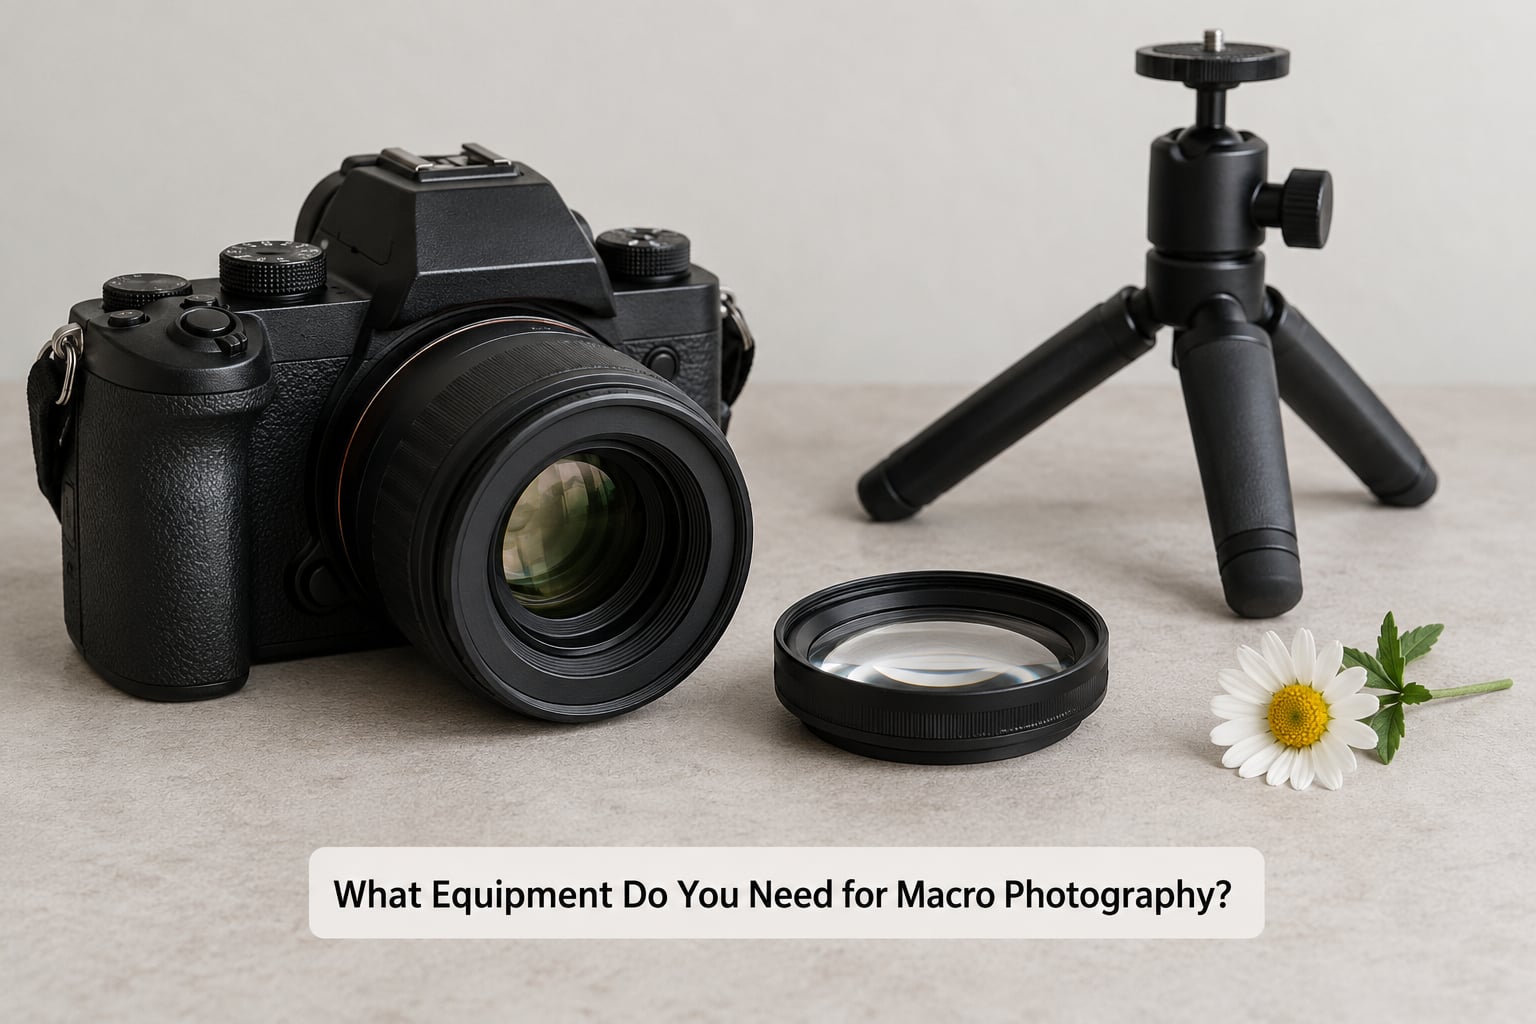
Here is the honest version: you need a camera that can focus close, something to hold it steady, and a way to fire the shutter without touching the body. Everything else is optional. The table compares the three realistic starting routes.
| Starting setup | Relative cost | Setup difficulty | What you can reach | Best for |
|---|---|---|---|---|
| Phone with macro mode or a clip-on macro lens | Lowest | None | Life size at best, often a little less | First attempts, textures, food detail, learning focus |
| Reversed lens on a reversing adapter, plus extension tubes | Low | Moderate, light leaks and manual aperture control | Over life size in some combinations | Learning magnification on a budget with gear you already own |
| Extension tubes on an existing zoom or prime lens | Low to moderate | Easy, but focus becomes manual at the close end | Roughly half life size depending on the lens | Flowers, leaves, fabric, anything not moving fast |
| Dedicated macro lens, usually 90mm to 105mm | Highest of the three | Easy, autofocus or manual | True 1:1 magnification | Insects, fungi, product and jewellery work |
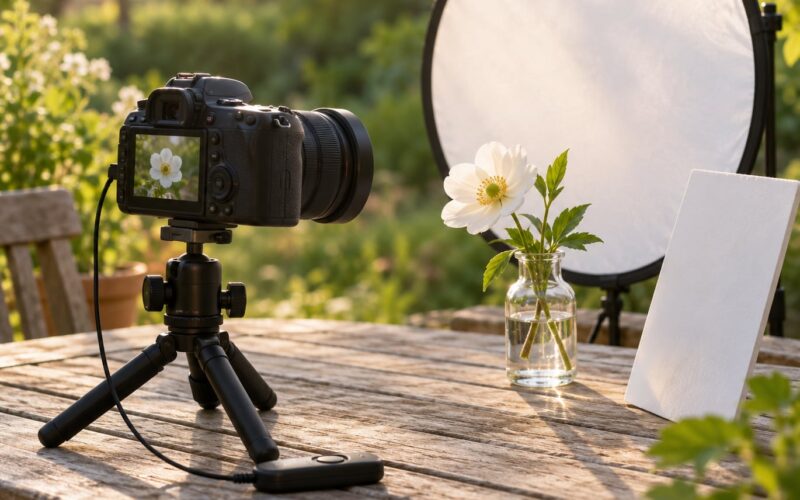
Three things on that list matter more than the lens itself. A tripod is the first, because macro magnifies camera shake into visible blur. A remote release or the camera’s two-second timer is the second, since pressing the shutter moves the camera. A diffuser, a small reflector or a cheap LED panel is the third.
One piece of gear advice worth repeating from photographers who shoot macro daily: a 100mm macro lens is also a respectable portrait lens. If you buy one lens, it works in two genres instead of sitting unused between trips.
Start with what you have. Shoot a hundred frames on the setup above before deciding it is inadequate — the gear is rarely the reason macro frames come out soft.
How Does Macro Photography Work?
Understanding four numbers explains almost every macro decision: magnification, minimum focusing distance, working distance and aperture.
Magnification is the size of the image on the sensor divided by the size of the subject. Working distance is the gap between the front element and the subject, and it is the number that decides whether you can photograph a bee or a mushroom cap. Minimum focusing distance is the closest the lens will focus, measured from the sensor plane, not the front element.
Depth of field is the real difficulty. At 1:1 on a full-frame camera, a slice only a few millimetres deep can be sharp. Cropping tighter, using a longer lens, or getting closer all shrink that slice further. Aperture is the main lever, and it fights another effect: past roughly f/16 on a full-frame sensor, diffraction softens fine detail even though depth of field keeps growing.
| Setting or change | What it does | What you will notice |
|---|---|---|
| Aperture f/4 to f/5.6 | Shallow depth of field | A razor-thin plane of sharpness, creamy background blur, easy subject isolation |
| Aperture f/8 to f/11 | More depth of field | Usually the best compromise for close-up work on any camera |
| Aperture f/16 and beyond | Maximum depth of field | Diffraction starts eating fine texture; the whole image looks slightly soft |
| ISO 100 to 400 | Lowest sensor noise | Clean files that hold detail when you crop or stack frames |
| Shutter 1/250s or faster | Freezes subject and handshake | Needed handheld, or for anything that moves |
| Shutter 1/8s or slower with a tripod | Collects more light | Only safe when the camera is on the tripod and the subject is still |
| Moving closer or using a longer lens | Raises magnification | More detail captured, much thinner depth of field |
A crop factor changes the arithmetic but not the technique. On an APS-C body, a 60mm lens gives the framing and depth-of-field behaviour of a 90mm on full frame, and a 90mm behaves like a 135mm. You simply need a little more light.
How Do You Take Sharp Macro Photos?
Sharpness in macro comes from support, magnification and careful focus, in that order. The process below is the one I use, and it works on a phone just as well as on a camera body.
- Stabilise the camera. Mount it on a tripod. If the tripod cannot get low enough, put the camera on a flat surface with a beanbag or folded jacket and shoot across it.
- Set the mode. Aperture priority (A or Av) or manual (M). Aperture priority with ISO set low keeps the thinking to one dial.
- Zoom in live view. On most cameras, press the magnification button until the subject detail fills the screen. This is far more accurate than the viewfinder at close range.
- Use focus peaking. If your camera has it, switch it on. Coloured edges appear on whatever is currently in focus, which removes most of the guesswork.
- Focus manually. Turn the focus ring slowly until the texture is crisp. Then fine-tune by moving the whole camera forward and back a fraction of a millimetre, a trick macro shooters call rocking.
- Choose the aperture. Start at f/8 and widen to f/11 if you need more of the subject sharp.
- Raise ISO before you slow the shutter. On a tripod, slow the shutter to find the exposure. In the hand, keep the shutter fast and accept a higher ISO.
- Fire the remote. Use the two-second timer or a remote release so nothing touches the body.
- Check at full size. Zoom in on the file afterwards. If it is soft, the cause is movement, not focus.
A successful result looks like this: the front planes of the subject are crisp down to individual hairs or petal veins, the background falls away into soft colour, and the exposure holds detail in the brightest highlights.
Handheld is possible for wider frames. Fill no more than a quarter of the frame, hold your elbows against your ribs, breathe out before firing, and expect a low hit rate. Expecting to waste frames is part of the genre, not a sign you are bad at it.
How Do You Light a Macro Subject?
Light behaves differently at 20cm. A lamp that fills a room evenly at 2 metres falls off hard at 20cm, so the near side of a flower blows out while the far side goes black. Managing that small, steep light is the skill that separates an average close-up from a good one.
Start outdoors on an overcast day. Cloud acts as a giant softbox, gives even light across the whole subject, and never changes quickly while you work. Direct sun gives you brilliant texture and shadows you will have to control.
Near a window, put the subject an arm’s length from the glass and turn off any room lights so the window stays the brightest source. Turn the subject slowly and watch the specular highlights — a bright sliding hotspot means you need to reposition or diffuse before you shoot.
Inside, a small LED panel with a diffuser or a piece of white tissue paper gives you controllable, repeatable light. A reflector card — white card, foil or a clean lid — fills the shadow side so texture stays readable. Flash works too, but bounced and diffused, never bare.
A ring flash produces even, shadowless light and looks clinical on insects. Side or slightly behind lighting produces the most three-dimensional result: raking light across a leaf vein or a bee’s wing shows texture flat frontal light hides.
Test the light before the camera goes anywhere near the subject. Turn the subject a full turn and watch for hotspots, deep shadows and reflections. Repositioning the light takes ten seconds; fixing a blown highlight in editing takes much longer.
What Subjects Are Best for Beginner Macro Photography?
Macro photography for beginners: the easy first subjects
Four properties decide how hard a subject is: whether it moves, how much surface detail it has, how simple its background is, and how much light reaches it. A dandelion seed head scores well on all four. A polished beetle in a puddle scores badly.
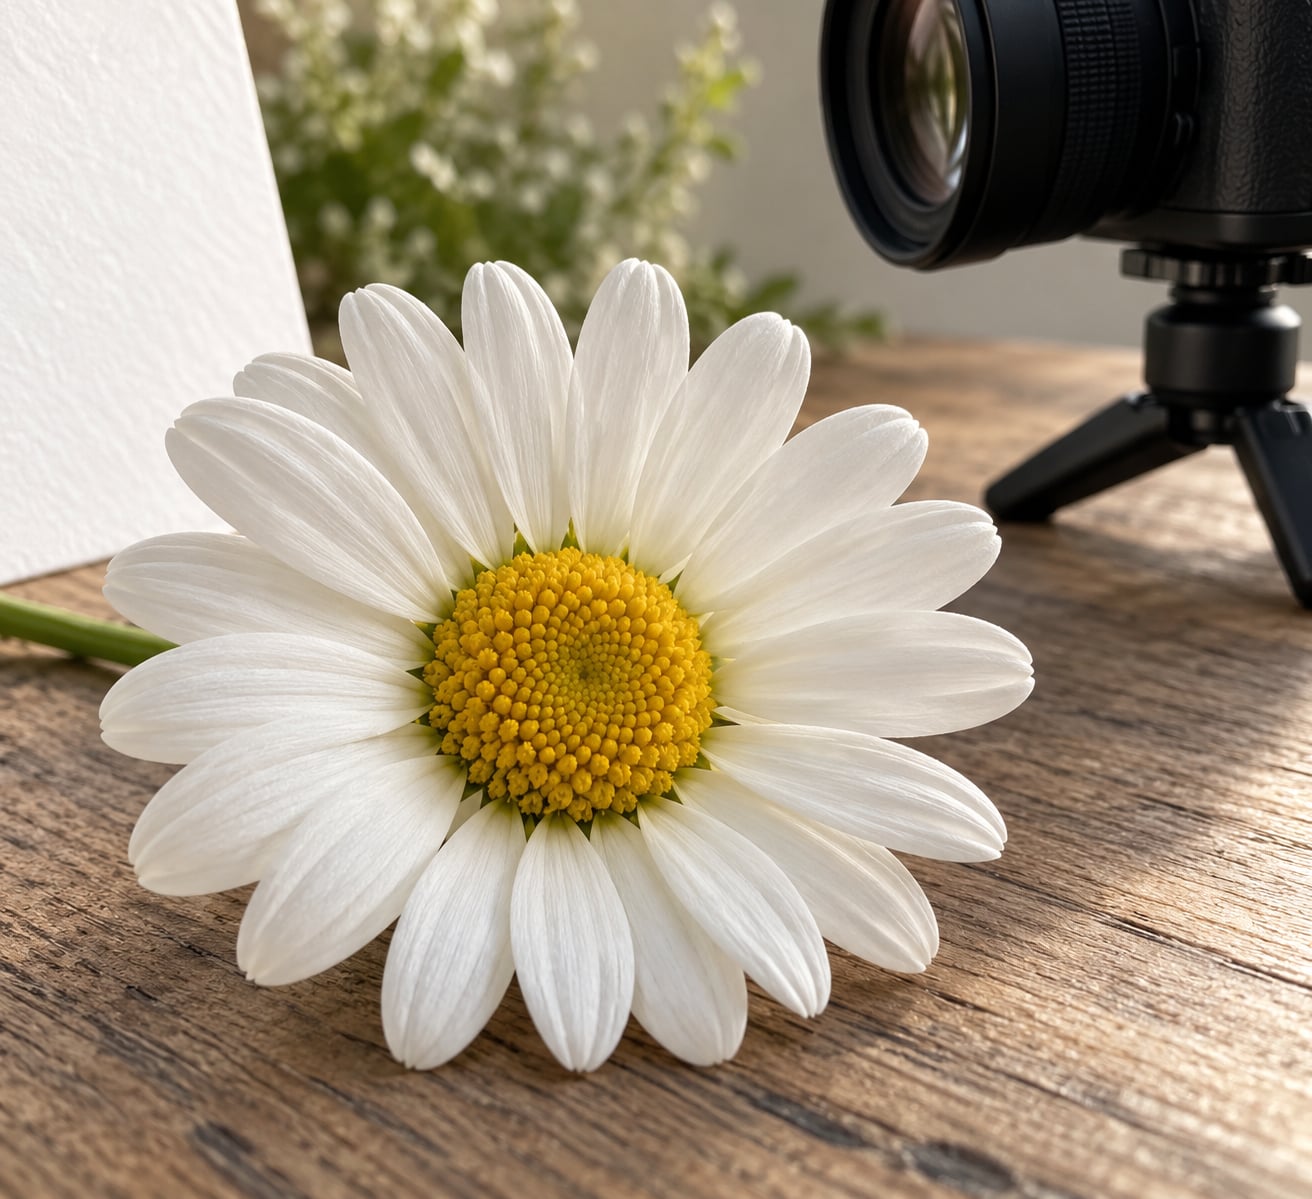
- Flowers and buds. Abundant and photogenic. Overcast light handles them best, and a petal edge with visible veins is an achievable first target.
- Leaves and bark. Stationary, so they tolerate long exposures. Back-lighting a leaf reveals veins you cannot see from the front.
- Seeds, pods and dried fruit. Winter subjects that never wilt, and they photograph well on a plain piece of paper at home.
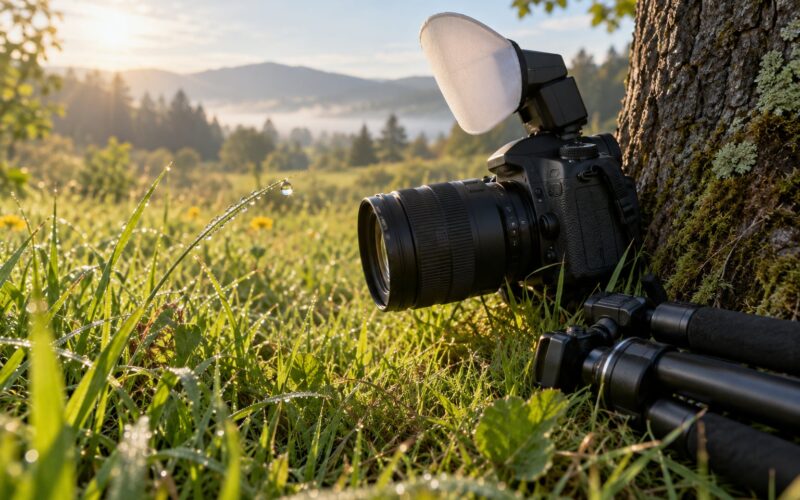
- Dew and frost. Early light, still air and a spray bottle for dew if you need it. Droplets act as tiny lenses and light the background inside themselves.
- Insects. The hardest, and the most rewarding. They move, they are shiny, and a warm subject often reflects your own shape. Work in the shade of a wall rather than open sun.
- Fabric, paper and wood grain. Perfect for indoor practice and for learning focus, since nothing moves and the light is whatever you make it.
- Coins, keys and stamps. Flat, available and ideal for testing 1:1 magnification with a clip-on lens or extension tubes.
- Food textures. Sugar crystals, bread crumb and salt grains give high contrast for close work.
- Household materials. Rusted metal, peeling paint, woven basket, a chipped mug. Good practice for texture and controlled light.
A seasonal plan keeps you shooting all year: budding catkins and new leaves in spring, seed heads and insects through summer, fungi and wet bark in autumn, frost, bare twigs and dried seed pods in winter.
How Can You Compose a Macro Photograph?
Composition is easier in macro than in most genres because the frame is small. Fill it with one subject and a clean background, and the photograph is already half done.
Simplify the background first. Move a metre sideways rather than trying to blur the clutter away — a plain wall, soil or shaded grass beats any post-processing. Then fill the frame. If your subject occupies only a small corner, move in, and check that the critical detail is sharp.
Change your angle often. The same flower photographed from directly above gives a flat rosette; photographed from ground level it gives a silhouette against the sky. Side lighting from a low angle reveals texture that overhead light flattens.
Use negative space deliberately when the background is clean and the subject has a direction to face — a bee pointing into open space reads better than one centred in clutter. Use repeating patterns when the background is busy: seed heads, brickwork or a woven texture photograph well as an abstract grid.
Centred compositions suit symmetrical subjects such as a single flower head or a coin. Off-centre framing suits anything with a direction of travel, and leading lines — a stem, a vein, a thorn — carry the eye through the frame.
One practical note on depth: focus on the feature that matters, not simply the nearest point. For an insect, that is usually the eye. For a flower, the front petal edge.
How Do You Edit Macro Photos?
Edit close-ups with restraint. Detail is what you came for, and aggressive sliders destroy it.
- Judge sharpness first. Zoom to 100% and check the focal plane before you touch colour. Cropping out a soft frame often beats any amount of sharpening.
- Fix exposure. Recover highlights from blown petal edges, then lift shadows on the dark side of the subject. Shoot RAW if your camera allows it.
- Set white balance. Macro light is rarely neutral. A single grey card or a manual grey setting stops leaves going neon.
- Remove distractions. Crop dead space, and clean up dust specks, stray hairs or a distracting bright leaf edge behind the subject.
- Add contrast and texture carefully. A small amount makes surface detail read. Pushed hard, you get halos along edges and a plastic look.
- Apply noise reduction to shadows only. Dark areas in close-ups amplify sensor noise, and smoothing them keeps the micro-contrast where it matters.
Cropping helps most when you framed loosely or captured more context than the story needed. It hurts when the edges of the frame carried the information — a whole seed head tells you what the tiny detail is, and cutting that away leaves a nice abstract with no subject.
Macro Photography for Beginners: Common Problems and Fixes
Nearly every soft macro photograph has one of four causes: camera movement, missed focus, moving subject, or light the sensor could not handle. Diagnose in that order.
| Problem | Likely cause | Fix | Quick check |
|---|---|---|---|
| Whole frame is soft | Camera shake from pressing the shutter or from focus ring movement | Tripod, remote release or two-second timer, manual focus only | Compare a frame shot on a tripod with one shot handheld |
| One plane sharp, rest blurred | Depth of field too thin for the subject | Stop down to f/8 to f/11, or focus stack | Check whether the blur falls off in front and behind evenly |
| Focus hunts back and forth | Autofocus hunting at close range | Switch to manual focus with live view magnification and focus peaking | Watch the peaking colours settle on the target detail |
| Part of the subject never sharp | Subject moved during exposure | Faster shutter, higher ISO, or wait for a still moment | Fire the same frame three times and compare |
| Harsh black shadow on one side | Single hard light source close to the subject | Diffuse the source or bounce it, then fill with a reflector card | Turn the subject a full turn and watch the shadow move |
| Bright blob on the subject | Specular reflection of your light or your own face | Change the light angle, use a larger diffuser or polarising filter | Move the light 10cm and see if the highlight shifts |
| Distracting background | Clutter behind the subject at a small distance | Reposition for a plain background, then crop tighter | Check the frame edges first, they hold most of the clutter |
| Fine detail looks flat and grey | Diffraction from a very small aperture | Go back up one or two stops and raise ISO instead | Compare f/11 and f/16 crops at 100% |
| Subject wilts before you shoot | Heat, wind and repeated handling | Cut fresh stems, work in shade, keep a spare subject ready | Bring two subjects, not one |
Respect the subject while you work. Stay still near insects, avoid damaging moss and lichen, and never move a wild subject into better light. A subject photographed in its own habitat is doing better than a subject you disturbed.
Frequently Asked Questions
Can a phone do macro photography?
Yes, and it is the fastest way to learn the genre. Many phones have a macro mode that focuses at a few centimetres, and an inexpensive clip-on macro lens adds real magnification. Light the subject from a window, prop the phone on something stable, and tap to focus on the detail you want. Phone sensors are small, so depth of field is deeper and results are more forgiving than a camera with a macro lens.
Do I need a macro lens to start macro photography?
No. Extension tubes on a kit zoom, or a cheap lens reversed through a reversing adapter, will get you to life size or closer and cost a fraction of a dedicated macro lens. You will focus manually and may lose automatic aperture control. Shoot with what you own until you know you like the genre, then decide whether a 90mm to 105mm macro lens earns its place in your bag.
How close can a 100mm macro lens actually focus?
A 100mm macro lens typically focuses from around 30 centimetres, giving true 1:1 magnification at that distance. You can also attach extension tubes to push closer, which raises magnification and reduces working distance. The trade-off is depth of field: closer means a thinner sharp zone, so you should stop down and raise ISO rather than move the camera closer by hand.
How do you photograph moving insects with macro?
Work in the shade of a wall or tree rather than open sun, since insects stay put in shade and avoid harsh reflections on their bodies. Pick a 1/500s shutter or faster and raise ISO to compensate. Continuous autofocus helps more than manual focus here. When the insect settles, focus manually and refine the sharpest part of the body, usually the eye or the edge of a wing.
Should I buy a macro lens or use extension tubes?
Use extension tubes first, because they are cheap and they tell you whether you enjoy macro before you spend serious money. They suit stationary subjects such as flowers, seeds, fabric and coins, and they force you to learn manual focus early. Buy a dedicated macro lens when you start photographing insects or need smooth autofocus, working distance and reliable aperture control every single frame.
Start with a coin on a piece of white paper by a window. Put the camera on a tripod, switch to manual focus, zoom in live view until the numbers are crisp, stop down to f/8, and fire a burst with the two-second timer. Take the same shot outdoors on an overcast morning and compare the light. That single exercise teaches more about macro photography for beginners than any gear list: once focus, light and stability click, the rest is repetition and a steady supply of subjects.