A DIY photo calendar is a 12-month calendar you build yourself from your own photographs. Pick twelve images, print a calendar grid on card stock at home or design the pages in a free online tool, then trim and bind them into something that flips through on a wall all year. The whole job takes about two hours and no craft experience at all.
The reason to make it yourself rather than order one is control. You choose the twelve photos, you mark the birthdays that matter, and you can reuse the same template next year. The two things that catch people out are photo resolution and paper weight, and both are handled below.
Table of Contents
- What You Need
- Required for every version
- Optional, and they depend on the method
- Step-by-Step: How to Make a DIY Photo Calendar
- Choose the Calendar Format and Size
- Select and Prepare 12 Strong Photos
- Design the Calendar Pages
- Check, Print, and Assemble the Calendar
- Common Mistakes
- Frequently Asked Questions
- How can I make my own calendar with my own pictures?
- How many photos do I need for a DIY photo calendar?
- What is the best app for creating a photo calendar?
- What paper should I print a photo calendar on?
- Should I print the calendar at home or use a printing service?
- How do I bind a DIY photo calendar without a stapler?
- Conclusion
What You Need
The list divides cleanly into things every version needs and things that depend on how you plan to print and finish it.
Required for every version
- 12 final photographs, saved as high-resolution image files
- A computer with any photo editor, plus the free calendar design tool of your choice
- A colour printer that handles photo-weight paper, or a plan to use a print shop
- Card stock, roughly 200 gsm, in a matte finish
- A paper trimmer or craft knife with a steel ruler for straight edges
Optional, and they depend on the method
- A printable calendar template or a blank calendar page layout in your design tool
- A tape runner instead of wet glue, which stops photos rippling as they dry
- A hole punch plus binder clips, staples, or a short length of spiral binding for the wall version
- A craft block of card and glue for a desktop tent calendar that stands up
- An embossing tool, foil, or dried flowers if you want the decorative finish
None of the optional items change the finished calendar. They change how long it takes and how flat it hangs.
Step-by-Step: How to Make a DIY Photo Calendar
This is the order that works for most people: settle the format, get twelve photographs ready, lay out the pages, then print and assemble. How to make a DIY photo calendar well comes down to doing those four stages in sequence rather than designing first and fixing sizing afterwards.
Choose the Calendar Format and Size
Before anything else, decide what the calendar is doing. A 12 inch wall calendar for a kitchen wants big photos and few words, while a desktop tent calendar in an office wants a narrow page that stands up. How to make a DIY photo calendar that people actually use starts with matching the format to the wall, the desk or the fridge it will live on.
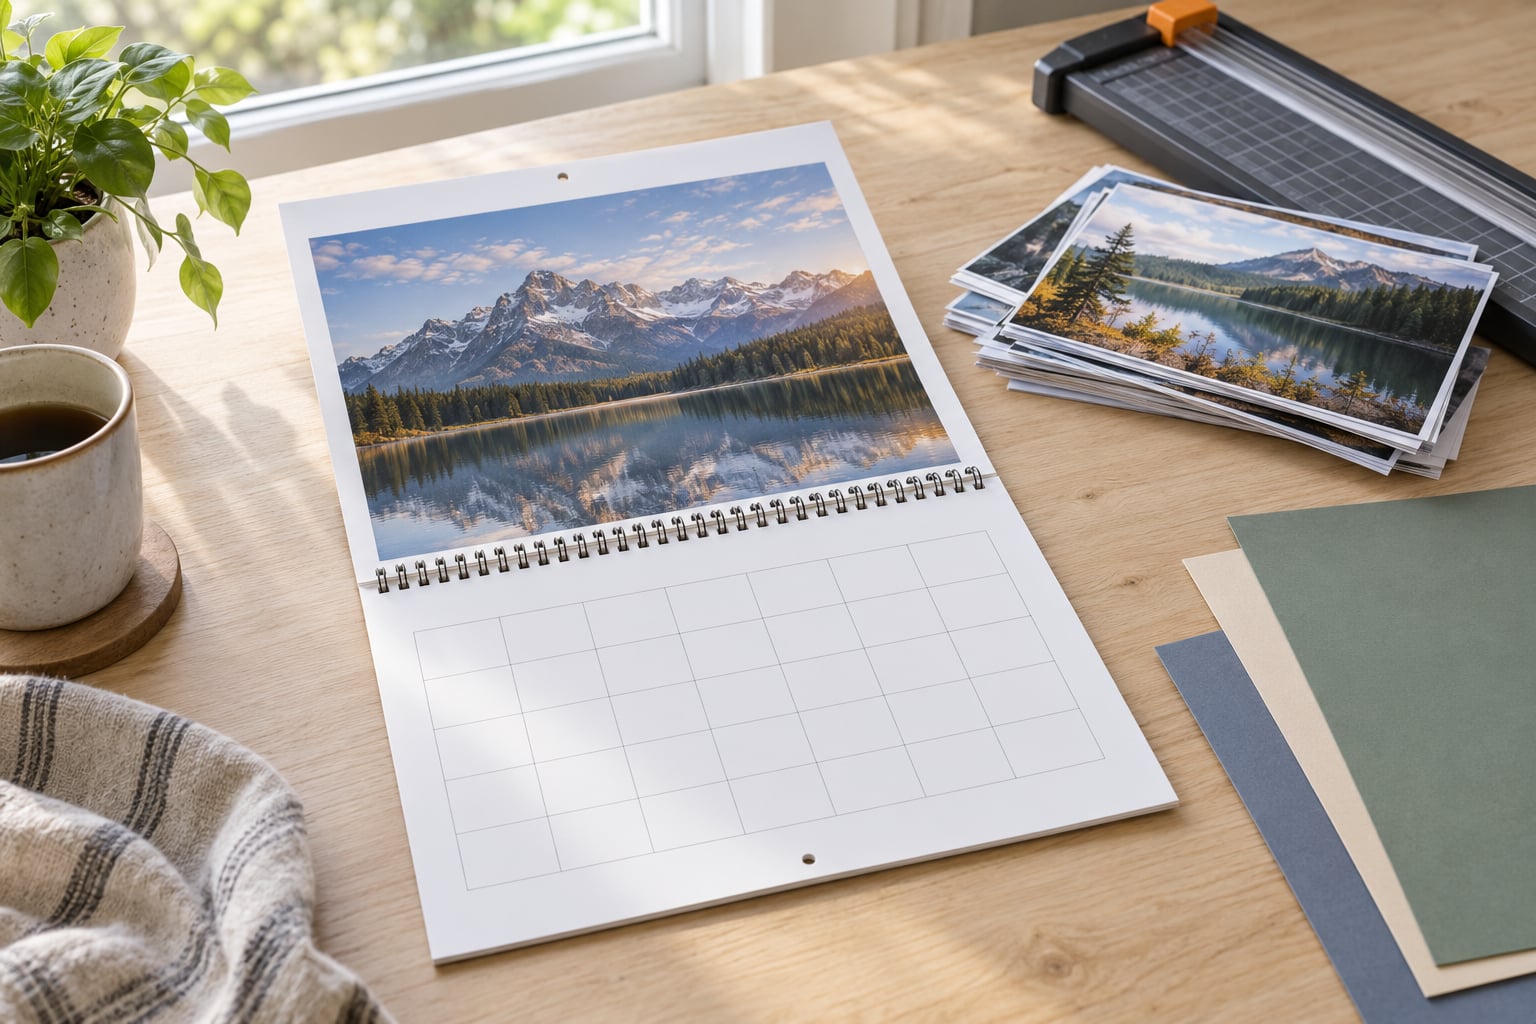
- Wall means a spiral-bound or clipped set of twelve landscape pages, usually 11 inch or 12 inch wide.
- Desk means a tent or block calendar, narrower and taller, with the photo above the grid.
- Magnetic means a light card page on a fridge, so the print has to survive handling and wipe-clean surfaces.
- Booklet means portrait pages on A4 or 8.5 x 11 inch sheets, bound down the spine or stapled at the corner.
Work out how large the photograph has to read from across the room. In a kitchen, someone glances at the calendar from three feet away, so a 3 x 4.25 inch photo on a 12 inch page works well. That same photo on a 5 inch desk page turns into a postage stamp.
Select and Prepare 12 Strong Photos
Most calendars fail because of the images, not the layout. Choose one photo per month and give each month a subject that belongs to it: a beach in June, the dog in October, the first snowfall in December.
Mix it up deliberately. Six landscapes in a row get dull by April, so alternate wide shots with close details and people. One deliberately ordinary photo, like a kitchen table mid-project, is often the one people remember.
Prepare each image the same way before it goes anywhere near a layout. Crop the distracting edges, straighten a tilted horizon, and correct exposure and colour while the whole set is open on screen. Fixing twelve files at once keeps them consistent, which is what makes a handmade calendar look considered rather than assembled.
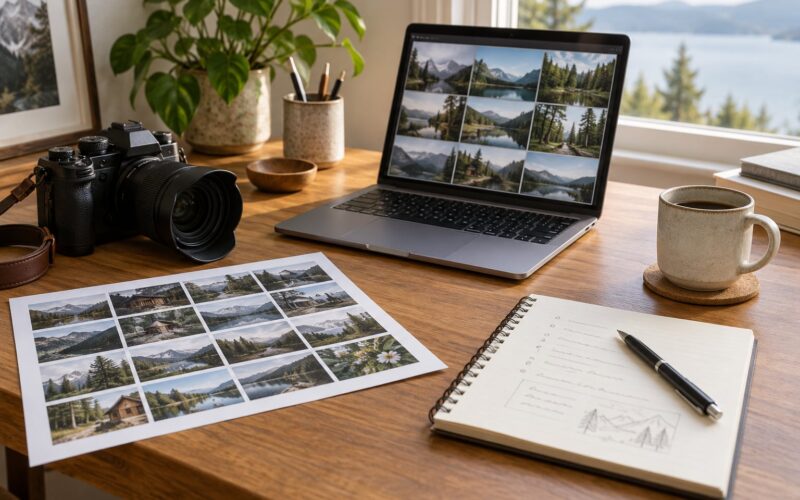
Put every finished image in one folder named for the calendar year, with twelve files and nothing else. Then build a quick contact sheet, a single screen with all twelve thumbnails in calendar order. It takes two minutes and it is the only reliable way to spot the month you left empty or the two photos that look identical at thumbnail size.
Design the Calendar Pages
Set the page orientation first, portrait or landscape, and match it to the size you chose. Build the pages in a calendar template or in a design tool, where the month grid is already laid out and only the photo needs dropping in.
Place the photograph so the calendar grid sits on the quiet part of the image. Sky, a plain wall, or a blurred background all work. Putting the grid across a face or the middle of a cake is the single most common design mistake, and it is obvious the moment you zoom out to look at the spread.
Keep margins the same on every page, including the inner edge where the binding goes. Use one typeface at two sizes at most, and make sure the day numbers are legible from arm’s length. A thin grey date grid disappears under ink; a solid dark grid prints cleanly.
Add a title only if you have room for it. A short year, a family name, or one line of text across the cover works better than a title repeated twelve times. Before you export, check the bleed if any image runs off the edge, and export as a print-ready PDF at 300 dpi.
Check, Print, and Assemble the Calendar
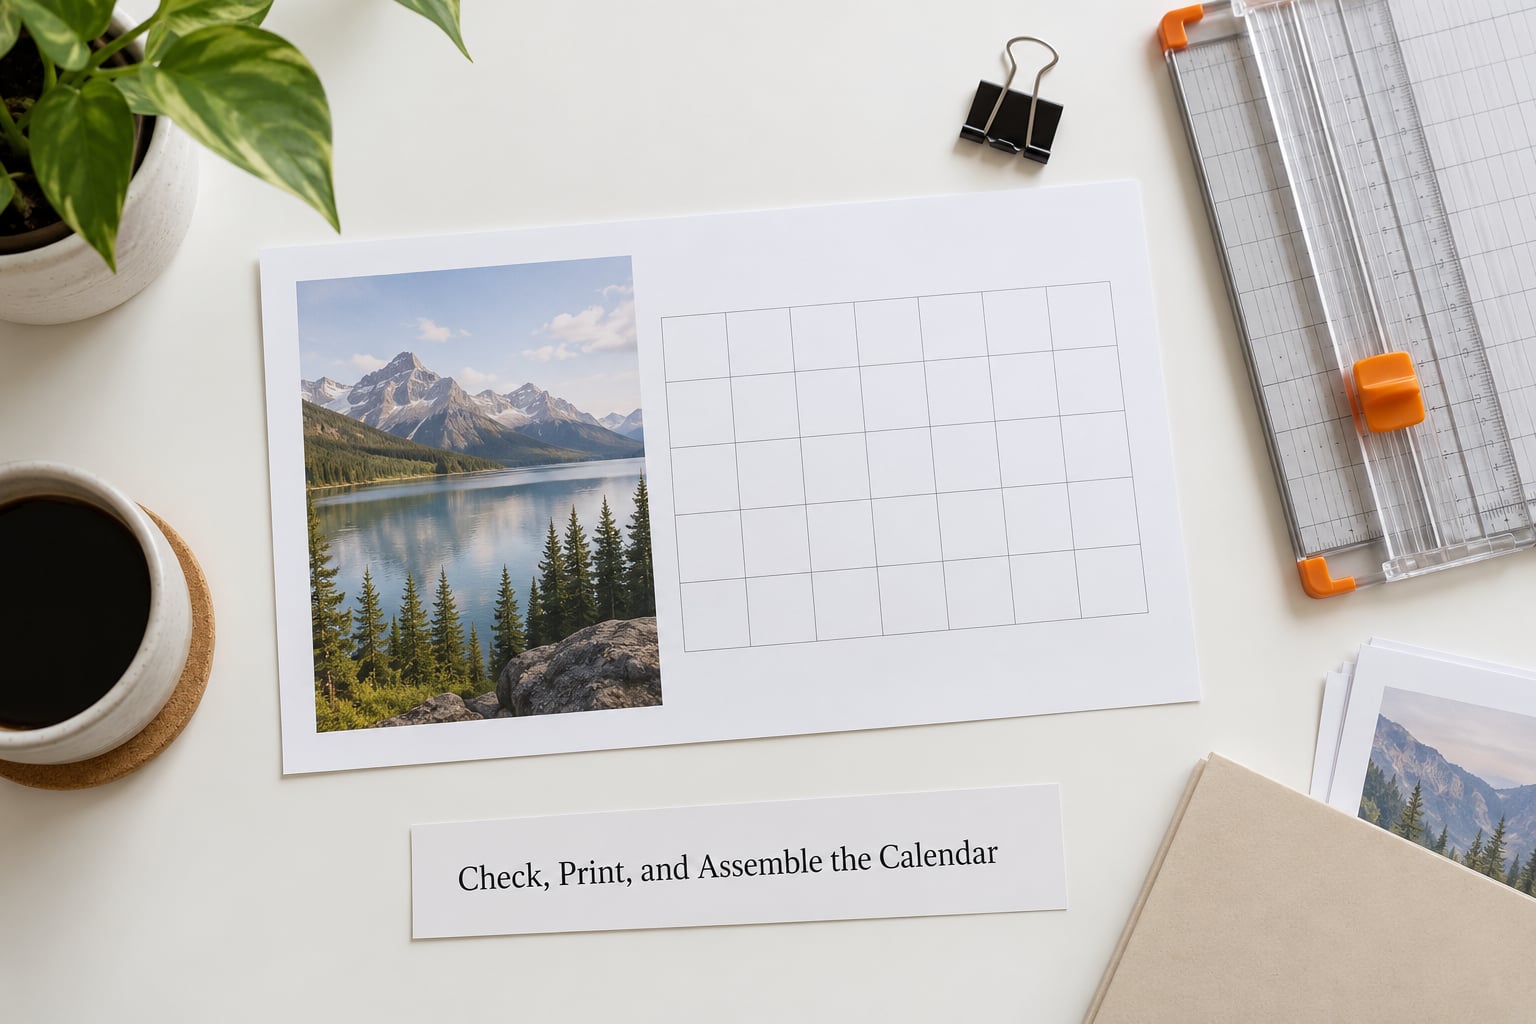
Print one page before printing twelve. Zoom the exported PDF to 100 percent and check three things: that the photograph is sharp, that the month grid lines are solid rather than dotted, and that the dates match the actual month and year.
Resolution is the one number worth knowing. A 3 x 4.25 inch photo printed at 300 dpi needs roughly 900 by 1275 pixels. Anything above that prints well, anything below starts to look soft around faces and lettering. Most cameras produce far more than that, so check the pixel dimensions before you crop rather than after.
Print the single test page, let it dry for a few minutes, and hold it up. Matte card stock avoids the glare that makes a glossy calendar unreadable under a kitchen light. If the edges curl, the paper is too thin for the ink coverage, so move up a weight rather than printing the whole set.
Assemble in this order: trim every page and photo to size on the trimmer, lay the calendar out in order, then fix it. Run a tape runner along the back of the photo and press it down from the centre outwards, which keeps the paper flat where wet glue would ripple it. Bind last, once everything is dry. Punch holes at the top for binder clips or a short spiral, keep about half an inch of clear margin above the photo for the hardware, and staple the corner for a booklet.
Flip through the finished calendar in order and check the months against the wall calendar. That last check catches off-by-one errors that are otherwise invisible until February.
Common Mistakes
Each of these has a simple fix, and each one is cheaper to fix than to redo.
Photos look soft or pixelated. The image was too small for the print size. Check the pixel dimensions against the 300 dpi rule above, and pick a different frame rather than enlarging a small file.
Colours look washed out. Your monitor or the printer profile is shifting everything, and matte paper makes it worse. Edit the photos while comparing two of them side by side on the same screen, and let the printer run its own alignment page.
Edges show a white line. The image was placed exactly at the page edge with no bleed. Extend any edge-to-edge photo by about an eighth of an inch past the trim line before printing.
The date grid sits on top of the subject. Flip that photo, crop it differently, or move the grid to the empty half. Re-exporting the page is faster than repairing a printed sheet.
Dates are hard to read. The font is too small or too light. Bump the day numbers up and use a solid dark grid; on a wall calendar the dates get read at a distance, not up close.
The calendar will not lie flat. There is no binding margin, or the pages were handled before the glue dried. Leave a clear half inch above the photo for the hardware and press the finished pages under a heavy book overnight.
Months or dates are wrong. A copied template carried the wrong year. Recheck every month header against a real calendar before printing more than one sheet.
Two habits make the rest easy. Print a single proof of one page before committing to the full set, and keep your twelve finished photos in a dated folder so next year’s version starts from the same structure with new images.
Frequently Asked Questions
How can I make my own calendar with my own pictures?
Pick twelve photographs, one per month, and crop them all to a consistent size. Print a calendar grid template on card stock, glue or tape each photo onto its page, then trim and bind the twelve pages with binder clips, staples or a short spiral. Budget about two hours, and print one test page before doing the full set.
How many photos do I need for a DIY photo calendar?
Twelve, one per month, is the standard for a wall calendar. If you prefer a collage, two to four small images per month works, but keep them from one year so the finished pages feel like one object. Whatever the count, save every image in a single dated folder so you can rebuild the same calendar layout in a later year.
What is the best app for creating a photo calendar?
Any free design tool with ready-made calendar templates will do, including Canva, Adobe Express and PicMonkey. The tool matters far less than the template. Look for monthly grid layouts in your chosen page size, keep the exported file at 300 dpi, and check the printed test page for colour accuracy before printing all twelve.
What paper should I print a photo calendar on?
Matte card stock around 200 gsm is the safest choice for home printers. It holds heavy ink coverage without curling and shows no glare under a bright light. Glossy photo paper looks sharper in the hand but reflects badly on a wall. Standard office paper is too thin, and pages will ripple once the photos are attached.
Should I print the calendar at home or use a printing service?
Print at home when you want full control over the photos and dates, and when one or two copies are enough. A professional service gives better paper and binding, and costs more per calendar once you order several. To make a DIY photo calendar for many family members, design it once at home and send the finished PDF to a print shop for the copies.
How do I bind a DIY photo calendar without a stapler?
Two options need no stapler. Punch holes at the top of each page and clip the stack closed with two binder clips, which also lets you swap pages later. Or glue the pages in order onto a single strip of heavy card and hang the strip from two small hooks. Both work on a wall and both flatten well overnight under a heavy book.
Conclusion
Start small: choose the size, gather twelve photos into one dated folder, and print a single page as a test. Once that proof looks right, the remaining eleven pages are the same job repeated. Improve the design only after the finished calendar is on the wall, not before.