You can photograph flowers well with any camera, including a phone, by shooting in soft light, focusing on one detail, opening the aperture to blur the background, and shooting several variations from different angles. It takes about ten minutes once you know what to look for.
Flowers are the kindest subject a beginner can pick. They are free, they sit still (mostly), and every bad setting shows up immediately, which means every fix is learnable in a single afternoon.
If you are searching for how to photograph flowers for beginners, ignore the gear debates. The camera matters far less than light direction, focus placement and whether you held still. A ten-year-old compact with a clean lens will beat a new camera with a dirty one every single time.
Table of Contents
- What You Need
- Step-by-Step
- Step 1: Observe the Flower Before You Shoot
- Step 2: Choose Simple, Directional Light
- Step 3: Set the Camera for Sharp Flower Detail
- Step 4: Focus on the Most Important Detail
- Step 5: Build a Simple Background
- Step 6: Compose and Take Several Variations
- Step 7: Review and Improve the Image
- Common Mistakes
- Frequently Asked Questions
- Can I take good flower photos with a smartphone?
- Do I need a macro lens to photograph flowers close up?
- What aperture should I use for a sharp flower photo?
- How do I keep flower photos sharp when it is windy?
- What is the best time of day to photograph flowers?
- How do I prevent bright petals from looking washed out?
- Start With One Flower in Good Light
What You Need
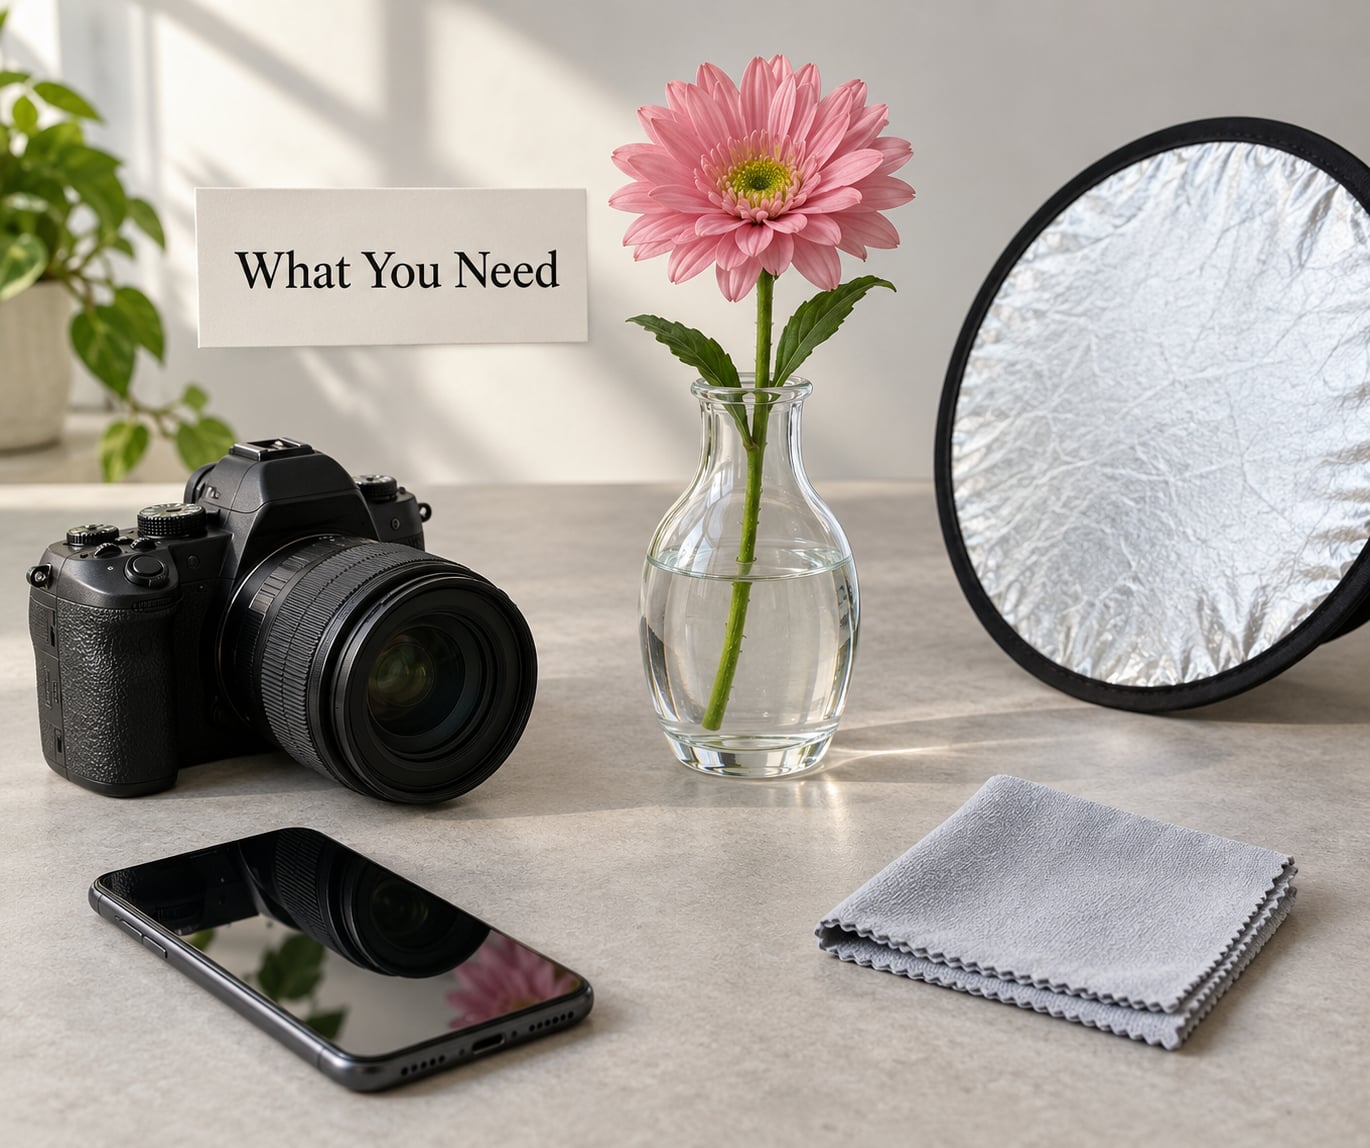
You need a camera you already own and a lens you can get reasonably close with. That is the whole list of essentials, and a dedicated macro lens is optional rather than required.
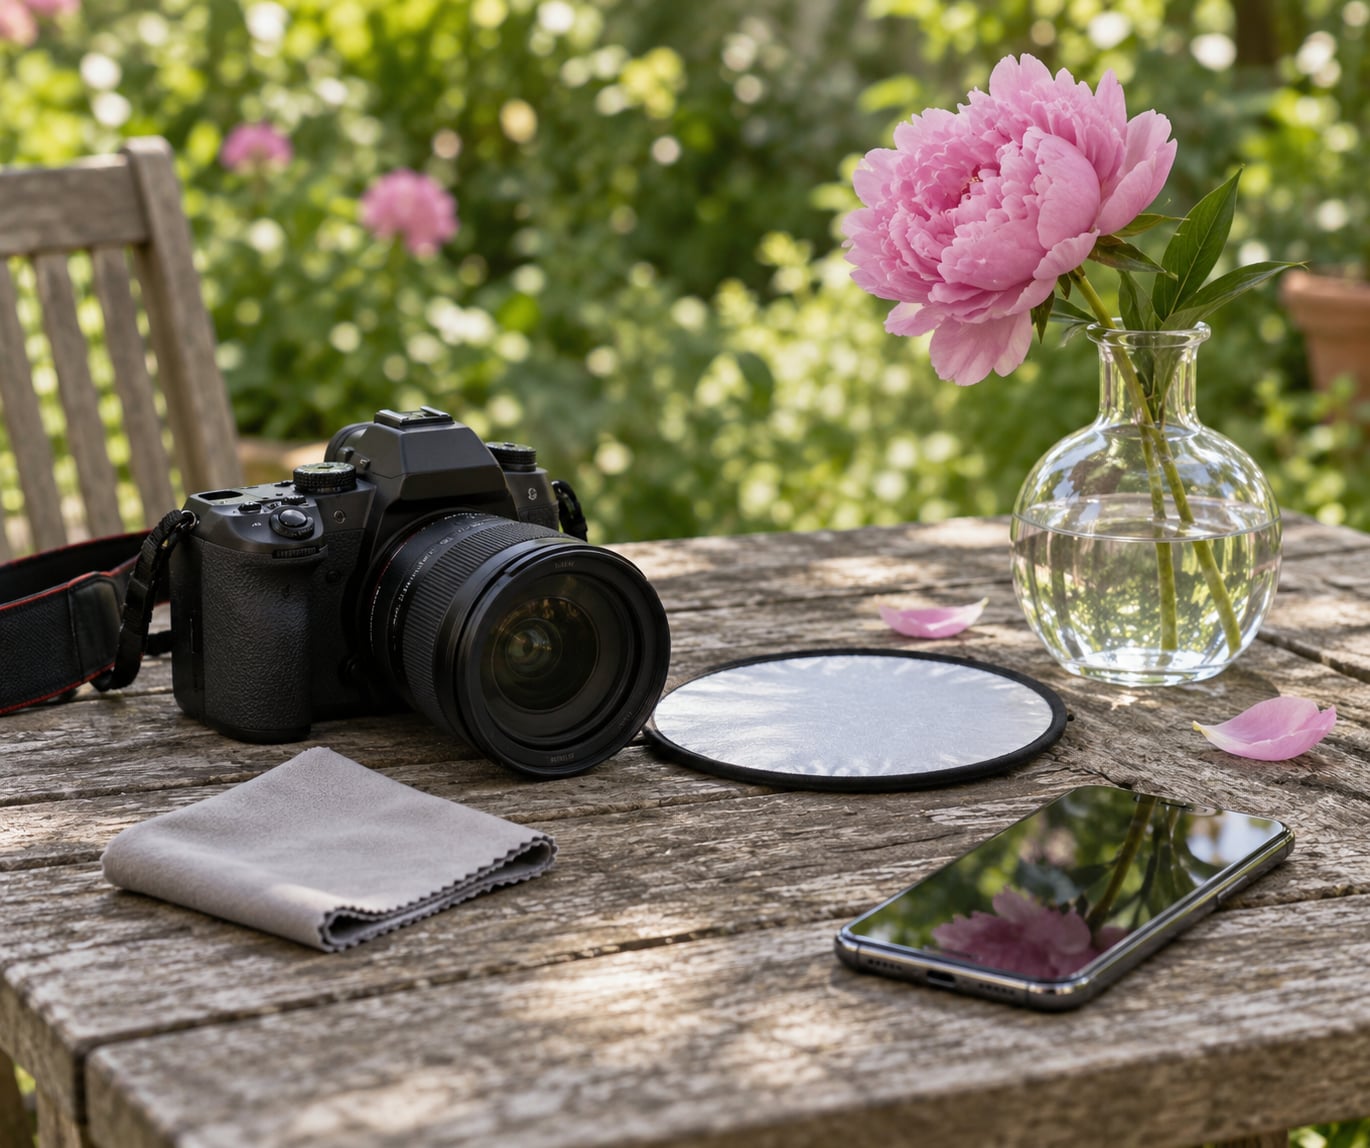
What genuinely helps beyond that:
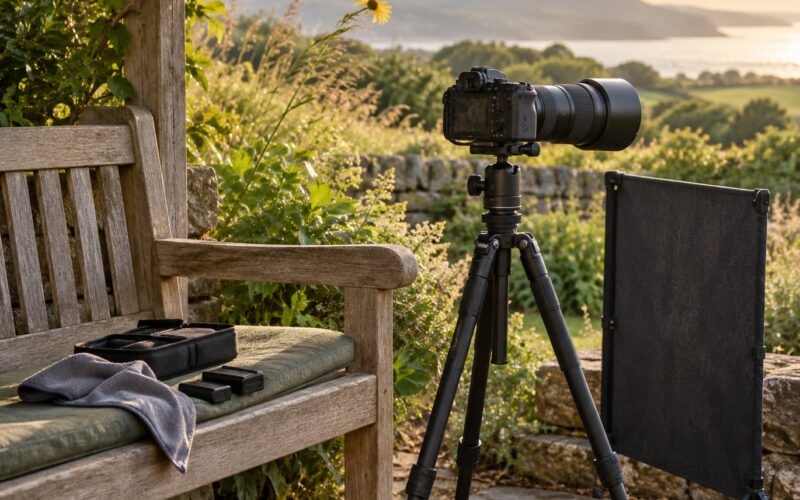
- A clean cloth for the front element. Dust on a lens ruins more flower photos than bad settings do, and it ruins them quietly.
- A small reflector. A piece of white card, a sheet of foil or a pale wall bounces a little light back into the shaded side of the bloom.
- Something to steady the camera. A tripod, a wall, a fence post or your own forearm. At macro distances, shake is unmistakable.
- A spray bottle of water. A fine mist on petals kills glare and gives you something to catch the light.
On the macro lens question: one is the cleanest route to true close-up work, but it is not the only route. Macro photography simply means photographing something at a 1:1 reproduction ratio, where the subject on the sensor is the same size as the real thing. You do not need a dedicated lens to get there.
Here is the honest order of options:
- What you already own. A phone with a macro or ultra-wide mode will do 90% of the frames in this guide. Most people delay starting because they assume macro gear is mandatory, and that delay is the real barrier.
- Your standard kit or zoom lens, close up. Many kit lenses focus to 0.25m or closer. You will not get 1:1, but you will get a filling-the-frame flower.
- Extension tubes or a clip-on macro filter. Cheap add-ons that shorten minimum focus distance on an existing lens. Light metering shifts, so expect to correct exposure afterwards.
- A dedicated macro lens. Best working distance and the easiest focusing, and worth it once you know you enjoy the work.
Step-by-Step
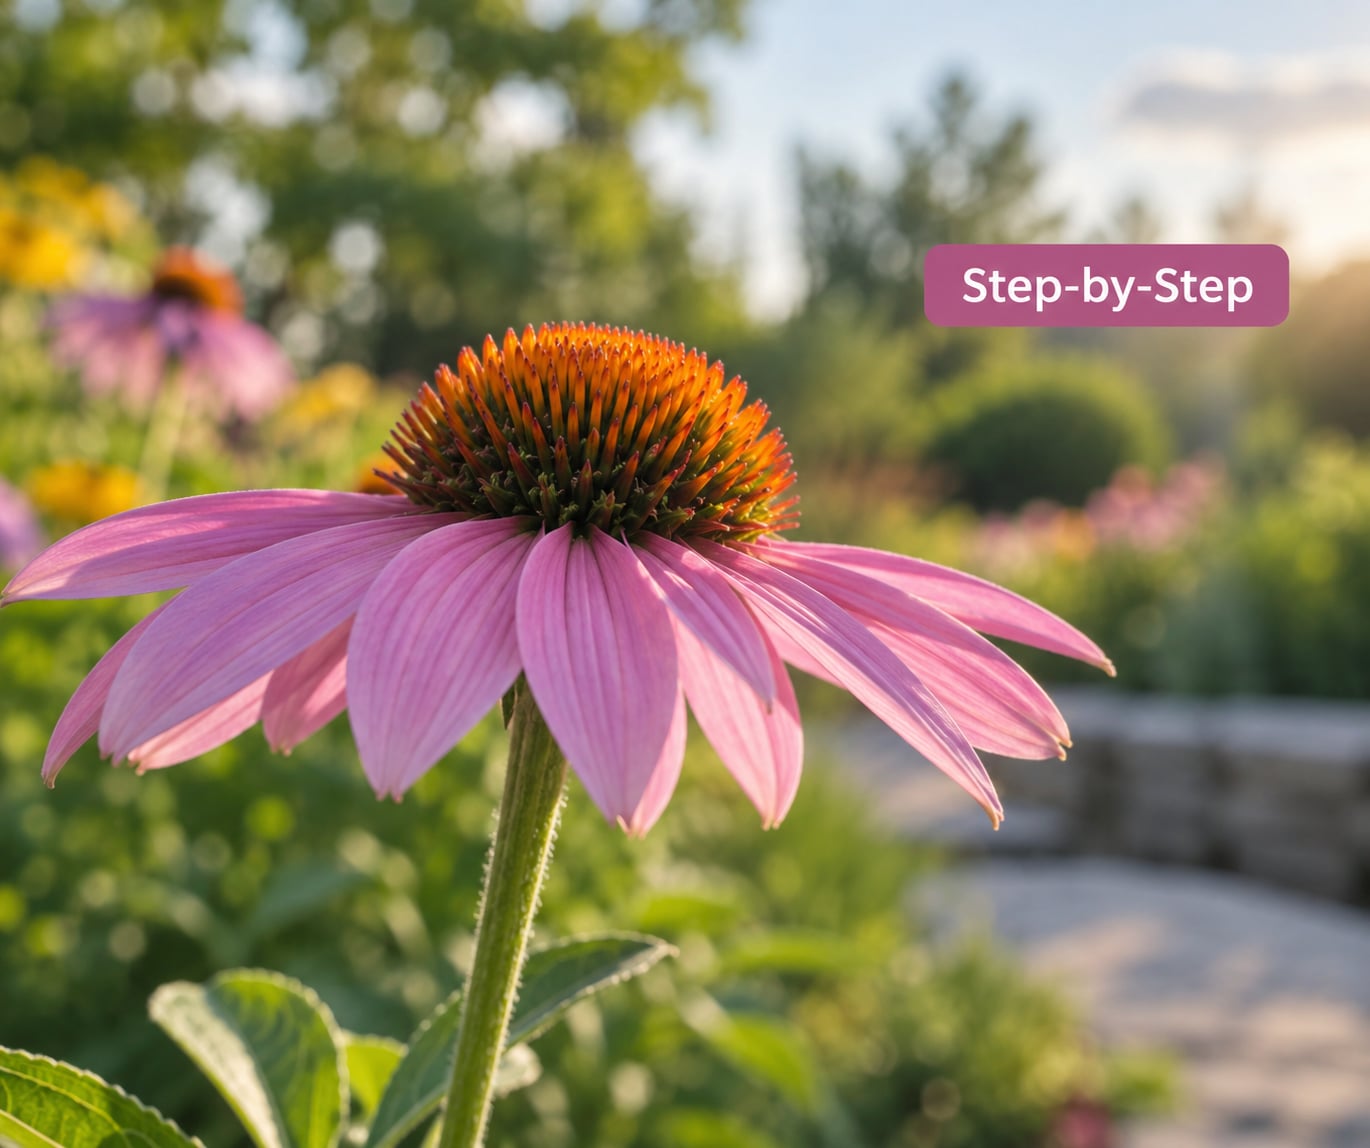
Follow these seven stages in order and you will get a usable flower photograph in a single session, even if this is the first time you have pointed a camera at a bloom.
Step 1: Observe the Flower Before You Shoot
Spend thirty seconds looking before you lift the camera. Check the petals for damage or water droplets, note where the light is falling, and look at what sits behind the flower.
Pick one subject and eliminate distractions. That bright leaf at the edge of the frame, the fence post, the neighbour’s wheelie bin behind it all matter more at close range than you would expect. A successful frame is one where the eye lands on the flower first and stays there.
You are looking for a flower that is fully open, reasonably clean, and has a background you can work with. If it fails two of those three, walk ten paces and find another.
Step 2: Choose Simple, Directional Light
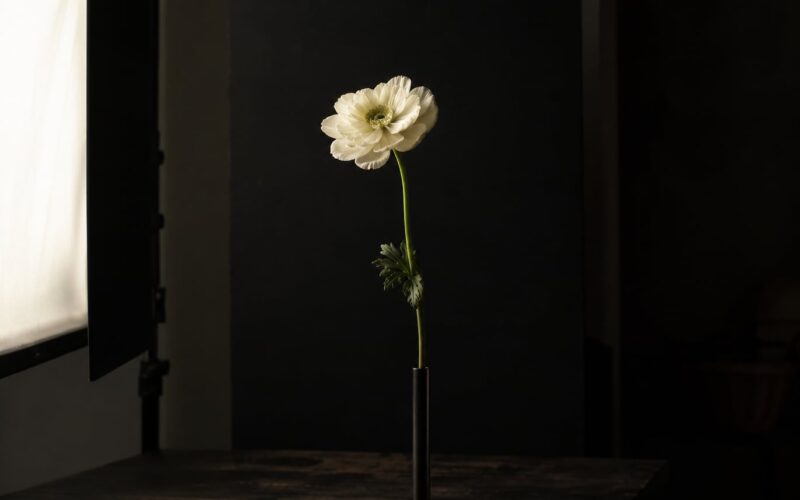
Soft, directional light is what separates an amateur flower photo from a good one, and the light is always more important than the lens.
Open shade is the safest light in a garden: the sun is blocked by a wall, fence or tree, so petals show colour without harsh shadows. Overcast days are the same idea at a larger scale, and they are excellent for beginners because the contrast stays manageable.
Avoid hard midday sun. It creates black shadows under the petals and blows out the brightest ones, and no amount of editing brings blown detail back.
Early morning and the hour before sunset give you warm, low, directional light. The best trick with backlighting is to put the sun behind the flower, expose for the background, and let the petals glow semi-transparently at the edges. Under-expose by about a third of a stop using exposure compensation and check the histogram before you shoot.
What to look for: shadows with visible detail in them, and no part of the flower that is pure white. If you see either problem, change your position rather than your settings.
Step 3: Set the Camera for Sharp Flower Detail
Start in aperture priority mode with the widest aperture your lens allows, a shutter speed of at least 1/250s, and the lowest ISO that still keeps the image bright.
Wide aperture means a small f-number: f/2.8 gives you more background blur than f/8. It also means a thin slice of the flower is sharp, which is the trade-off beginners struggle with most. When something looks soft, this is usually why.
If the image comes out too dark at f/2.8, raise the ISO before you stop the aperture down. A slightly grainy sharp photo is better than a clean soft one. If your camera offers image stabilization, switch it on for handheld work, but be aware it is less effective at very close distances.
On a phone, tap the flower to set exposure and focus, then slide exposure down a little with the sun control. Use the portrait or macro mode if your phone has one, and hold still by resting your elbows on your body. You get the same result as a wide aperture, just automatically.
You are there when the flower is sharp, the background is dissolving, and nothing is pure black or pure white.
Step 4: Focus on the Most Important Detail
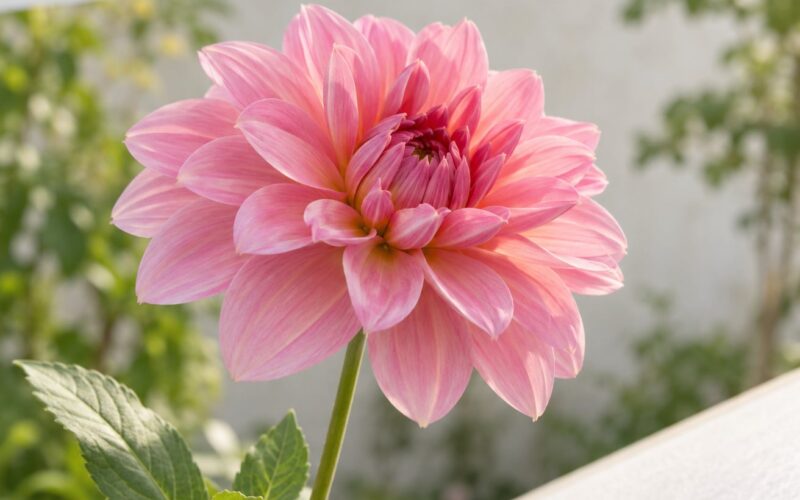
Focus on the detail that tells the story: the stamen, the curve of a petal edge, the pattern of a petal’s base.
Use single-point autofocus if your camera offers it, and place the point exactly where you want sharpness rather than wherever the camera decides. Centre-weighted or multi-point modes are fine for wide scenes, but at close range they often hunt between foreground and background and never quite land.
Check your focus at high magnification in the live view screen before you commit. Zoom into the part you focused on: if the texture is not crisp there, nothing else in the frame will save it.
When autofocus keeps hunting, switch to manual focus. Zoom in, set focus by hand, and then step back and reframe without touching the focus ring. If your camera has focus peaking or magnification assist, turn them on, because they make manual focus far less of a guessing game.
You are there when the live view zoom shows visible texture in the petals, not a smooth blur.
Step 5: Build a Simple Background
Move the camera, not the flower. Rotating a few degrees sideways usually removes more clutter than any other adjustment.
Change your height too. Dropping to petal level replaces a busy background of garden debris with a smooth wash of distant green. Look for plain surfaces: a path, a wall, water, or distant foliage that is far enough away to blur into nothing.
When you cannot change the position, change the distance. A longer focal length or a wider aperture throws the background further out of focus. Focus stacking helps too, but it only sharpens the flower, so a messy background still needs solving first.
You are there when no part of the background is sharper than the flower, and no bright shape pulls the eye sideways.
Step 6: Compose and Take Several Variations
Vary one thing at a time, because changing everything at once teaches you nothing about what worked.
Place the flower off-centre rather than dead middle, and leave the space it faces into. Look for lines in the scene that point at the bloom, and let them do that work for you. Fill the frame tighter than feels natural at first; beginners consistently leave too much air around the subject.
Shoot both horizontal and vertical versions, and one wide shot that puts the flower in its setting. Shoot one close, one mid, one from above, one from below.
Then stop and ask which single frame worked best. That is your baseline, and you now know what to aim at next time.
Step 7: Review and Improve the Image
Review at full size on a decent screen, not on the back of the camera. Zoom into the subject and the background separately.
Fix exposure first, then white balance, then crops. If pale flowers look green or blue, the light bouncing off surrounding foliage has tinted them, so correct the white balance towards magenta and warm by eye. If petals are clipped white, pull the highlights down before you do anything else, and know that fully blown areas cannot be recovered.
Add contrast and clarity gently. A small amount of local sharpening on the flower helps it read as sharp against a soft background. Resist heavy saturation, which turns a natural colour into something artificial, and be honest about background clean-up: removing a distracting object is fine, inventing petals is not.
You are there when the file looks like a photograph of a real flower rather than an edited rendering of one.
Common Mistakes
The most common beginner error is a soft photograph, and it almost always has one of three causes.
Nothing is in focus. The aperture is too wide for the subject, or the lens focused on the background. Fix both by stopping down one or two stops and by putting the focus point on the flower itself.
The subject moved. Either the wind moved it or you did. Wait for a still moment, use a faster shutter speed, or steady the camera against something solid.
You were closer than the lens focuses. Minimum focus distance is a hard limit. Step back and zoom in, or crop afterwards rather than pressing the lens against the petal.
Harsh light and blown petals. White and pale flowers clip first under direct sun. Move into open shade or shoot at a different hour, and check the histogram rather than guessing from the screen.
A cluttered background. Bright leaves or a pale wall at the frame edge pull the eye away. Step sideways, change your height, or reframe tighter until the background is plain.
A green colour cast on pale flowers. Foliage reflects green light. Set white balance manually using a neutral reference, or correct towards magenta in editing.
Overediting. Saturated greens, heavy clarity and aggressive sharpening are the quickest way to make a good flower photo look processed. Do the exposure first and stop while it still looks natural.
Moving the flower. Unless you are setting up indoors, leave it where it grows. Turning a stem to face the light is how you end up photographing a broken flower an hour later.
| Symptom | Likely cause | Fix |
|---|---|---|
| Whole frame is soft | Camera shake at a slow shutter speed | 1/250s or faster, or brace the camera on something solid |
| Only one part of the flower is sharp | Aperture too wide for the subject’s depth | Stop down one to two stops from the widest setting |
| Sharp background, soft flower | Focus landed behind the subject | Use single-point autofocus on the bloom, or switch to manual |
| Petals are pure white with no detail | Direct sun exceeding the sensor’s limit | Move to open shade or lower exposure compensation |
| White flower looks green | Green bounce from surrounding foliage | Correct white balance towards magenta |
| Frame looks empty and distant | Standing too far back | Fill the frame with the bloom, then crop tighter |
Three field tips that save more frames than any setting: work with the wind instead of against it, shooting between gusts rather than during them; be patient, because a flower opening for the first time is worth twenty rushed frames; and treat the flower as a living subject by watching for bees, avoiding damp soil, and keeping a bag or a hand ready to shield the flower if you have to step back.
Frequently Asked Questions
Can I take good flower photos with a smartphone?
Yes. A phone handles most of this guide, because the two things that matter most are light direction and getting close. Tap the flower to set focus and exposure, slide the exposure slightly down when the sun is strong, and use the macro or ultra-wide lens if your phone has one. Rest your elbows on your body to steady the shot, and shoot more frames than you think you need, because the difference between two phone photos is usually a fraction of a second in the wind.
Do I need a macro lens to photograph flowers close up?
No. A macro lens is the cleanest route, but it is not required to learn how to photograph flowers for beginners. Most kit and standard zoom lenses focus to around 0.25 metres, which fills a good part of the frame. Extension tubes or a clip-on macro filter shorten the focus distance further, and a phone’s macro mode goes closer still. Start with what you own; buy the macro lens once you know you enjoy the work.
What aperture should I use for a sharp flower photo?
Start at the widest aperture your lens offers, often f/2.8 or f/3.5, and check the result. A wide aperture gives you the softest background but leaves only a thin slice of the flower sharp, so if part of the bloom looks fuzzy, stop down one or two stops. Raise ISO rather than closing the aperture further if the image gets too dark. At around f/8 you gain depth of field but lose most of the background blur.
How do I keep flower photos sharp when it is windy?
Wind moves the flower, not just you, so speed alone does not fix it. Wait for a lull and shoot in short bursts of three or four frames, then check which one caught the subject still. Use a shutter speed of at least 1/250s, brace the camera against a wall or your body, and look for naturally sheltered spots. If a stem keeps moving, wait for a gap in the breeze or find a different flower on a stouter stem.
What is the best time of day to photograph flowers?
Early morning or the hour before sunset. Low, directional light gives colour, texture and soft shadows, and the intensity is low enough that pale petals do not blow out. Overcast days work well too, producing even light with no harsh contrast, and open shade under a wall or tree is the safest option of all. Hard midday sun is the one to avoid, because it creates black shadows under petals and clipped highlights on the brightest ones.
How do I prevent bright petals from looking washed out?
Turn on the highlight warning in your display or check the histogram, because bright clipping is obvious on screen and invisible in a thumbnail. Fix it by moving into open shade, shooting at a different hour, or lowering exposure compensation by a third of a stop. If the petal is still pure white, that detail is gone and no edit will recover it. Many cameras also offer a highlight-preserving picture style worth switching on in bright light.
Start With One Flower in Good Light
Everything above comes back to four decisions: one flower, simple light, a detail to focus on, and an exposure you have actually checked.
So do this today. Find a single bloom in open shade, clean the front element of your lens, and step sideways until the background behind it is plain. Fill the frame, focus on the stamen, take one properly exposed frame, and check the histogram before you change a single setting.
That is a complete shoot. The next flower takes ten seconds longer, and that is the whole practice loop.