You can improve photos without buying gear, and the gap closes faster than most people expect. Nearly everything that makes a picture look good, where the light comes from, where you stand, what you leave out of the frame, is a decision you make in about two seconds, not a feature on a spec sheet. Give the method below twenty minutes of practice and the camera you already own starts producing frames you would have assumed needed an upgrade.
That is not pep talk. It is what happens when you stop asking what your camera can do and start noticing what the scene in front of you is actually doing.
Table of Contents
- How to Improve Photos Without Buying Gear
- What You Need
- Step-by-Step: Nine Fixes That Cost Nothing
- Step 1: Clean the lens first, before anything else
- Step 2: Find better light before you look for a better angle
- Step 3: Compose on purpose instead of pointing and hoping
- Step 4: Simplify the background until the subject separates
- Step 5: Set focus and exposure deliberately
- Step 6: Stabilise the camera before you press the shutter
- Step 7: Change your point of view to change the picture
- Step 8: Make small adjustments to the subject, not just the camera
- Step 9: Edit with restraint, using tools you already have
- Common Mistakes and How to Fix Them
- A simple repeatable routine
- Frequently Asked Questions
- Can I improve photos with an old phone camera?
- Is a tripod necessary to take sharper photos?
- How do I fix a blurry photo without buying a new camera?
- Does shooting in RAW make a noticeable difference?
- What is the best free app for editing everyday photos?
- How do I know if I am over-editing a photo?
How to Improve Photos Without Buying Gear
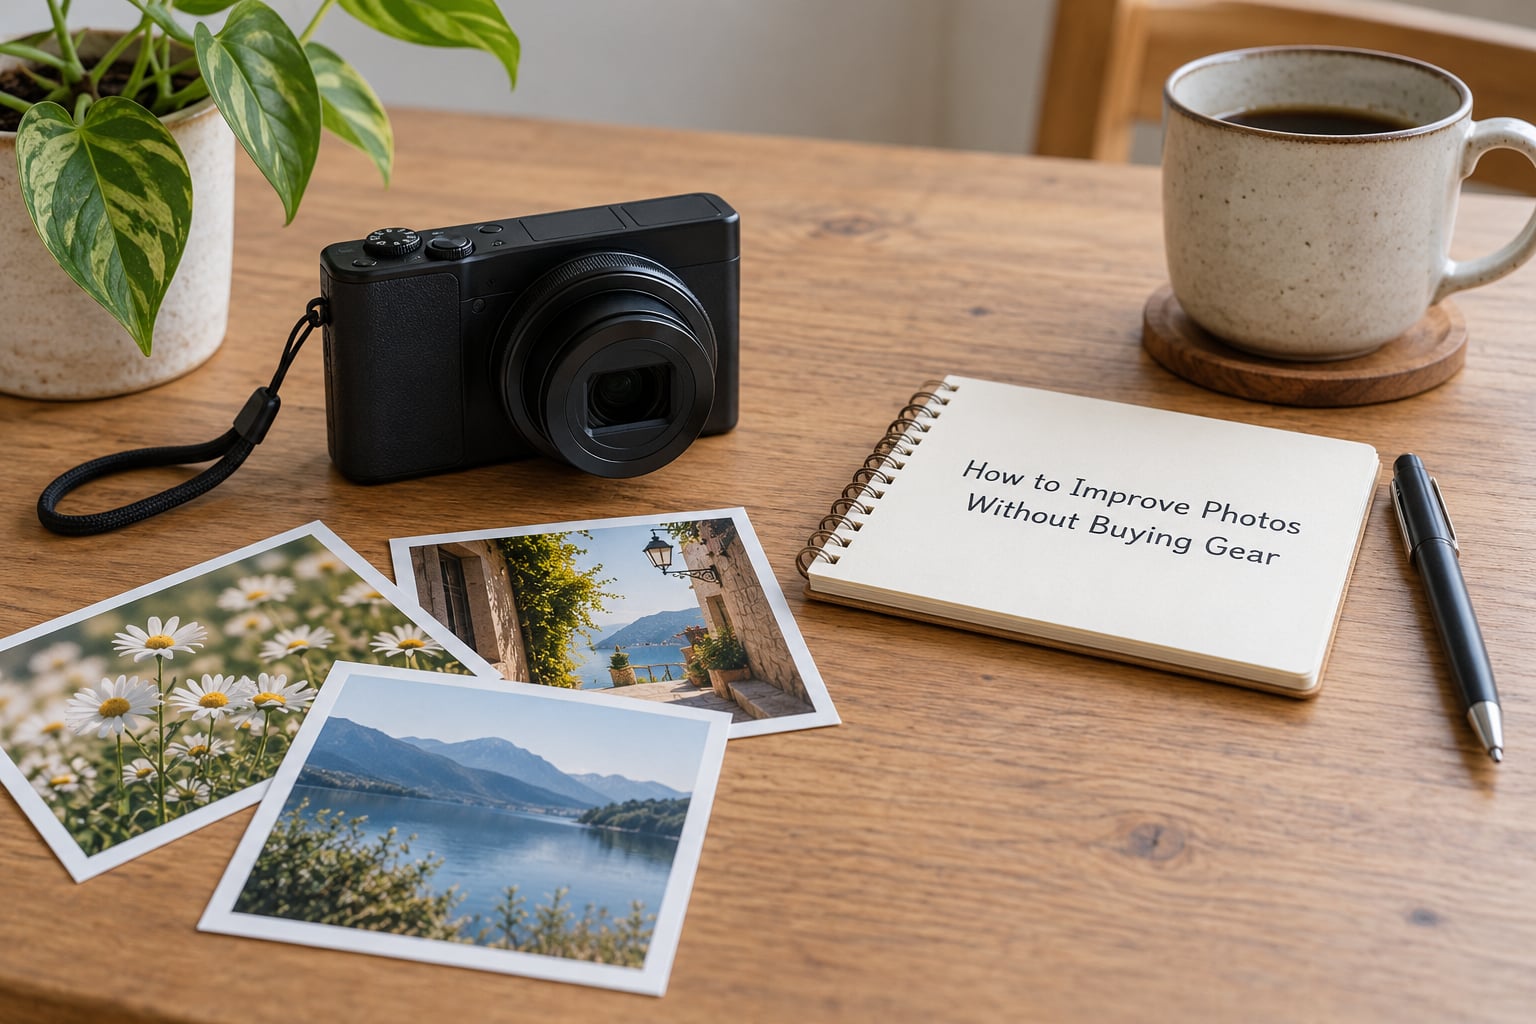
The premise is simple. Photograph quality is mostly decided in three places: the light falling on your subject, your position relative to that subject, and the settings and focus you choose. Change those three and the same hardware produces a fundamentally different picture.
Ask any working photographer which mattered more, the camera or the person behind it, and you will usually hear the same answer. Good equipment genuinely helps. A decent lens on an older body beats a cheap lens on an expensive one. But technique travels to every camera you will ever own, while a specific body only improves one kind of shot.
There is a second reason to try this before you shop. The gear upgrade urge is the most reliable form of procrastination in photography. Browsing listings feels like progress, and nothing improves. The nine fixes below cost nothing but attention, and most of them work on a phone.
They also stack. Fix the light and the same frame looks better; fix the composition and the better-lit frame looks professional; edit with restraint and it looks like you meant it.
What You Need
You need almost nothing, which is the point. Everything below is either already in your house or already installed on a device you own.
- A camera or a smartphone. Any recent phone camera is capable of genuinely good pictures in decent light.
- A source of natural light. A window, an open doorway, open shade under a tree or a building, or open sky. Free, and better than most lamps.
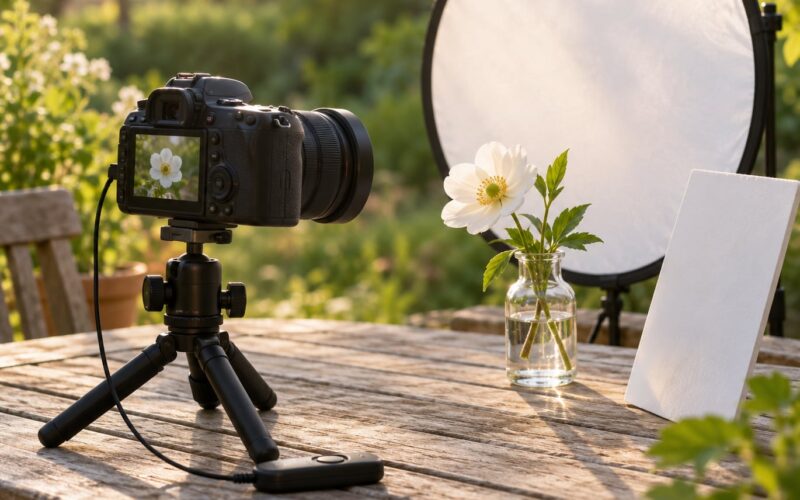
- Something to steady the camera. A real tripod if you have one, otherwise a wall, a table edge, a stack of books, or folded fabric.
- A free editor. The one built into your phone or operating system is genuinely enough for everyday work.
- A subject and a plain surface. A friend, a pet, a plant, a meal, or a set of objects on a table. Practising on a still life removes lighting and behaviour from the equation.
- Ten minutes and a repeatable spot. The same corner at the same time of day is how you notice your own progress.
That is the whole kit. Nothing here needs an order.
Step-by-Step: Nine Fixes That Cost Nothing
Step 1: Clean the lens first, before anything else
Smudges, fingerprints and a film of dust scatter light and soften the entire frame, most visibly around bright areas. A microfibre cloth and a drop of water handle it in seconds.
You will know it worked because fine detail, leaves, hair and distant text snap into definition, and flare or haze that seemed to be a lens quality issue simply disappears.
Step 2: Find better light before you look for a better angle
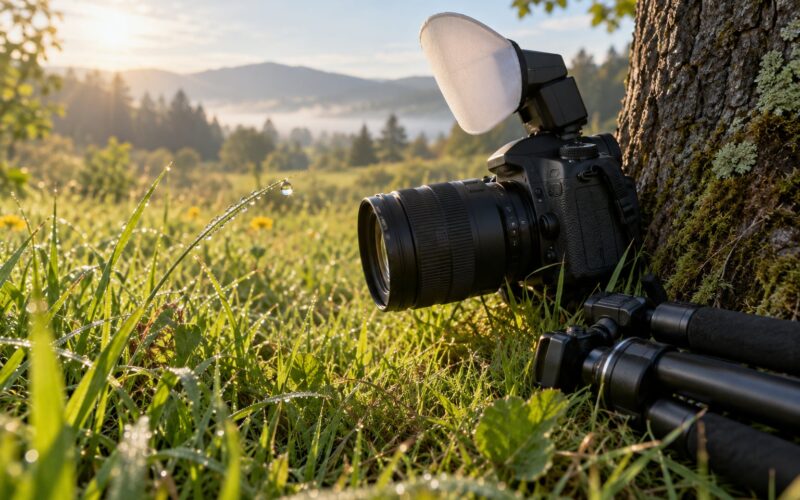
Light quality beats everything else. Shoot in the first hour after sunrise and the last hour before sunset, when the sun is low and the light is warm and soft. In the middle of the day, work in open shade or under thin cloud rather than in direct sun.
For portraits indoors, put your subject a metre or two from a window and turn them about 45 degrees toward it so one side of the face is lit and the other falls into soft shadow. The light should come from the side or slightly in front, never from directly behind your subject, unless you want a silhouette.
You will know it worked when skin tones look even, shadows on the face are gentle rather than black, and you did not need flash. Direction of light matters as much as brightness, and it is free to change.
Step 3: Compose on purpose instead of pointing and hoping
Move your feet before you move any setting. Step closer, step back, crouch, stand on a low step. Most weak compositions are a standing-still problem rather than a lens problem.
Then place your subject off centre rather than dead in the middle, look for a line in the scene such as a path, a railing or a branch that leads toward your subject, and leave breathing room in the direction the subject is facing or moving. That empty area is negative space, and it stops the frame feeling cramped.
You will know it worked when you can say what each part of the frame is doing. If you cannot, the frame is probably busier than it needs to be.
Step 4: Simplify the background until the subject separates
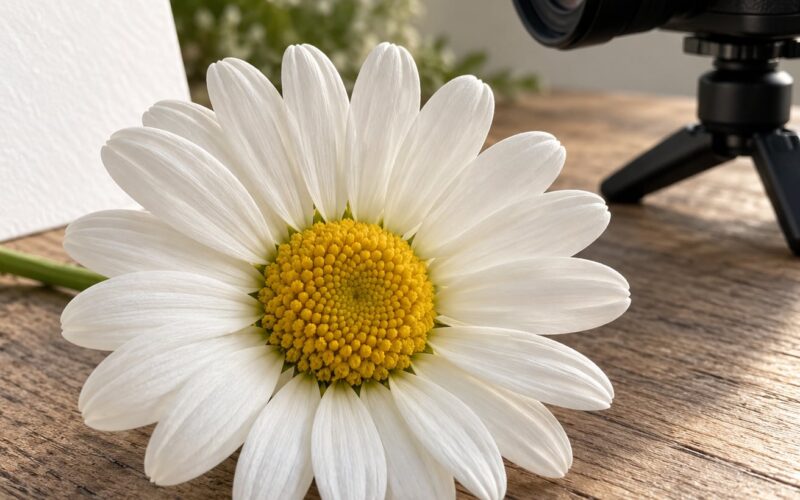
Subject separation is what stops a photo looking amateur. Get closer so the background goes out of focus, or change your height so the background is further behind, or step sideways until your subject is against open shade or a plain surface instead of a tangle of branches and wires.
Check the edges of the frame too. A half-cut person, a stray hand or a branch poking in from the side pulls the eye away from your subject. Zoom in on the preview and check all four edges before you shoot.
You will know it worked when you can point at the subject instantly in a small preview, without hunting for it.
Step 5: Set focus and exposure deliberately
On most cameras and phones, tap or press on the thing that matters most in the frame to focus there, then check the brightness on the screen. If it is too dark, brighten it. If a face or a sky is blown out, dim it. That single tap takes an average guess and turns it into a decision.
When you are ready for more control, aperture priority is the gentle first step off auto. You choose the aperture, the camera picks the shutter speed, and you start learning what depth of field does to a background. A drill that works: make 100 shots on aperture priority at one focal length before you change anything. Same lens, same settings, same walk.
You will know it worked when your subject is sharp where you intended and the focus point never drifts to the background.
Step 6: Stabilise the camera before you press the shutter
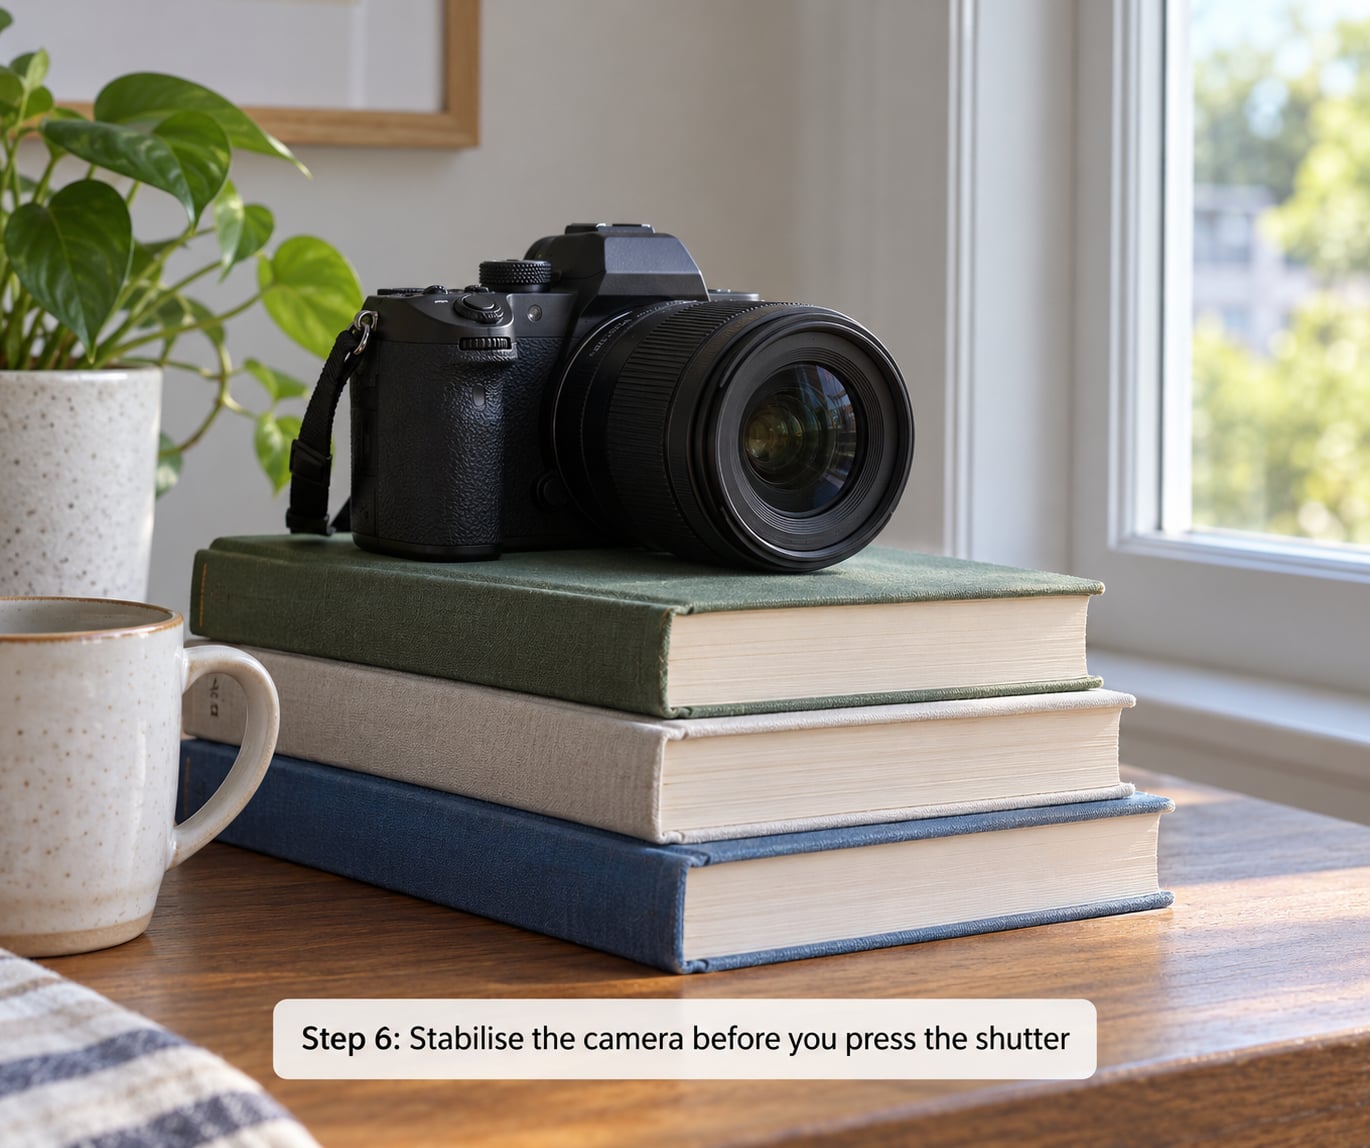
Camera shake is the most common cause of a soft photo, and it has nothing to do with your camera’s resolution. Brace your elbows against your ribs, tuck your arms in, breathe out, and squeeze rather than stab the button. Better still, put the camera on something solid: a table, a wall, a stack of books, folded fabric.
If your camera has a timer or a two-second delay, use it. That removes your own hand from the equation entirely.
You will know it worked when a stationary object, a sign or a brick wall, looks crisp at full size on the camera screen rather than only on a small preview.
Step 7: Change your point of view to change the picture
Same spot, different height, different picture. Walk ten steps one way, then the other, then drop to a crouch. From low, ordinary scenes look longer and more dramatic; from above, patterns and shapes appear that were invisible from eye level.
Focal length changes the look too. A wide view exaggerates the distance between near and far, which makes a building lean away from you. Zooming in compresses everything into flatter, tidier layers. That compression is why distant subjects look stacked neatly behind each other, and you can get a similar effect just by taking a few steps back and cropping in.
You will know it worked when two frames from the same moment feel like different photographs rather than the same one twice.
Step 8: Make small adjustments to the subject, not just the camera
For people and animals, the picture is often decided in the half second before the shutter. Ask your subject to turn their shoulders, look slightly past you, or take a step. Loosen your own jaw, because tension shows in a face, and give people a direction instead of saying smile.
For still life, adjust the objects. Turn a bottle so its label faces you, lift the tallest item off the table and place it behind, and leave a small gap between objects instead of clumping them.
You will know it worked when a stranger can tell which part of the subject you wanted them to look at.
Step 9: Edit with restraint, using tools you already have
A decent free editor is enough for almost everything. The one built into your phone handles exposure, white balance, contrast, cropping and sharpening. Free mobile editors such as Snapseed go deeper if you want control. On a computer, GIMP is free and capable, and if your camera shoots RAW, any free RAW converter will open those files at no cost.
Work in a fixed order: straighten, then crop, then exposure, then white balance, then contrast and colour, then sharpening last. That order stops you over-saturating a photo that was simply underexposed.
You will know the edit has gone too far when shadows turn solid black, highlights clip to pure white, colours look like a filter, or a faint halo appears around edges. If your edit is not obvious to someone who has not seen the original, you have probably gone too far.
Common Mistakes and How to Fix Them
Almost every disappointing photo comes from one of a short list of habits. Here is what each one looks like and what to change.
Shooting through dirty glass or a smudged phone screen. The frame looks hazy and low contrast in a way no lens can fix. Step outside, or clean the surface you are shooting through before you blame your equipment.
Using harsh midday light. Harsh light creates dark eye sockets, hard shadow edges and blown highlights. Move into open shade, wait for the light to soften, or come back an hour before sunset.
Leaving too much empty space in one direction. A subject crammed against the frame edge feels trapped, while a subject floating in the middle with nothing around it feels lost. Move either the subject or your own position until the frame feels balanced.
Letting autofocus land on the background. The scene behind your subject is sharp and the subject is soft. Put the focus point directly on your subject and check the preview before shooting.
Shaking the camera. Everything is soft, including parts you expected to be fine. Brace, or set the camera on something solid. This is the cheapest fix in photography.
Over-editing. If the finished image looks processed rather than photographed, the fix is subtraction. Open the original, compare, and pull sliders back toward the middle one at a time.
Copying someone else’s settings. The settings that worked for a great wide vista will give you a noisy mess at an indoor birthday party. Learn what aperture, shutter speed and ISO each do, then choose them for the scene in front of you.
Treating gear envy as a diagnosis. Community comparison culture is a real trap: the newest camera in the thread is not your photo. If you have been learning for a while and want a real test, print or view your own best frames side by side with work from a photographer whose photos you admire, using the same screen.
A simple repeatable routine
Pick one time of day and one location and go back every week. Bring one drill with you, change one variable only, and shoot a hundred frames. Review them the same evening rather than a month later, and keep two.
To train your eye deliberately, save fifteen photographs by other photographers to a folder and write one sentence on each about why it works. Light, position, or moment. That habit is worth more than any tutorial, and it costs nothing.
Frequently Asked Questions
Can I improve photos with an old phone camera?
Yes. Almost every fix in this guide works the same on a phone, because the limits are the photographer’s, not the sensor’s. Clean the lens, tap the screen to focus and lock exposure, use the widest opening your phone offers, and find softer light. A steady phone at golden hour beats a handheld phone in harsh midday sun every time.
Is a tripod necessary to take sharper photos?
No, not necessary. A tripod is one way to steady a camera, and you can improvise: rest your elbows on your body, brace against a wall, stand on a stack of books, or set the camera on folded fabric. What matters is that nothing moves during the exposure. On a phone, tap to focus, then hold completely still for a second after you press.
How do I fix a blurry photo without buying a new camera?
Blur usually has one of two causes. If the entire frame is soft, the camera moved during the exposure, so brace it or add support. If one area is sharp and the rest is not, focus landed on the wrong spot, so press the focus point directly on what matters. Anything that moves also blurs, so pick a faster shutter speed or work in better light.
Does shooting in RAW make a noticeable difference?
RAW keeps more information than JPEG, which gives you room to recover blown highlights or deep shadows later. It does not rescue a badly lit or badly focused frame, and it will not fix composition. Shoot RAW when your camera allows it, and use a free editor that reads it, such as a RAW converter on a computer or a mobile editor with a RAW option.
What is the best free app for editing everyday photos?
The editor already built into your phone handles exposure, white balance, contrast and cropping well enough for most everyday work. Free mobile editors such as Snapseed go deeper when you want more control, and GIMP is a free option on a computer for larger projects. Learn one editor properly instead of installing six. Depth in one tool beats menus you never explore.
How do I know if I am over-editing a photo?
Open the original beside the edit and compare at full size, then step back to arm’s length and look again. Over-edited frames show clipped highlights, shadows that turn solid black, heavy saturation, or a bright halo around edges from too much sharpening. A useful test is to show the image to someone who has not seen it and ask what stands out first. If they name the filter, you have gone too far.
Start with one habit, not all nine. For the next week, take every shot at the same corner in the hour before sunset, clean your lens once at the start, and make a hundred frames without changing anything else.
When you look at them that evening, you will find your actual weak point, and it will be one you can fix. That is how to improve photos without buying gear, one deliberate hour at a time.