To photograph fast moving kids, set a shutter speed of at least 1/500 second, switch autofocus to continuous tracking (AF-C on Nikon and Sony, AI Servo on Canon), and hold the shutter down in burst mode. Those three levers fix roughly nine out of ten soft or smeared frames, and they take about two minutes to set on any camera or phone.
I spent years getting this wrong with my own kids. I kept pushing the shutter speed higher, wondering why a perfectly exposed shot still had mushy eyes, before I realised the problem was focus tracking, not motion. That mistake shaped everything below.
The guide below runs in eight steps, from picking a location to reviewing a burst on the camera display. It works for a DSLR, a mirrorless body, a point-and-shoot and a phone, because the physics of movement does not change between them. Budget about ten minutes to set up and another twenty to practise before the moment actually matters.
Table of Contents
- What You Need
- Starting points for the camera you actually own
- The settings recipe, by light level and movement
- Step-by-Step: How to Photograph Fast Moving Kids
- 1. Choose a Location With Enough Light for Fast-Moving Kids
- 2. Set the Shutter Speed Before the Action Starts
- 3. Use a Tracking Focus Mode
- 4. Set ISO and Aperture for Your Camera
- 5. Anticipate Movement Instead of Chasing It
- 6. Photograph the Best Part of Each Action
- 7. Keep the Camera Stable While Panning
- 8. Review Bursts and Learn From the Misses
- Common Mistakes That Ruin Fast-Moving Kid Photos
- Frequently Asked Questions
- What shutter speed is best for photographing fast-moving kids?
- Can I freeze children’s movement with a smartphone?
- How do I photograph children running indoors?
- Should I use flash to photograph active kids?
- How do I get sharp photos when my child will not stay still?
- Start With Light and Shutter Speed
What You Need
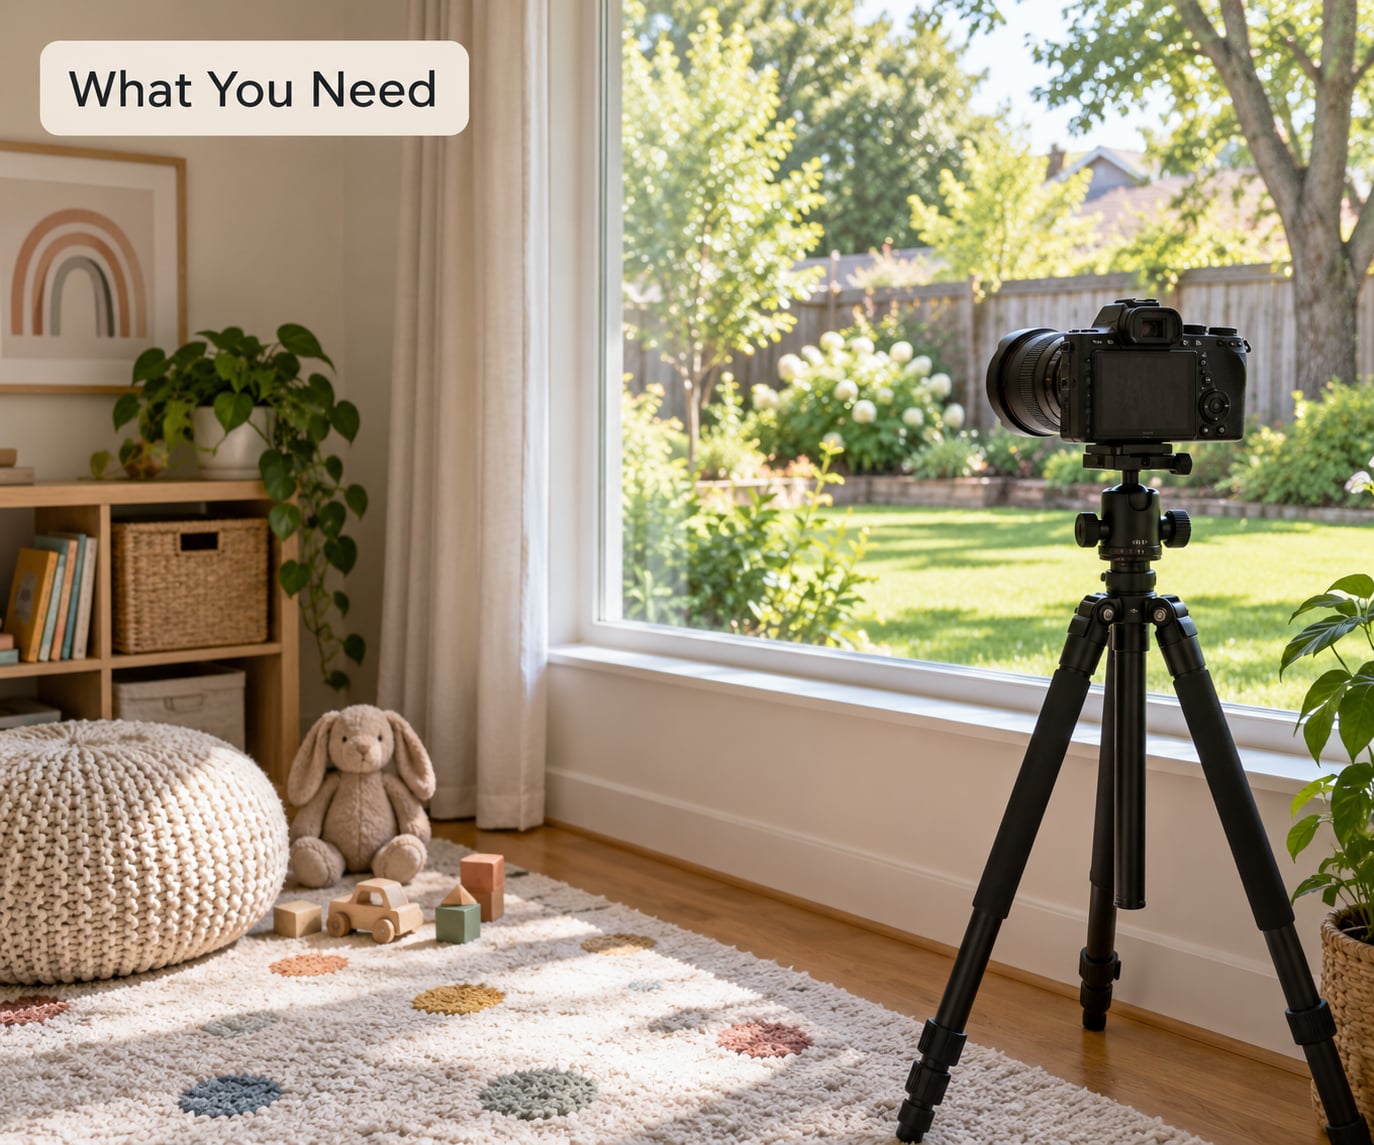
You need light, a camera that fires more than one frame per second, and one decision made before anybody moves: shutter speed. Everything else is compensation for the two things you cannot control, which is a three-year-old’s unpredictability and how fast they run.
Light is the item most people lack. Bright outdoor daylight lets you use 1/1000 second without touching ISO. Indoors, the same speed needs a wide aperture, a high ISO, or flash, and that is where most family photos fall apart.
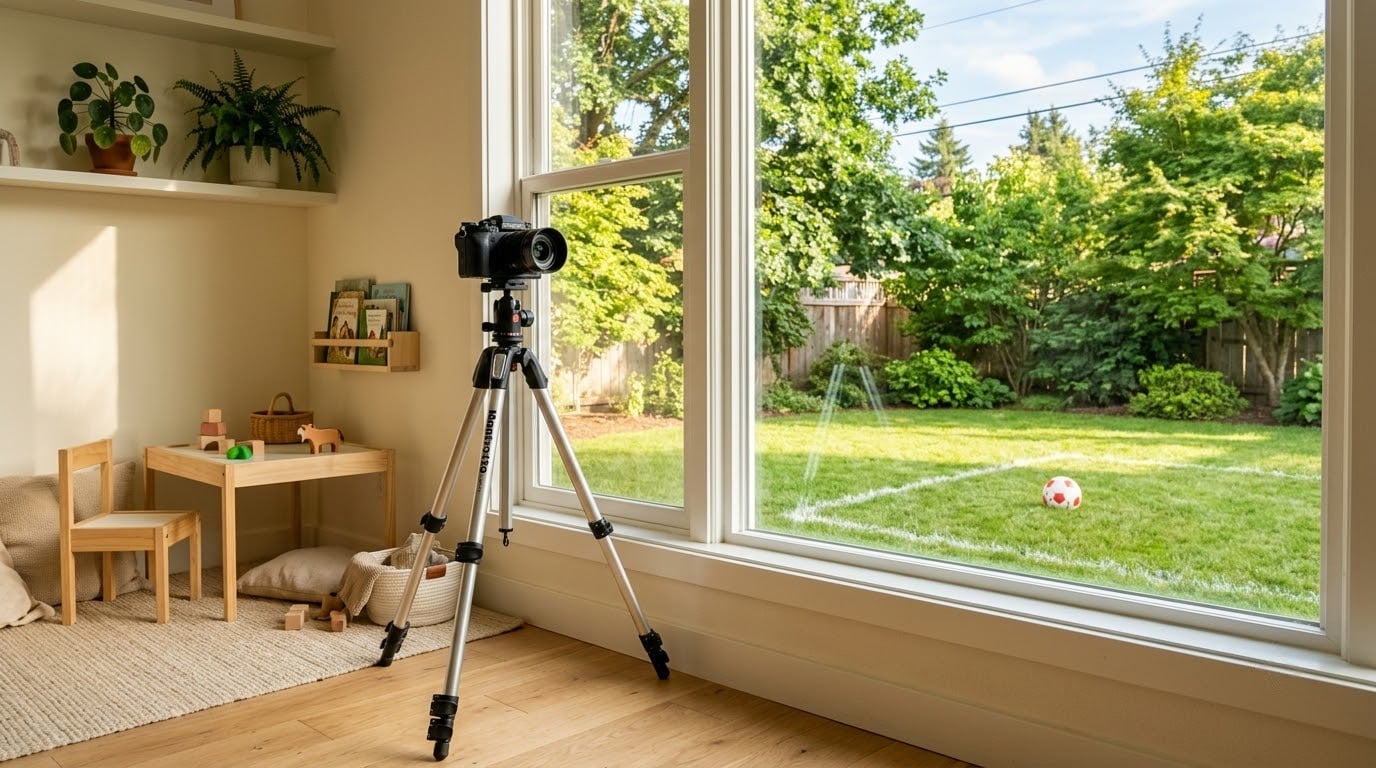
A tripod is useful for framing and panning practice, but it is not a requirement for chasing a running child. Most parents shoot handheld, and a steady grip matters more than the tripod in the bag.
A lens wider than about 35mm keeps more of the room in frame, which means fewer times the child runs out of your field of view. A long lens is harder indoors, because the light loss is severe.
Starting points for the camera you actually own
If you shoot on a phone, set the Live Photo or burst function on, use the rear camera rather than the selfie camera, and use Action mode if your phone has it. Action mode is computational stabilisation, not a faster shutter, and it softens detail slightly while removing a lot of shake.
On a DSLR or mirrorless body, switch the mode dial to shutter priority (S or Tv) for the first pass. That lets you pick the shutter speed and let the camera choose the aperture, with Auto ISO handling the rest.
If your camera has a dial marked with a running figure, that is sports mode. It sets a fast shutter speed and continuous autofocus for you, which makes it a decent starting point before you understand the settings yourself.
The settings recipe, by light level and movement
Copy the row that matches your situation. These are starting points, not rules, and you will adjust them after two minutes of shooting.
| Situation | Shutter speed | Aperture | ISO | Autofocus |
|---|---|---|---|---|
| Bright sun, child running | 1/1000 s | f/5.6 | Auto ISO 100-400 | AF-C / AI Servo |
| Bright sun, child walking | 1/500 s | f/4 | Auto ISO 100-400 | AF-C / AI Servo |
| Open shade, child running | 1/640 s | f/2.8 | Auto ISO 400-1600 | AF-C / AI Servo |
| Living room near a window | 1/250 s | f/1.8 | Auto ISO 1600-3200 | AF-C + burst |
| Dim room or birthday party | 1/125 s | f/1.8 | Auto ISO 3200-6400 | AF-C + flash if possible |
| Sunset or evening sports | 1/800 s | f/2.8 | Auto ISO 1600-3200 | AF-C, zone area |
The pattern behind the table is simple. Faster movement needs a faster shutter, and dimmer light forces a wider aperture, a higher ISO, or both.
Step-by-Step: How to Photograph Fast Moving Kids
1. Choose a Location With Enough Light for Fast-Moving Kids
Pick the brightest spot in the house or yard and make that your base. Indoors, stand three to six feet from a big window with the window behind or beside the child, not behind you, so their face is lit rather than silhouetted.
You will know the light is working if you can read a book comfortably where the child is standing. If the light cannot do that, no setting rescues the shot, and the honest fix is to move the game rather than lower the shutter speed.
Avoid shooting into deep shade with a bright sky behind it. That combination gives you a dark face and a blown-out background, and it is the most common reason an outdoor family photo looks disappointing.
Scout the background for two minutes before anyone starts. Walk to where the action will happen, turn around, and look at what sits behind your child. A fence, a parked car or a cluttered patio will pull the eye out of every frame.
2. Set the Shutter Speed Before the Action Starts
Shutter speed is how long the sensor is exposed, and it is the setting that decides whether movement freezes or smears. The faster the number, the shorter the exposure and the less light reaches the sensor.
The rule of thumb most photographers use is to match the shutter speed to the reciprocal of the subject’s movement per second. A child walking across a room might cross a metre in about a second, so 1/250 s is a sensible floor. A child sprinting toward you covers that distance in a fraction of a second, so 1/1000 s is the safer pick.
Here is the version I actually use, and it is close to the consensus across photography forums: never below 1/250 s for a walking child, 1/500 s as the default for anything faster, and 1/1000 s for running, jumping, or a toddler whose direction changes every second. Parents shooting youth sports converge on 1/800 s or faster for the same reason.
Set this before the running starts, not during it. Chasing a moving child and dialing a dial at the same time is how you get neither.
3. Use a Tracking Focus Mode
Turn autofocus to continuous tracking, because a moving subject will not hold a single fixed point. Canon calls it AI Servo, Nikon and Sony call it AF-C, Fujifilm uses AF-C, and most phones call it continuous AF or Live Photo focus tracking.
Choose a small focus zone rather than a single point. A single point must stay glued on the face by hand, and a wide zone lets the camera choose the nearest subject inside it, which is a much kinder default for a moving child.
If your camera has subject detection or eye detection, switch it on and pick the person or animal setting. Those systems hold the face more reliably than a generic zone, especially when the child moves toward the lens and changes size in the frame.
Back button focus is worth ten minutes of setup if your camera has the button. It splits focusing from the shutter button, which means you can pre-focus on the empty space where your child is about to appear, start tracking the moment they enter it, and never miss the first frame. On a dpreview forum thread about fast-moving children, one regular suggestion was to skip autofocus entirely when the camera cannot keep up, and focus manually on the zone the child will run through.
4. Set ISO and Aperture for Your Camera
A fast shutter speed eats light, and you pay for it in one of two places: aperture or ISO. Open the aperture to gather more light and you lose depth of field, so a face at f/1.8 can fall out of focus on a child only a foot closer than you planned. Raise ISO instead and you keep the depth of field but pick up grain and noise.
Modern cameras handle high ISO remarkably well. A grainy sharp frame of your child mid-run is worth far more than a perfectly clean frame of a blurred one, and photographers on photography forums tend to agree without argument. The forum consensus is simple: crank the ISO and get a usable exposure in the camera rather than rescuing shadows later.
A practical compromise is f/2.8 to f/4 and Auto ISO with a ceiling of around 3200 indoors. Set the ceiling high enough that the camera never refuses your chosen shutter speed, because that is the moment the camera silently drops to 1/60 and ruins the frame.
Kit lenses are wider open at the short end, so a 50mm f/1.8 gathers far more light than a 50mm f/4. That one fact decides most indoor struggles.
5. Anticipate Movement Instead of Chasing It
Watch the setup before you press anything. Toddlers repeat routes. A child on a swing, a scooter, or a chalk drawing will come back to the same spot again and again, which means you can stand where the action will be and wait.
Get low. A camera at a four-year-old’s chest height with a wide lens makes a small person look large, and it removes the adult head-chop framing you get when you shoot down from standing.
Leave room in the direction of travel. A child running to the right of the frame with empty space on the right feels like they are going somewhere, and the same frame with the space on the wrong side feels trapped.
Shoot across their movement rather than straight into it. A child running toward the camera changes size and distance the whole time, which is the hardest case for tracking autofocus. A child running left to right across your frame is far easier to hold.
6. Photograph the Best Part of Each Action
The peak of an action is rarely the start. It is the frame where the knees are highest, the face turns toward you, or the water breaks at the bottom of a jump.
Start the burst slightly early and keep it going slightly late. The reflex cost of a five-frame burst is nothing compared with the cost of a missed moment, and parents on forums describe burst mode as the real multiplier, more than the shutter speed itself.
On a dpreview thread about a fast-moving kid, the recurring advice was to shoot at 5 fps and expect only one or two clean frames from each burst. That framing is right. Treat a burst as a roll of film, not a single shot, and pick the best frame afterwards.
Keep the buffer in mind. A ten-frame burst fills the buffer on many cameras and the rate slows until it clears. Short bursts of three to five frames, fired at the peak, stay at full speed.
7. Keep the Camera Stable While Panning
Panning means rotating the camera smoothly to follow a child crossing the frame, which turns their movement into a sharp subject and the background into streaks. It is the one technique that shows motion instead of hiding it.
To pan, set a shutter around 1/60 to 1/125 s, hold the camera in both hands with elbows tucked in, and start moving the camera before the child arrives. Follow through the move instead of stopping when they stop, then check the frame.
Turn image stabilisation off, or switch it to the panning mode, when you pan with a lens. Stabilisation fights your intentional movement and smears a frame that should be sharp.
A tripod works well here. Set it up facing the route, loosen the head, and pan by hand around the vertical axis.
8. Review Bursts and Learn From the Misses
Look at the frames on the camera display rather than on the phone later. Zoom in to 100% on the face and check three things: are the eyes sharp, is the background sharp, and are the highlights on skin still holding detail?
Zooming in on the back camera display matters because a five-inch screen lies about softness. It is the habit that turns a whole session of blurry frames into one corrected setting.
Make exactly one change before the next attempt. If the faces are soft but the background is fine, the focus missed. If everything is soft, the shutter was too slow. If the skin is blown out, drop ISO by a third.
Spend ten minutes practising here before the real session. Ask the child to run past you ten times. Change one setting between rounds and watch what happens, and the settings will stick in a way that reading never manages.
Common Mistakes That Ruin Fast-Moving Kid Photos
Motion blur from a slow shutter speed is the obvious failure. Arms and legs smear in the direction of travel while the background stays sharp. The fix is a faster shutter speed, and if you cannot afford one, add light rather than accepting the blur.
Missed focus looks different, and telling the two apart saves a lot of wasted effort. With motion blur, the background stays sharp. With a focus miss, the background is sharp and the child is soft, and the softness does not follow the direction of travel. If that is what you see, stop raising the shutter speed and fix the autofocus instead: continuous mode, a smaller zone, subject detection on.
Backlighting is the third common failure. A bright window or sky behind the child leaves the face dark and the background blown out. Turn around so the light falls on the face, or move the child into open shade with a wall behind them.
Chasing the action produces shaky frames and poor composition. It also means you are shooting from whatever angle you ended up at. Standing still and letting the child come to you solves both.
Enormous files slow everything down. Full-resolution RAW bursts fill a card quickly, and a stalled buffer stops your burst rate mid-action. Shooting large JPEGs or RAW at a reduced size keeps the burst fast when the light is good.
One last thing, and it is not a photography tip. Keep the shooting space clear of furniture, glass and hard edges, and never back up while looking through the viewfinder. Move slowly backwards, watch where you are going, and let the frame go if a good picture is not worth a stumble.
Frequently Asked Questions
What shutter speed is best for photographing fast-moving kids?
Use 1/500 second as your default and 1/1000 second for a child running, jumping or changing direction constantly. Walking or sitting children can usually be held at 1/250 second. If your camera will not hold that speed, it is too dark: open the aperture, raise Auto ISO, or add light rather than accepting a slow shutter.
Can I freeze children’s movement with a smartphone?
Mostly, yes, with a few limits. Hold the shutter down to trigger burst on iPhone or tap the shutter timing control on many Androids, turn on Live Photo or continuous AF, and use Action mode where it exists. Phones compute their way out of shake rather than using a very fast shutter, so expect slightly softer detail than a camera at 1/1000 second.
How do I photograph children running indoors?
Put the child in front of the largest window you have, face them toward the light, and shoot across the room so the background stays simple. Set shutter priority at 1/250 second with Auto ISO, continuous autofocus and burst. A wide lens helps, since a tight one loses the subject every time they cross the room.
Should I use flash to photograph active kids?
Flash indoors buys you shutter speed, and shutter speed is what stops the blur, so yes when the room is dim. Bounce it off a ceiling rather than firing straight at faces, which avoids the hard shadows and shiny skin. Outdoors, a pop-up flash has almost no reach, so switch it off and find open shade instead.
How do I get sharp photos when my child will not stay still?
Stop chasing stillness. Ask for a game that produces movement, work at a fast shutter speed with continuous autofocus, and fire short bursts at the peak of the action. Then pick the best frame from each burst. Reviewing at 100% zoom on the camera display tells you quickly whether a soft frame is motion blur or a focus miss.
Start With Light and Shutter Speed
The first adjustment to make is the one most people skip: pick the brightest spot in the room or yard and put the action there. Everything else in how to photograph fast moving kids depends on that one decision, because a fast shutter speed without light is a setting the camera cannot deliver.
Once the light is right, the recipe is short. Shutter speed at 1/500 second or faster, continuous autofocus with subject detection if your camera has it, burst mode on, Auto ISO with a ceiling that does not drag the shutter down, and short bursts of three to five frames fired at the peak of the action.
Then look at what you made. Sharp face on a sharp background means it worked. Soft face with a sharp background means the focus missed, and the shutter speed was never the problem.
Practise it somewhere familiar and uncluttered first, ten rounds of a child running past you, before you try a birthday party or a school sports game. Once the settings feel automatic, the whole thing stops being a camera problem and starts being about enjoying the moment.