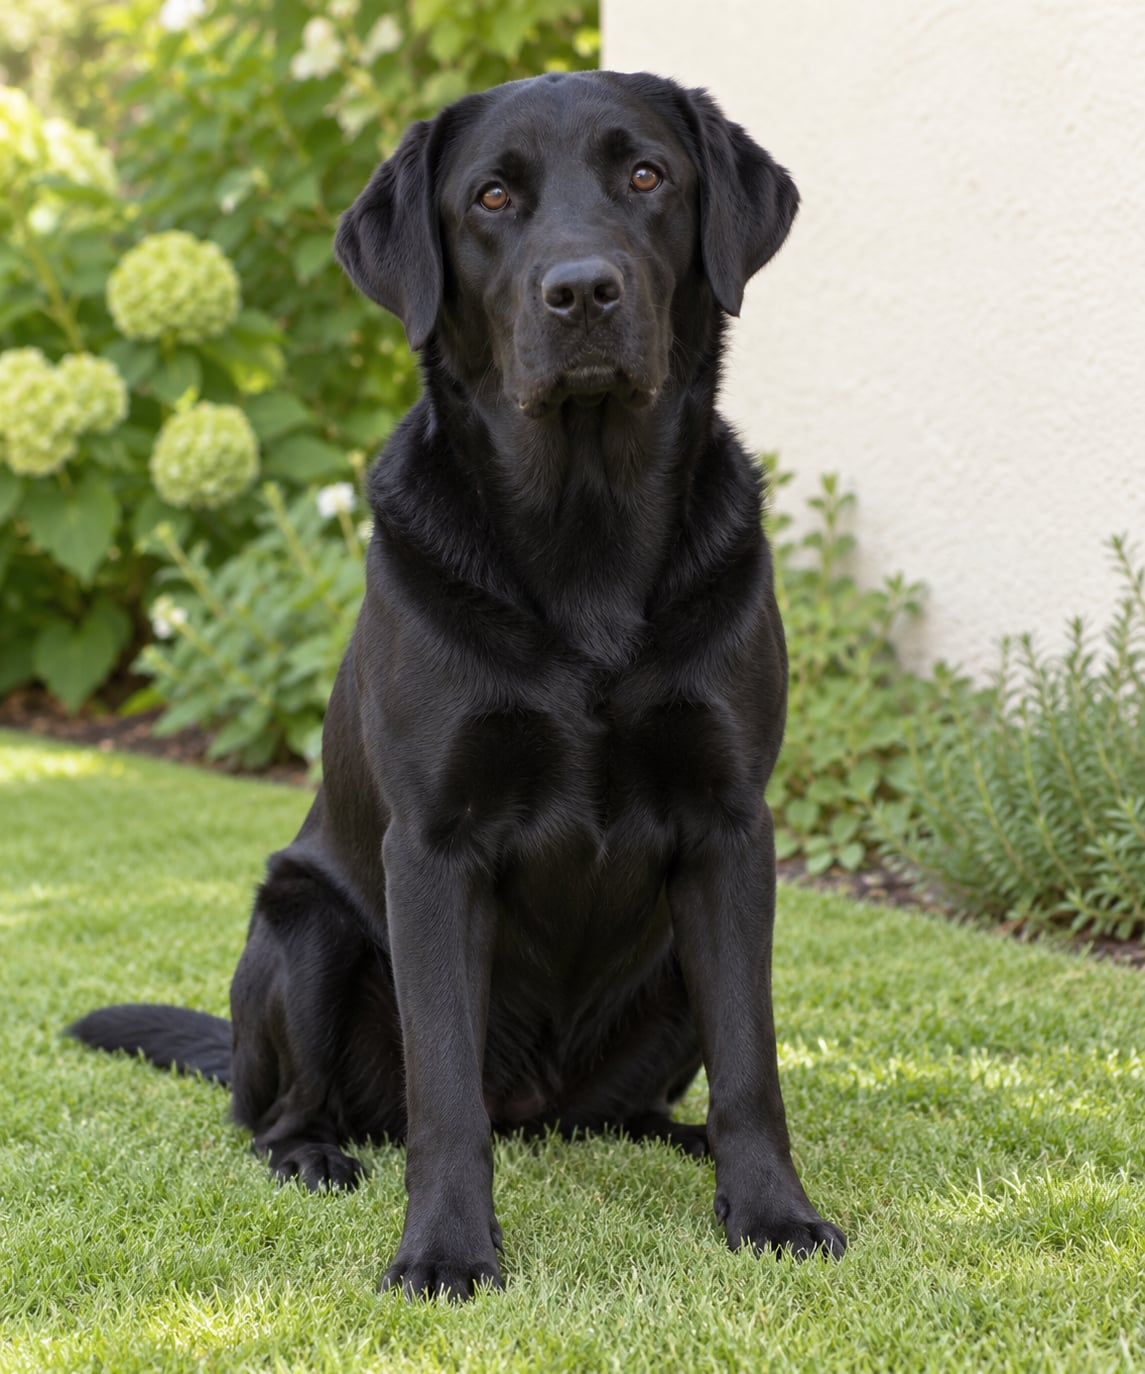
Photographing a black dog comes down to three things: soft light on the face, an exposure set brighter than your camera’s meter suggests, and a background that is a different tone from the coat. Get those right and the fur keeps its texture, the eyes catch the light, and the expression reads clearly. It takes about ten minutes of shooting once you know where to stand.
Most people struggle with black dogs because the camera’s light meter aims for middle grey. Black fur reflects very little light, so the meter assumes the dog is underlit and brightens the whole frame. You get a grey, washed-out coat, or a bright background with a featureless black shape in the middle. The cure is to stop letting the meter decide.
If you have been searching for how to photograph a black dog without losing the coat to grey, this guide covers what you need, a step-by-step workflow, and the failure modes that show up in almost every bad black dog photo. It works with a phone or a camera with physical dials.
Table of Contents
- What You Need
- Step-by-Step
- Choose a bright, soft location
- Expose for the black fur
- Frame the eyes and expression
- Use treats and short sessions
- Try different backgrounds
- Common mistakes
- Frequently Asked Questions
- How do I photograph a black dog without losing detail in the fur?
- What is the best lighting for photos of a black dog?
- Can I take good black dog photos with my phone?
- What camera settings help me photograph black fur clearly?
- How do I make a black dog stand out from the background?
- How do I get sharp eye focus when photographing a black dog?
- What to do first on your next shoot
What You Need
The list is short, and none of it is expensive.
- A camera or phone. A phone’s rear camera handles this well if you control exposure manually. A camera with manual or shutter-priority mode gives you more room when the light is awkward.
- A bright, open location. Shade from a building, tree or fence, an overcast sky, or late afternoon sun behind you. That is doing most of the work.
- Treats and a favourite toy. Small, smelly, and used for one behaviour at a time.
- A helper. Someone who can hold the toy or say the dog’s name while you shoot. Ten minutes of help beats twenty minutes of failed frames.
- A white reflector or a sheet of white foam board. Cheap and genuinely useful for bouncing a little light into a shadowed face.
Skip anything sold as a “black dog photography kit”. The difference between a grey dog and a well-photographed dog is where you stand and what you point the camera at, not the accessory.
Step-by-Step
Choose a bright, soft location
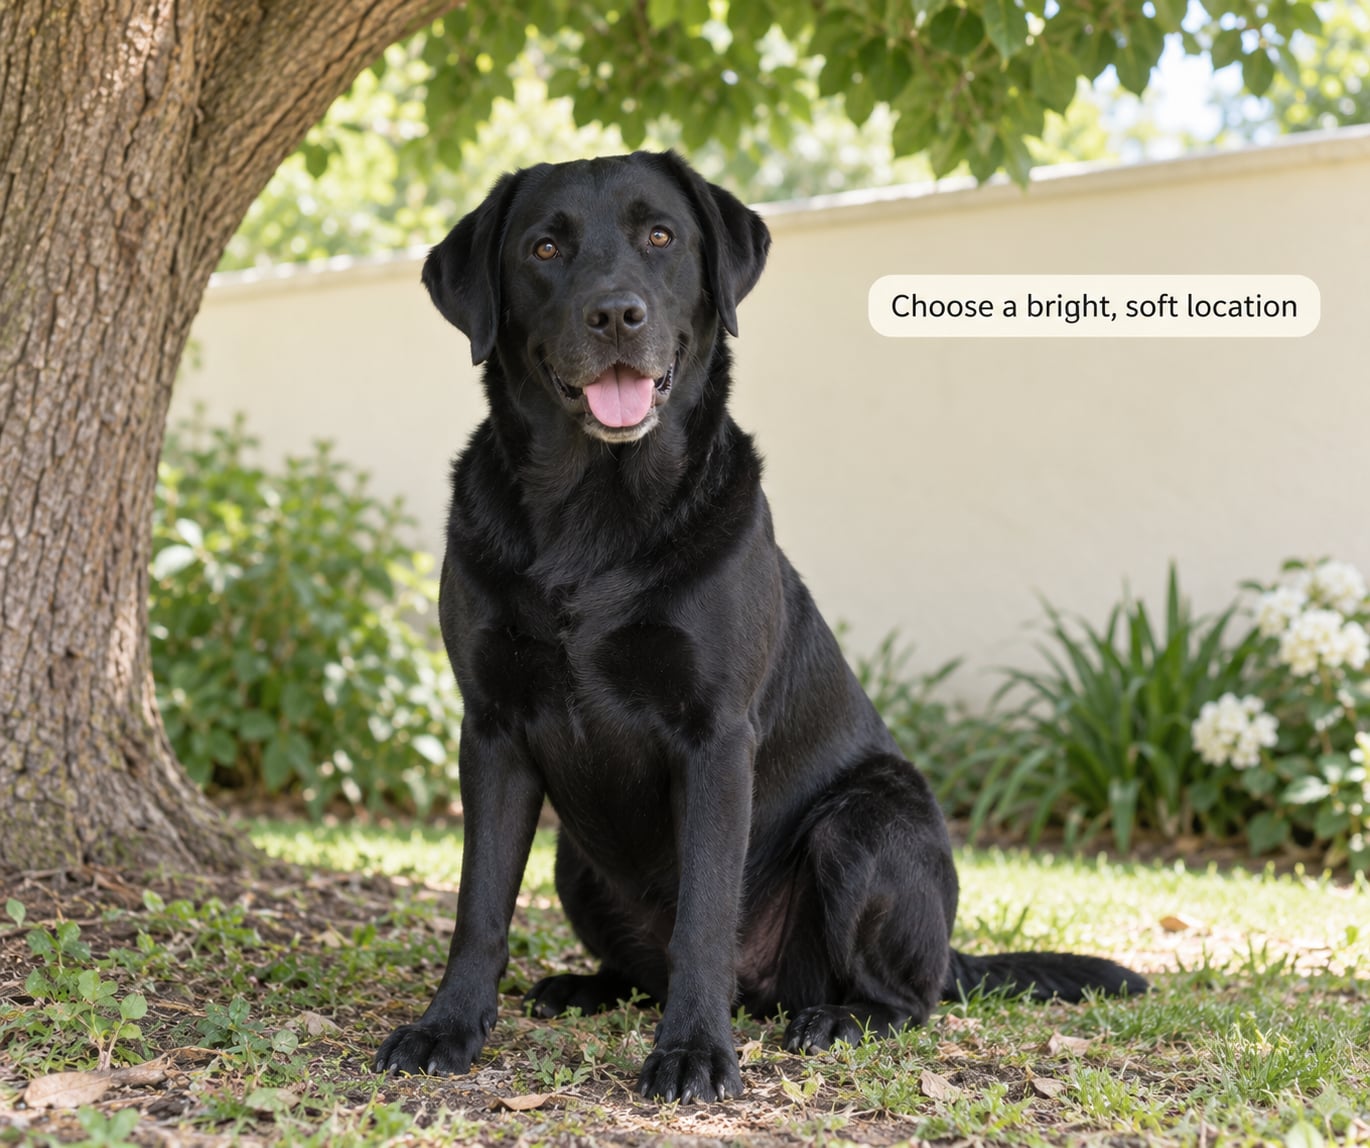
Stand in open shade or shoot under an overcast sky, and put the light source in front of the dog, not behind it. The sun behind you means the face is lit; the sun behind the dog gives you a rim of light around the edges and a dark face, which is a deliberate look but not a useful default.
Avoid direct midday sun on black fur. The coat is a glossy black surface, so hard light bounces off it and lands as bright patches on the nose, chest and shoulders. Clouds act as a giant softbox and are the easiest light you will ever find for this.
Expose for the black fur
Switch the camera out of fully automatic mode. With spot or partial metering, point at the dog’s fur rather than the whole scene, then add between +0.3 and +0.7 stops of exposure compensation. That counteracts the meter trying to brighten a dark subject into grey.
Check the histogram. You want the fur sitting just off the left wall, not pinned against it, and not bunched up against the right. If the coat is flat and featureless, add another third of a stop. If the brightest parts of the fur are clipping to pure white, take a third back.
If the background is much brighter than the dog — sky, water, a white wall — some clipping there is the better trade. A bright sky behind a well-exposed black dog still looks like a good photograph. A grey dog under a perfect sky does not.
| Lighting situation | Mode | Metering | Exposure comp | Aperture | Minimum shutter | ISO |
|---|---|---|---|---|---|---|
| Open shade | Manual | Spot on fur | +0.3 to +0.7 EV | f/2.8 to f/4 | 1/500s | Auto ISO, capped at 3200 |
| Overcast | Manual | Spot on fur | +0.3 to +0.5 EV | f/2.8 | 1/500s | Auto ISO, capped at 3200 |
| Golden hour, sun behind you | Aperture priority | Spot on fur | +0.3 EV | f/2.8 to f/5.6 | 1/500s | Auto ISO, capped at 1600 |
| Harsh sun, dog in shade | Manual | Spot on fur | +0.3 EV | f/4 | 1/1000s | Auto ISO, capped at 800 |
| Backlit, silhouette | Manual | Evaluative on whole frame | -1.0 to -1.7 EV | f/5.6 | 1/1000s | Auto ISO, capped at 800 |
| Indoors by a window | Manual | Spot on fur | +0.7 to +1.0 EV | f/2 | 1/250s | Auto ISO, capped at 6400 |
There is an argument for shooting slightly darker instead, to protect the fur from blowing out. The rule that resolves it: shoot RAW, expose to keep the coat textured, and fix the rest in editing. A RAW file holds more shadow detail than any JPEG, so a slightly dark frame is recoverable and a clipped white coat is not.
Shoot in RAW whenever the camera allows it. It is what makes the “raise the shadows later” advice possible.
Frame the eyes and expression
Drop the camera to the dog’s eye level. Shooting down from standing height flattens the face and puts you in a position that reads as dominance. Crouching or lying on the ground puts you where the dog actually is.
Put the eyes on an upper third of the frame rather than dead centre, and focus on the near eye. On dark fur, contrast-based autofocus sometimes grabs the background instead, so switch on eye-detect autofocus if your camera has it, or use a single focus point placed on the eye.
Watch for catchlights — the small bright reflection of the sky or window in the eye. They matter more on a black dog than on any other subject, because there is no other brightness in the frame to carry the expression. A white reflector below and beside the camera face can put one there when the sky is flat.
Long fur falling over the eyes is a separate problem from lighting. Wipe the fur back around each eye with a damp flannel so it clumps away from the face, or ask the dog to shake it out right before you shoot.
A wider aperture such as f/2.8 softens whatever is behind the dog and separates the black outline from it. That separation is worth more than sharpness in a busy location.
Use treats and short sessions
Dogs cannot hold a pose. Trying to keep one for twenty seconds produces a stiff dog with a fixed stare, and by then you have missed the frame you wanted.
Shoot in bursts of three to five frames instead, and release a treat between bursts. One behaviour per burst: look at the camera, then sit, then walk toward me. Use the dog’s name, a squeaky toy, or a sound they already respond to — a treat held low draws the eyes downward and ruins the frame.
Ten focused minutes will beat an hour of walking around. Many dogs get restless and start avoiding the spot once the session drags on.
Try different backgrounds
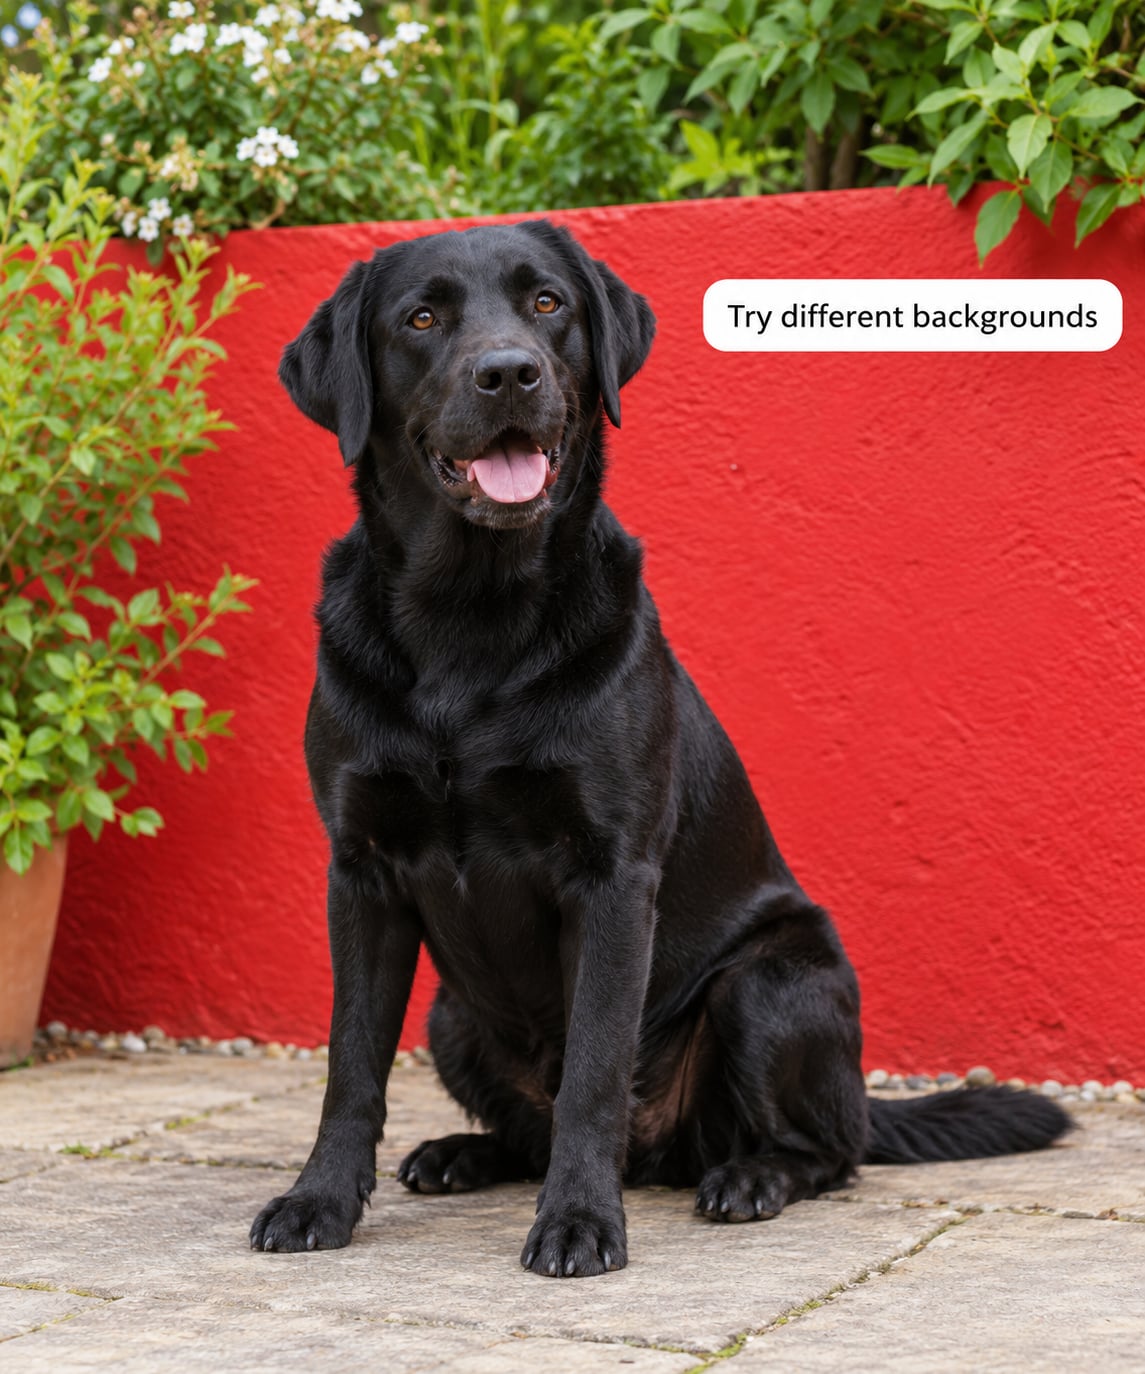
A black dog disappears into dark grass, shadow, a dark sofa or a black car. Give the outline something to sit against: a pale wall, a light wooden fence, snow, sand, or a mid-tone path.
Colour works too. Green foliage, autumn red and orange, blue sky, a yellow wall, even a purple door. Anything noticeably lighter than the coat gives you separation, and colour adds interest without needing a second subject.
Avoid blown-white backgrounds inside the frame as much as dark ones. The camera reads a large bright area and darkens the whole shot, which is one of the most common reasons a black dog photo comes out muddy. If you must shoot against a white wall, step back so it takes up less of the frame, or expose for the dog and accept a slightly hot wall.
Common mistakes
Leaving the camera on automatic. The meter sees a dark subject and over-brightens. Switch to manual or shutter priority, use spot metering and add positive exposure compensation.
Choosing a dark background. Dark fur against dark grass or furniture gives you an outline and nothing else. Move the dog, the camera, or both.
Shooting from above. A standing photographer looks down on the dog. Get down to eye level and the expression comes with it.
Skipping catchlights. Without a reflection in the eyes, a black dog’s face reads as flat and lifeless. Turn the dog toward a window or open sky, or bounce a white card back into the face.
Running long sessions. Attention drops fast. Short bursts, one behaviour at a time, then stop while the dog is still enjoying it.
Lifting shadows too far in editing. Drag the shadow slider until fur texture reappears and then stop. One more click and the coat turns mid-grey and lifeless. If the eyes look flat, use a local adjustment or adjustment brush on the face rather than moving the global shadow slider.
One more that catches people out: blue. Black fur reflects sky light and picks up a strong blue cast, the effect some photographers call a “smurf dog”. Correct the white balance first, then check the saturation and use the HSL panel to pull blue down in the blacks before touching anything else.
Frequently Asked Questions
How do I photograph a black dog without losing detail in the fur?
Put the dog in soft light such as open shade or an overcast sky, meter on the fur with spot metering, and add about +0.3 to +0.7 stops of exposure compensation to cancel out the camera’s brightness compensation for a dark subject. Shoot RAW so you can lift the shadows later, and watch the histogram to make sure the coat is textured rather than flat on one side or clipped white on the other.
What is the best lighting for photos of a black dog?
Soft, indirect daylight from in front of the dog. Open shade, an overcast sky, or late afternoon sun with the dog facing it all work well. What you want to avoid is direct overhead sun, which bounces off glossy black fur and creates hot patches on the nose and chest. Indoors, a large window is a good stand-in for open sky.
Can I take good black dog photos with my phone?
Yes. Tap on the dog’s fur to set exposure, then drag the brightness slider up slightly rather than leaving it where the phone puts it. Hold the phone at the dog’s eye level, avoid digital zoom by stepping closer, keep HDR on so shadow detail survives bright skies, and shoot in RAW or ProRAW if your model supports it. Portrait mode blurs edges on fur, so use it sparingly.
What camera settings help me photograph black fur clearly?
Use manual or shutter priority with spot metering on the fur, positive exposure compensation between +0.3 and +0.7 stops, an aperture around f/2.8 to f/4 for separation, and a shutter speed of at least 1/500s so movement stays sharp. Auto ISO with a sensible ceiling is fine in shade. Increase ISO rather than dropping the shutter speed when the dog will not sit still.
How do I make a black dog stand out from the background?
Put something noticeably lighter behind the dog: a pale wall, a light path, sand, or snow. Mid-tone or saturated colours such as green foliage, autumn orange or a blue sky also separate the outline well. Avoid dark grass, shadow and dark furniture, which merge with the coat, and avoid a large blown-white area inside the frame, which makes the camera darken the dog to compensate.
How do I get sharp eye focus when photographing a black dog?
Use eye-detect autofocus if your camera offers it, and if it does not, place a single focus point directly on the near eye. Shoot from the dog’s eye level rather than above, where the head angles down and the eyes turn away from you. A wider aperture isolates the face from the background, but keep your shutter speed at 1/500s or faster so the eyes stay sharp.
What to do first on your next shoot
Find shade, put the light in front of the dog’s face, crouch to eye level, and find a background a couple of stops lighter than the coat. Then take the camera off automatic, meter on the fur, and add half a stop of exposure compensation. That single change fixes most of the bad black dog photos I see, and it costs nothing. The workflow has not changed much in a decade, and it works the same whether you shoot every day or once a year.