Most common beginner photography mistakes to avoid come down to a handful of habits: standing too far back, shooting whatever the camera decided to focus on, trusting Auto in bad light, and editing until the picture looks processed rather than photographed. None of them need better equipment to fix. They need a few new habits, and the good news is that each one corrects in a week or two of deliberate practice.
I have watched a lot of beginners pull out a capable camera and produce flat, blurry, badly framed shots, then assume the camera is at fault. Usually the camera was doing exactly what it was told in a scene that needed a decision. Once someone starts making those decisions themselves, the same body produces noticeably better pictures within a month.
Below is a diagnostic list. For each mistake you get the symptom you will actually see in your files, why it hurts, and the specific habit that corrects it. If you have a folder of photos that disappointed you, work down the table and match the symptom to the cause.
Table of Contents
- 12 Common Beginner Photography Mistakes to Avoid at a Glance
- How to use this list when your photos go wrong
- 1. Waiting Until the Subject Is Too Far Away
- 2. Ignoring the Background
- 3. Tilting the Camera Without a Reason
- 4. Placing the Subject Dead Center Every Time
- 5. Using Too Many Filters or Editing Effects
- 6. Focusing on the Background Instead of the Subject
- 7. Shooting Through Dirty Glass or Obstructions
- 8. Relying on the Camera’s Automatic Exposure in Difficult Light
- 9. Shutter Speed Too Slow for Movement
- 10. ISO Always Set Too High or Too Low
- 11. Cropping Feet or Heads Accidentally
- 12. Not Checking the Histogram or Taking Test Shots
- Frequently Asked Questions
- What are common mistakes beginner photographers make?
- Why are my photos blurry?
- Is it bad to shoot in auto mode as a beginner?
- Should beginners shoot in RAW or JPEG?
- How do I know if my exposure is correct?
- What do photographers struggle with the most?
- Conclusion
12 Common Beginner Photography Mistakes to Avoid at a Glance
Read the table as a lookup. Find the thing your photos are doing wrong, then read the full section underneath for the fix.
| Mistake | Symptom in your photos | One-line fix |
|---|---|---|
| Standing too far away | Subject is small, faces are unreadable | Move in, or zoom until details fill the frame |
| Ignoring the background | A pole grows out of someone’s head | Check every edge before the shutter |
| Accidental tilt | Horizons and buildings lean | Turn on the electronic level |
| Centering every subject | Images feel flat and static | Place the subject off-centre, leave room toward the gaze |
| Heavy filters and presets | Halos, crushed blacks, posterized skies | Edit the real image plus ten percent |
| Focus on the background | Sharp fence, soft person | Single-point autofocus on the eye or nearest edge |
| Shooting through glass or barriers | Overall haze and flare, low contrast | Clean the lens and remove the obstruction |
| Trusting Auto in hard light | Black faces under a white sky | Watch the histogram, dial in exposure compensation |
| Shutter speed too slow | Blur on people and at night | Handheld floor of 1/250s for people, faster for motion |
| Wrong ISO habit | Grainy night shots or daytime blur | Set the lowest ISO the light allows |
| Awkward crops | Limbs cut at the joints, half a head | Step back, check the whole frame, then crop in |
| No test shot, no histogram | Blown highlights, focus missed, wasted sequences | Check the histogram, take one test frame, then commit |
How to use this list when your photos go wrong
Start with sharpness, because an out-of-focus photo cannot be rescued later. Then check framing and background, then exposure. Edit last, and only if the shot is worth keeping.
1. Waiting Until the Subject Is Too Far Away
Standing back is the most common framing error, and it is the easiest to undo. Distance shrinks your subject, and a small face has almost no expression left in the pixels.
Move your feet instead of your focal length first. Take two steps closer and compare the two frames on the camera screen, not on a phone at arm’s length. When you physically cannot get closer, switch to a longer focal length rather than cropping a wide shot in software, which throws away resolution you already had.
For a group at a park, walking to the edge of the group usually beats any lens. The scene stays intact because you changed position, not the whole setup.
2. Ignoring the Background
The background competes with your subject for attention, and it wins more often than beginners expect. A bright window, a road sign, or a tree branch lined up behind a head is the classic offender.
Make it a habit to scan the four edges of the frame before pressing the shutter. Not the whole image, the edges, because that is where stray objects hide. Then either change your step by half a metre or wait for the person to shift.
Deliberate background blur helps, but it is not a licence to ignore what is behind your subject. Wide open apertures soften backgrounds; they do not remove a bright white van.
3. Tilting the Camera Without a Reason
A tilted camera is a decision only when you make it on purpose. Accidental tilt reads as a mistake because the viewer expects straight architecture to be straight.
Turn on your camera’s electronic level or gridline overlay. On most mirrorless and DSLR bodies this is a single menu item or a button press, and it works in live view. Hold level and press the shutter halfway to confirm the indicator is centred before you frame fully.
Reserved for intent, a Dutch angle works well in film-noir scenes or energetic street frames. Everywhere else, level.
4. Placing the Subject Dead Center Every Time
Centering every subject is safe and dull. Symmetrical subjects deserve it; a person walking down a path usually does not.
Use negative space instead. When someone faces or moves toward one direction, leave extra room on that side of the frame, and the image gains a sense of where things are going. Turning on the rule of thirds gridlines is the fastest way to break the centering habit, because it makes the off-centre positions obvious on the screen.
Try a simple test: shoot the same scene centered and on the thirds, then decide which one you would hang on a wall. Most people pick the second one and cannot say why.
5. Using Too Many Filters or Editing Effects
Over-processing is the most visible beginner signature. Strong presets, heavy vignetting, aggressive clarity and saturation sliders push images past the point where they look like a place rather than a photograph.
The rule I use is reality plus ten percent. Match the brightness and general colour of what you saw, then add a small amount of contrast and a modest vibrance bump. Vibrance protects skin tones and already-saturated areas while saturation pushes everything, including reds, straight into poster territory.
Check your edit on a display you trust, and look at it at thumbnail size too. Heavy edits often look fine at 100 percent and fall apart on a small screen. Beginners regularly over-sharpen as a result, which creates crunchy halos around edges that were previously clean.
There is one free way to catch most of this: print your best shot at a large size once a month. Flaws that hide on a backlit monitor become obvious on paper.
6. Focusing on the Background Instead of the Subject
Autofocus picks a target based on contrast, proximity and scene recognition, and in a busy frame it regularly picks the wrong thing. A fence with strong edges will beat a face in low contrast.
Switch the camera to single-point or spot autofocus, put the point exactly where you want sharp, and take the shot. On a moving subject, use subject tracking or animal detection if your body offers it, but verify the box lands on the right thing before the burst.
Back-button focus, where focusing is assigned to a rear button instead of the shutter, is worth learning early because it separates focusing from taking the picture. It costs nothing on any camera with a customizable button.
7. Shooting Through Dirty Glass or Obstructions
Window glass, fences, branches, and a lens front element covered in fingerprints all add haze and flare. The picture looks flat and slightly washed, and no editing pass brings the contrast back.
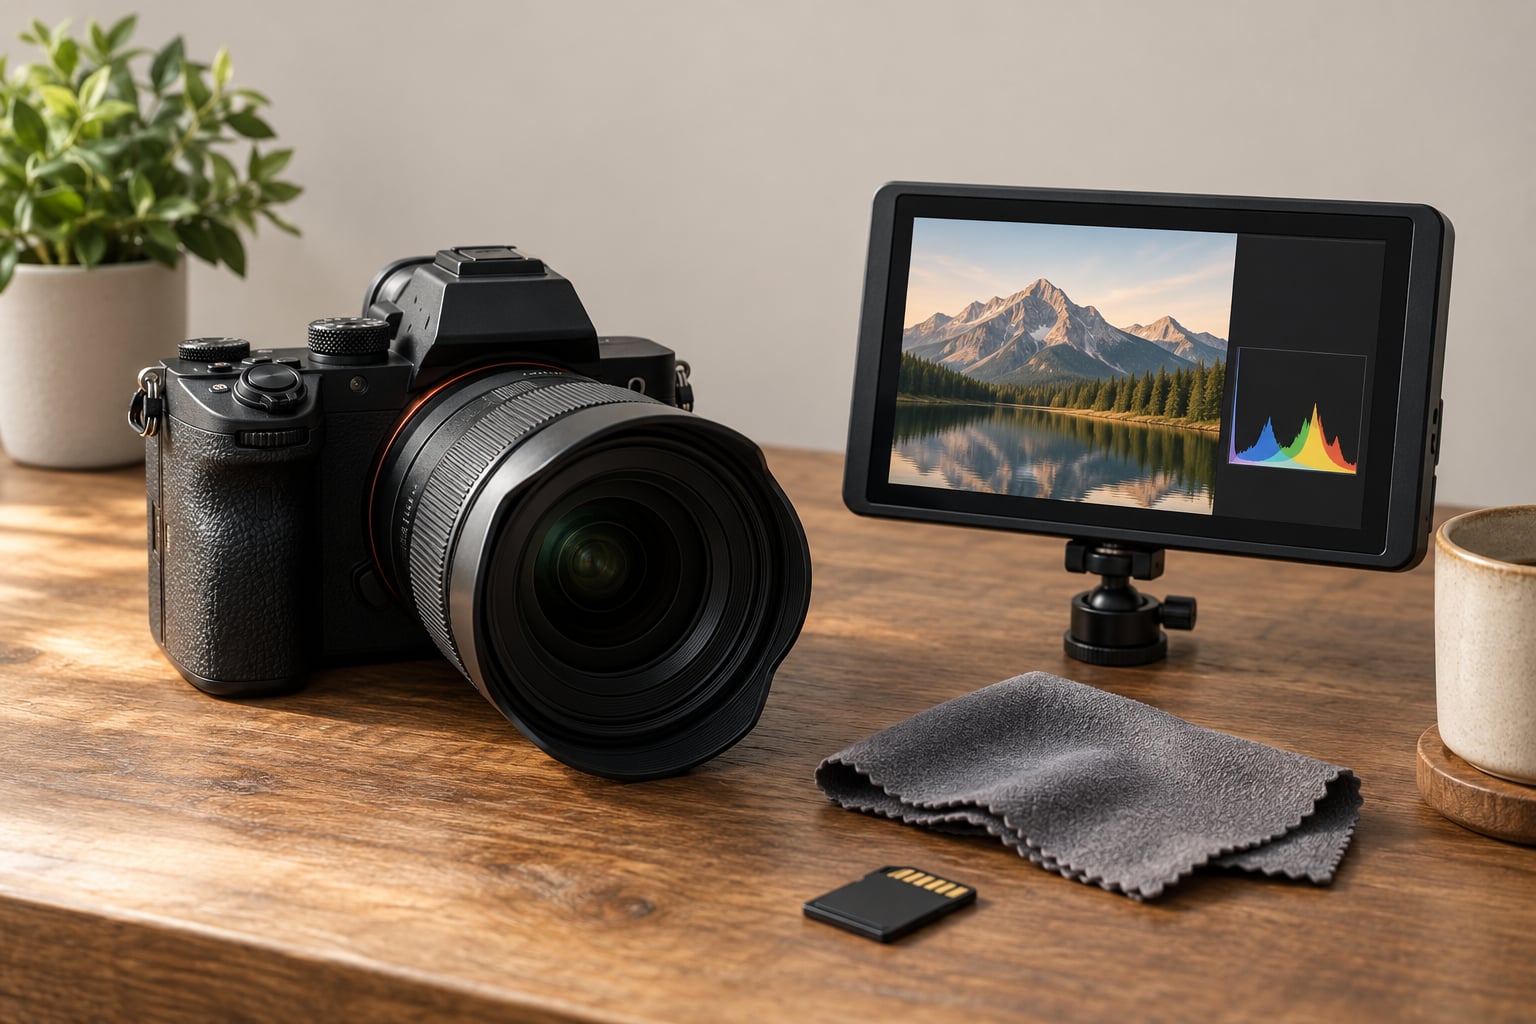
Keep a cloth in the bag and clean both the front element and the window before you shoot, and turn the camera slightly so reflections of your own body or the room fall out of frame. When a fence is in the way, get your lens through a gap rather than shooting between bars.
For a phone, the same advice applies to the case and the screen protector. A scuffed protector in front of a lens costs you more sharpness than most beginners expect.
8. Relying on the Camera’s Automatic Exposure in Difficult Light
Auto exposure reads the whole frame and tries to make it average. Under a bright sky, that average makes your subject’s face too dark, which is the single most common exposure complaint beginners bring to photo forums.
Two fixes cover most cases. In aperture priority, turn on exposure compensation and dial in positive values until the face looks right on the rear screen, usually between plus 0.7 and plus 2 stops depending on the light. Or use spot metering and place the spot on your subject’s face, so the meter reads the part you care about.
Auto is not broken, it is just solving a problem you did not ask for. Knowing which mode to change, and by how much, is the whole skill.
9. Shutter Speed Too Slow for Movement
Blurry photos are the most repeated beginner complaint, and they have three separate causes: subject movement, your own movement, and missed focus. Diagnose which one before changing anything.
Use 1/250s as your handheld floor for people who are standing or walking slowly, 1/500s for active gestures, children and pets, and 1/1000s for sport or anything that crosses your frame quickly. Below 1/60s handheld, you also add camera shake, which is a separate problem from the subject moving.
When the light will not allow a fast enough speed, stabilization helps but has limits, especially with slow subjects in the frame. A tripod solves both shake and speed at once, and most beginners who struggle with blur after a few months find they were holding a camera too slowly the whole time.
10. ISO Always Set Too High or Too Low
ISO is the third lever of the exposure triangle, and treating it as something to avoid creates its own problems. Beginners who refuse to raise ISO end up with a shutter speed too slow for movement.
Work in this order: set the shutter speed the subject needs, set the aperture you want for depth of field, then raise ISO only as far as necessary to get there. In daylight, ISO 100 is your starting point. Indoors with a fast lens, ISO 1600 to 3200 is normal and looks far better than a blurred frame shot at ISO 400.
Modern sensors handle high ISO well enough that noise is a smaller problem than motion blur, which is a difficult trade to reverse.
11. Cropping Feet or Heads Accidentally
Close framing feels intimate and often looks accidental. Cutting a person at the ankles, mid-wrist, or across the top of the head pulls attention to the edge of the frame, where the eye does not want to rest.
The habit that fixes it is a step back and a full-frame check before you move in. Look at the bottom edge, then the top, then the two sides. Watch for other objects that sit awkwardly on an edge, such as a lamp post tangent with your subject’s shoulder.
Once the framing is right, you can always crop tighter in software. A clean full frame gives you options that a badly cropped original never will.
12. Not Checking the Histogram or Taking Test Shots
Checking the rear screen after the fact is how beginners miss problems that are already baked in. Two habits prevent the worst of it, and both are free.
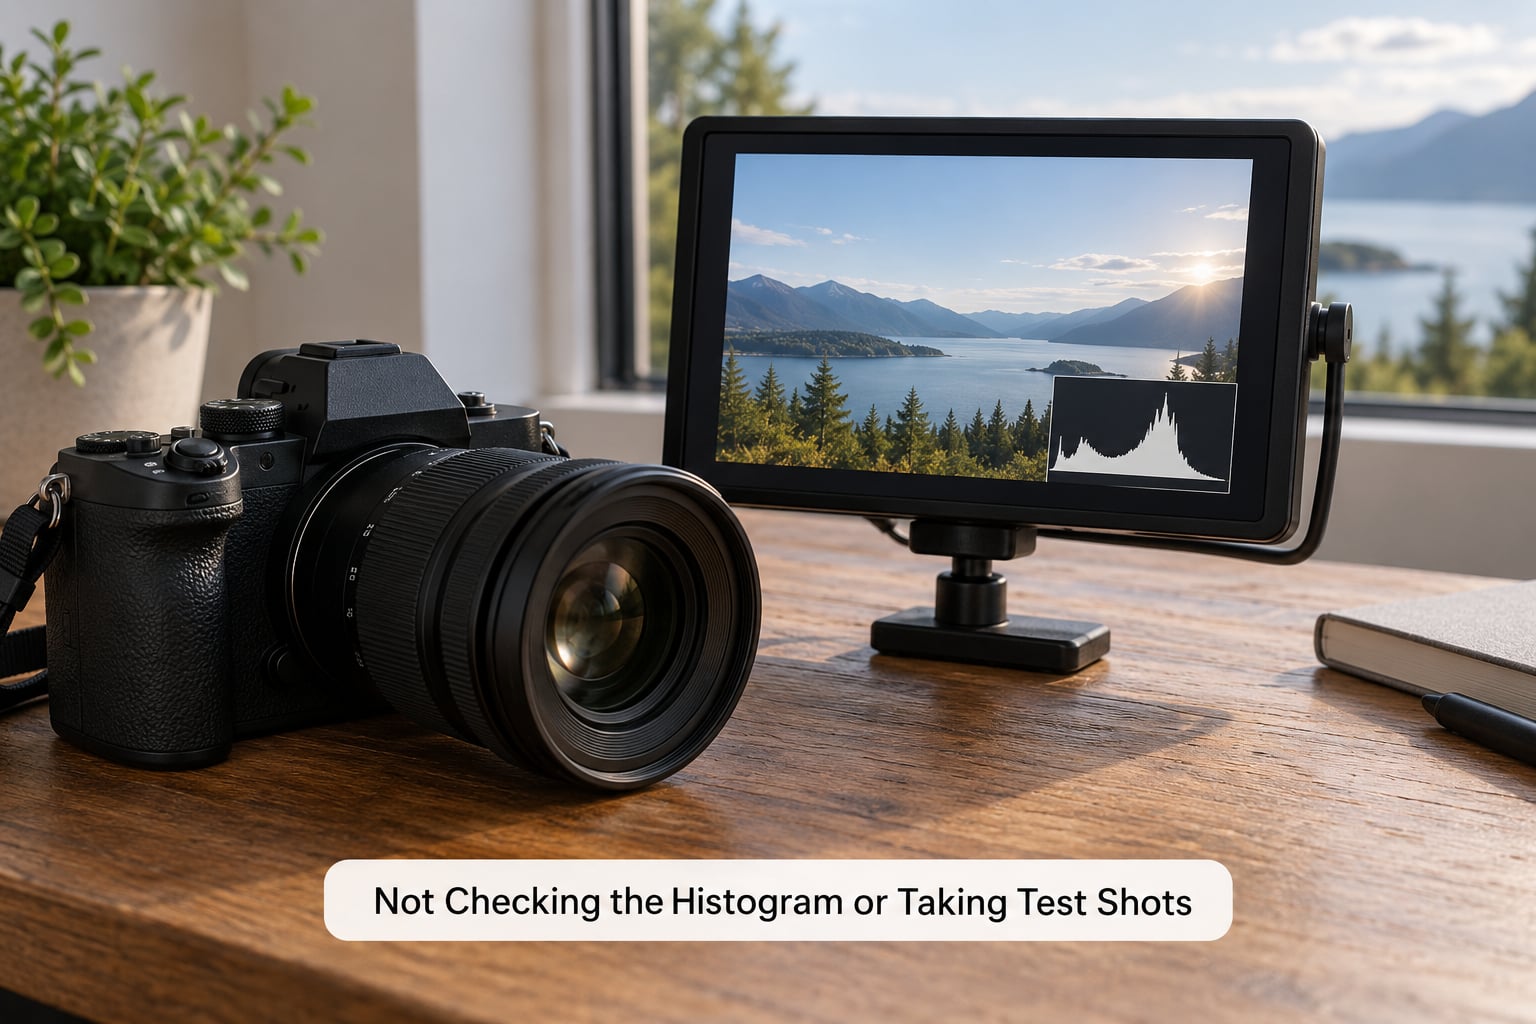
First, the histogram. In playback, a graph of tones from black to white shows you where your exposure landed. Anything pressed hard against the right edge means blown highlights, which means detail your camera cannot recover later. A peak shoved against the left edge means blocked shadows. The trick is to expose slightly darker than the histogram looks ideal, because a little underexposure is recoverable and clipped white is not.
Second, take one test frame before a sequence. Shoot, check sharpness, histogram and framing on the camera screen, adjust once, then commit to the rest. A ten-second check can save forty unusable frames, and it builds the habit of controlling a shoot rather than reacting to it.
Frequently Asked Questions
What are common mistakes beginner photographers make?
The most common beginner photography mistakes to avoid are standing too far from the subject, letting the background clutter the frame, staying in Auto mode in difficult light, using a shutter speed too slow for movement, and editing far past what the image needs. Most of them are habits rather than skill gaps, which is good news, because habits can be replaced by better ones within a few weeks of deliberate practice.
Why are my photos blurry?
Blurriness has three separate causes and you need to identify which one you have. Subject movement means the shutter speed was too slow, so use 1/250s or faster for people and 1/500s or faster for children and pets. Camera shake means you were holding it too slowly, so brace your elbows or use a tripod below 1/60s. Missed focus means autofocus locked onto something else, so switch to single-point autofocus on the subject.
Is it bad to shoot in auto mode as a beginner?
Auto mode is fine for learning composition and for quick snapshots, because it removes settings decisions while you get comfortable with the camera. It stops being useful when you cannot predict what it will do in backlight or low light, which is when most beginner frustration appears. Switch to aperture priority with exposure compensation, a mode that keeps the camera handling the shutter speed while you control brightness.
Should beginners shoot in RAW or JPEG?
RAW files keep far more information than JPEG, which means you can recover blown highlights, lift blocked shadows and change white balance later without damage. JPEG applies compression and in-camera processing permanently, so a mistake at the time of shooting cannot be undone. If editing feels like too much at first, keep shooting JPEG but turn off the in-camera picture settings so your files stay neutral.
How do I know if my exposure is correct?
Turn on the histogram in playback mode and look at the graph of tones. A peak pressed against the right edge means blown highlights with unrecoverable detail, and a peak pressed against the left edge means blocked shadows. Aim to expose slightly darker than the graph looks ideal on the screen, since brightening shadows is easy later while clipped white is gone permanently.
What do photographers struggle with the most?
The hardest part for most new photographers is judging light rather than operating the camera. Settings can be looked up, and gear can be borrowed, but deciding where and when the light is good takes practice and repetition. Second on the list is patience with composition, since walking around a subject to find background and angle usually produces a better frame than any setting change.
Conclusion
If you fix five things this month, make them these: clean the lens before you shoot, check the background and frame edges, focus deliberately on the subject, look at the histogram, and take one test frame before a longer sequence. Every one of them is free.
That is the honest answer to common beginner photography mistakes to avoid. The gear matters far less than people assume, and a camera you fully understand will beat a better camera you point and shoot. Pick one habit a week, shoot deliberately, and review your own frames instead of comparing them to work from photographers with years behind them.