Garden photos look untidy for one reason: a wide lens at eye level records everything at once, including the bin, the hose reel and the neighbour’s fence. To photograph a garden so it looks organized, choose a viewpoint where the structure reads before the clutter does, then crop so nothing distracting touches the frame edge.
The practical version takes about twenty minutes once you know the moves. Pick one subject, find a path or edge that leads the eye to it, step sideways until the bins and fences fall outside the frame, and shoot in soft light rather than hard midday sun. A phone handles all of it. The skill is in choosing where to stand, not in the equipment.
Last updated: October 2026
This guide is about photographic order, not garden design. If you are after planting schemes and layout rules, this is the wrong page — you need a redesign, not a camera angle.
Table of Contents
- What You Need
- Step-by-Step: How to Photograph a Garden So It Looks Organized
- Survey the Garden and Choose a Focal Point
- Look for Repeating Lines and Layered Planting
- Choose a Simple Camera Position: How to Photograph a Garden So It Looks Organized From One Spot
- Use Light and Shadows to Define the Layout
- Take Several Compositions and Review Them
- Edit for a Clean, Natural Look
- Common Mistakes
- Frequently Asked Questions
- How do I take better photos of my own garden?
- What are the best tips for taking pictures of plants?
- How do I edit plant photos so a messy garden looks tidy?
- What is the rule of leading lines in photography?
- What is the rule for depth of field when photographing plants?
- Is this about reorganizing my garden or about how I take the photo?
- Conclusion
What You Need
Less than most people expect. The list matters less than the five minutes you spend walking the space before you lift anything.
- A camera or phone. Any recent phone in portrait or 2x mode works. If you own a camera, a wide lens in the 16-24mm range covers a small garden; anything longer makes fitting the whole space into one frame harder.
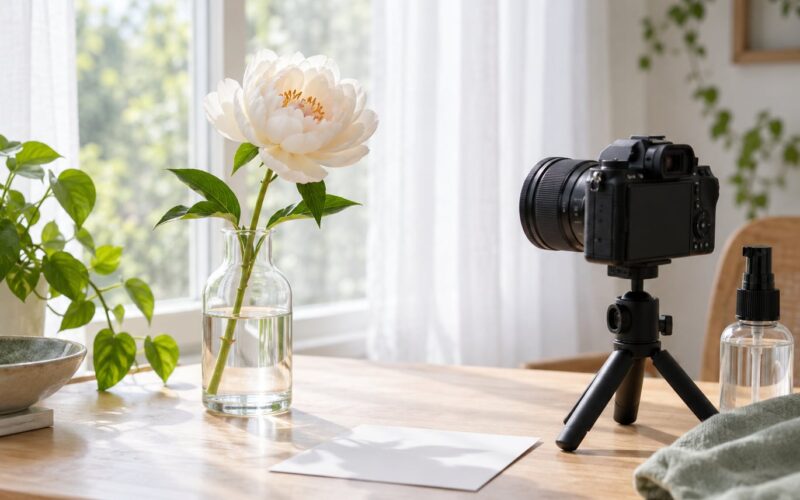
- Something to steady the shot. A tripod helps at dawn and dusk when you are composing carefully and the light is fading. Without one, rest your elbows on your knees or on a wall — that is enough for daylight work.
- A kneeling pad or a folded towel. Half the useful positions in a garden are ground level, and gravel gets uncomfortable fast.
- A soft brush or cloth. Dusty leaves and spider webs read as noise on a phone camera.
- Five minutes of pre-shoot tidying. Coil the hose, stack stray pots, pull deadheads off the plants nearest your shooting position, and move bins. Ordered by visual impact, this beats weeding the whole border.
- Optional: a polarizing filter for wide skies above foliage, a cheap reflector to lift a shaded bed, and a phone note listing your focal points so you are not circling the garden twice.
You do not need to know what an f-number is. Every setting below is described by what it does to the picture, not by its name.
Step-by-Step: How to Photograph a Garden So It Looks Organized
Survey the Garden and Choose a Focal Point
Start by walking the garden once without the camera in your hands. Look for the one thing that reads clearly from a distance: a flowering shrub, a bench under a tree, a fountain, a gate, a path that curves out of sight. That becomes the subject and everything else either supports it or gets left out.
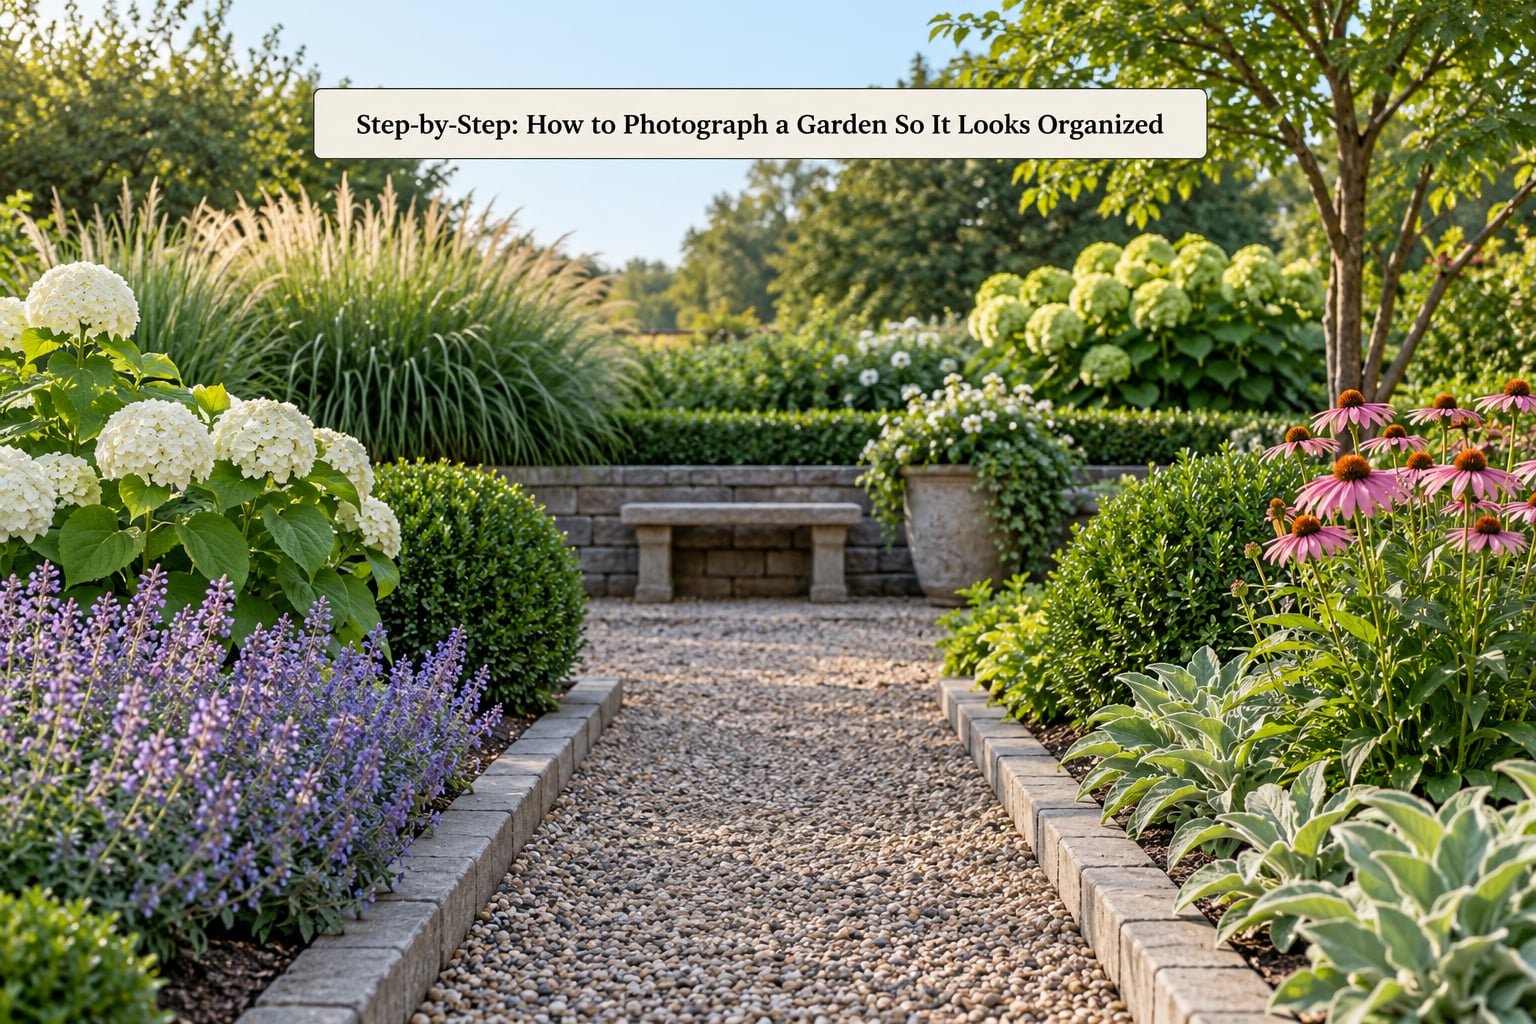
If nothing stands out, pick the object with the cleanest line rather than the prettiest colour. A straight gravel path with a hedge beside it photographs as order even when the planting around it is a mess. Compose it so the subject sits a little off centre, roughly three-eighths in from the edge, rather than in the middle. The middle is where people put things when they are not sure what they are looking at.
Look for Repeating Lines and Layered Planting
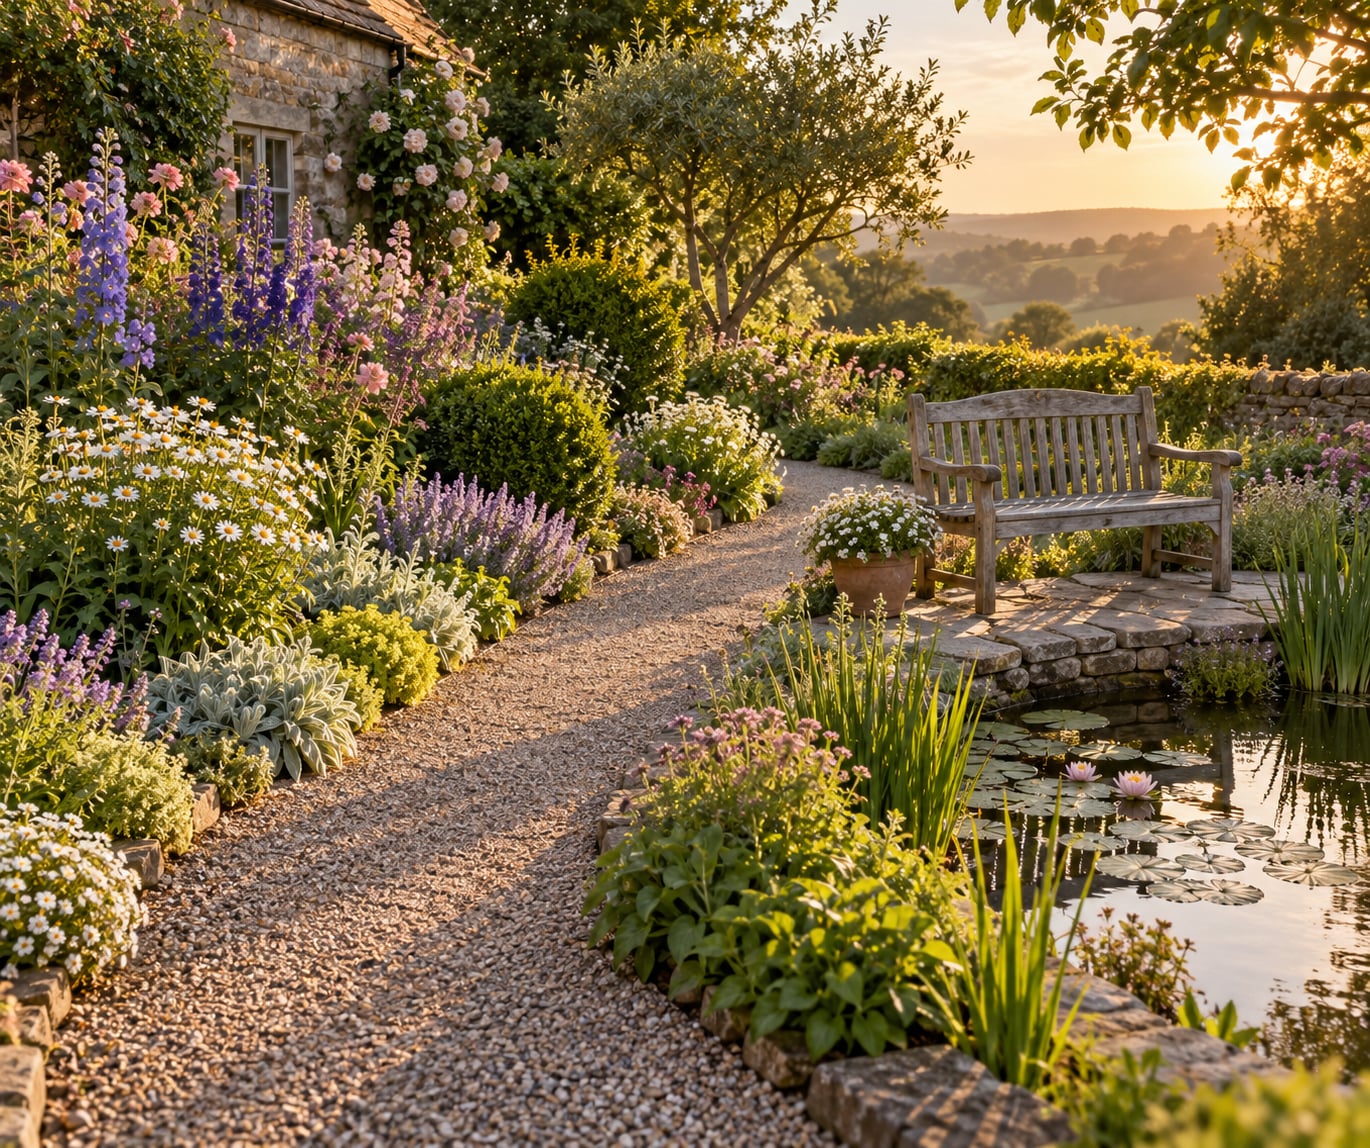
Leading lines are edges in a photograph that carry the viewer’s eye from the foreground to the subject. In a garden they come from paths, board edges, edging strips, hedges, fence lines, the rim of a pond and the handle of a wheelbarrow left facing the right direction.
A curve is better than a straight line because it slows the eye down and implies somewhere to walk toward. Commenters on a garden photography blog put it plainly: the curvature of a path invites you to follow it, and that single cue does more work than a dozen tidy plant choices.
Repetition does the rest. Three similar pots in a row, the same variety of iris repeated along a border, a hedge clipped to one line — repeated forms let the eye predict what comes next instead of searching. Layer planting the way a gardener does it, taller at the back and shorter at the front, and the beds themselves start to read as ordered rows.
Choose a Simple Camera Position: How to Photograph a Garden So It Looks Organized From One Spot
The strongest organizing move is free. Stand where you planned to stand, then move a foot or two sideways. Neighbours’ fences, wheelie bins, a hose and a patch of bare mulch drop out of the frame without you touching the garden. Ten seconds of walking saves twenty minutes of cropping later.
Camera height changes the whole picture. At eye level you see the garden as a person walking through it, and the view feels natural. Lower down, near knee height, grasses and paths loom and the background compresses, which is usually the most striking option. Straight down from above, a phone held over a bed turns a jumble into a pattern.
Whatever the height, keep the horizon out of the middle of a plant. A line cutting through a clump of stems at exactly the wrong height makes the frame look accidental. Move up or down until the horizon sits above or below the subject, never through it.
Use Light and Shadows to Define the Layout
Light does more for order than any edit. Low sun and diffuse overcast both give you soft shadows that describe plant shape without slicing it into black and white patches. Hard midday sun does the opposite: every leaf gets a bright side and a dark side, and the bed turns into visual static.
| Light | What it does to an organized look | Best for |
|---|---|---|
| Overcast | Even, shadowless, colours stay true | Overhead bed shots, pond surfaces, documentation |
| Early morning | Long soft shadows, still air, no people about | Wide establishing shots of the whole garden |
| Late afternoon | Warm side light that separates leaves from background | Focal plants, paths, textures |
| Dusk and blue hour | Fades background detail, hides clutter by distance | Benches, gates, silhouettes, water features |
| Midday sun | Harsh highlights and hard shadows, flattens depth | Almost never, except for leaf detail |
Backlighting is worth a try too. Shoot with the sun behind a plant at dusk and the edges glow while the background goes quiet. Watch the highlights on petals, though, because blown-out white patches look worse than clutter.
Take Several Compositions and Review Them
One frame per subject is how gardens end up looking cluttered — you take the first version and move on. Take three instead: a wide establishing shot that says what the garden is, a medium view, and one detail. Then look at the camera display before you leave the spot.
Check for four things. Tangencies, where two objects almost touch but not quite. Clipped plants cut off by the frame edge for no reason. Bright distractions in the corners, like a pale bin lid or a white fence. And a weak focal point, where the eye has nowhere obvious to land.
| Shot | Where to stand | What it fixes |
|---|---|---|
| Wide establishing shot | Back corner, camera at chest height | Shows layout and reads as a whole space |
| Path leading shot | On the path itself, low and centred | Hides bins and borders behind planting |
| Border run | Side on, low, lens along the row | Repetition makes the bed read as designed |
| Focal plant portrait | Close, angled slightly down or up | Gives the eye one place to land |
| Top-down bed shot | Phone held above the bed | Turns mixed planting into pattern |
| Macro detail | Level with the flower or seed head | Blurs the messy background away |
| Seating corner | Eye level, seated if you would sit there | Conveys use rather than maintenance |
| Water reflection | Off to one side, not straight on | Doubles the structure and doubles the order |
| Winter structure shot | Low, across the bare stems | Shows the bones of the design |
| Gardener at work | Wide, from the side, light behind them | Explains the garden instead of listing it |
Edit for a Clean, Natural Look
Editing should remove distractions, not invent a garden that was never there. Six edits cover almost every messy frame, and all of them are in any free phone editor or in the basic panel of a desktop program.
- Crop the edges first. Most clutter hides in the outer tenth of the frame. A tighter crop is the single biggest tidy-up available to you.
- Straighten verticals. If a wall, gate or post leans, correct it. Auto-straighten on a phone usually gets it close enough.
- Pull back bright distractions. Lower the highlights, then drop a soft shadow over a pale bin lid or a bright window in the background.
- Open the shadows a little. Deep black areas hide structure and read as holes in the frame.
- Set white balance by hand. Neutral foliage is what makes a garden photograph look clean. Shooting in overcast or open shade avoids most of it.
- Stop there. A small contrast lift is fine. Heavy saturation, clarity and sharpening make leaves look plastic, and the eye spots it.
For dark or brown-looking water features, angle the shot instead of filtering it. Move a step or two so the reflection carries more sky, and exclude the near bank where the mud shows.
Common Mistakes
Almost every untidy garden photo comes from one of these seven errors, and each has a quick fix.
- Shooting from too close. Move back until you can see the whole space, then crop. A small space still needs an establishing frame before the details.
- Centering everything. Put the subject a third or two-eighths off centre and leave breathing room. Dead-centre subjects read as snapshots.
- Filling the frame edge to edge. Give the subject somewhere to sit. Negative space around a shrub is what makes it look considered.
- Putting the horizon through a plant. Raise or lower the camera until the line clears the subject entirely.
- Including unrelated objects. Bin, hose, car wheel, laundry line: step sideways until it leaves the frame before you shoot, not after.
- Waiting for midday. Shoot the same view at dusk and compare. Almost always the softer hour wins for a tidy look.
- Editing too hard. If the greens look neon and the shadows look painted, dial the sliders back. Audiences read over-processed garden photos as fake.
One more worth knowing: photographing a garden while you work solves the time problem. Bring the phone, take a wide shot and two details each time you pass a bed, then pick the good ones later.
Frequently Asked Questions
How do I take better photos of my own garden?
Most improvement comes from choosing one subject per frame and removing the rest. Walk the space, pick the single feature that reads clearly from a distance, and use a path or hedge edge to lead the eye to it. Shoot from a foot or two to one side of the obvious position so bins, fences and hoses fall outside the frame, and finish at dawn or dusk rather than midday.
What are the best tips for taking pictures of plants?
Work close and shoot slightly off the vertical, not straight down and not perfectly level. Focus on a single bloom or leaf group, then open the aperture so the background melts away and every messy stem behind it disappears. Shoot in overcast light or at dusk to keep colours true, and include one wider frame for each cluster so the shots add up to a plant rather than a pile of close-ups.
How do I edit plant photos so a messy garden looks tidy?
Start with the crop, since most clutter sits in the outer edges of the frame. Straighten leaning walls or posts next, then reduce highlights and lift shadows slightly so dark corners stop reading as holes. Set white balance by hand to keep foliage natural, and resist heavy saturation and clarity, which make leaves look plastic to almost every viewer.
What is the rule of leading lines in photography?
Leading lines are edges in the frame that guide the viewer’s eye toward the subject. In a garden they are paths, hedges, board edges, pond rims and fence lines, and they work because they give the eye a route instead of leaving it to scan the whole image. A curve is stronger than a straight run, since it implies somewhere to walk toward.
What is the rule for depth of field when photographing plants?
Depth of field is the slice of the scene that appears sharp. For a clean, ordered look, open the aperture on detail shots so only one bloom or seed head is sharp and the busy background dissolves. For wide garden views, close the aperture down so the whole space stays readable from foreground to back, and use a tripod when the light gets dim.
Is this about reorganizing my garden or about how I take the photo?
This guide is entirely about the photograph. No replanting, no new layout, no moving of beds is needed, and nothing here depends on having a large space. Small patios and allotments benefit most, because a tight frame gives you fewer chances to hide clutter and forces the camera position to do the organizing.
Conclusion
To photograph a garden so it looks organized, start by finding one focal point and one strong line, then work outward: shoot from a position where the mess has already left the frame, use soft light, and crop the edges last. That sequence is the whole method.