Learning how to photograph a single flower in a vase comes down to three things: soft light from one side, a background that stays out of the way, and sharp focus on the part of the bloom you care about. Get those right and you can make a polished still life in about 20 minutes with a phone or a camera and a windowsill. Honestly, it’s one of the most forgiving beginner subjects there is, because the subject never moves and never argues with your composition.
One warning before you start. Almost every disappointing flower photo I’ve seen has the same cause: light coming from the wrong direction, or too much of it. Everything below is built around fixing that first.
Table of Contents
- What You Need
- Essential kit
- Nice to have
- Setting up the table
- Preparing the flower
- Step-by-Step
- Step 1: Prepare the Flower and Vase
- Step 2: Choose a Simple Background
- Step 3: Set Up Soft, Directional Light
- Step 4: Frame the Flower Deliberately
- Step 5: Focus on the Flower’s Key Detail
- Step 6: Adjust Camera Settings and Capture Variations
- Step 7: Make Focused Edits
- Common Mistakes
- Frequently Asked Questions
- What is the best background for photographing a single flower in a vase?
- Can I photograph a single flower in a vase with a phone camera?
- Should I use natural light or a flash for flower photography?
- How do I make the flower stand out from the background?
- What camera settings work best for a flower in a vase?
- How do I choose a vase that photographs well?
What You Need
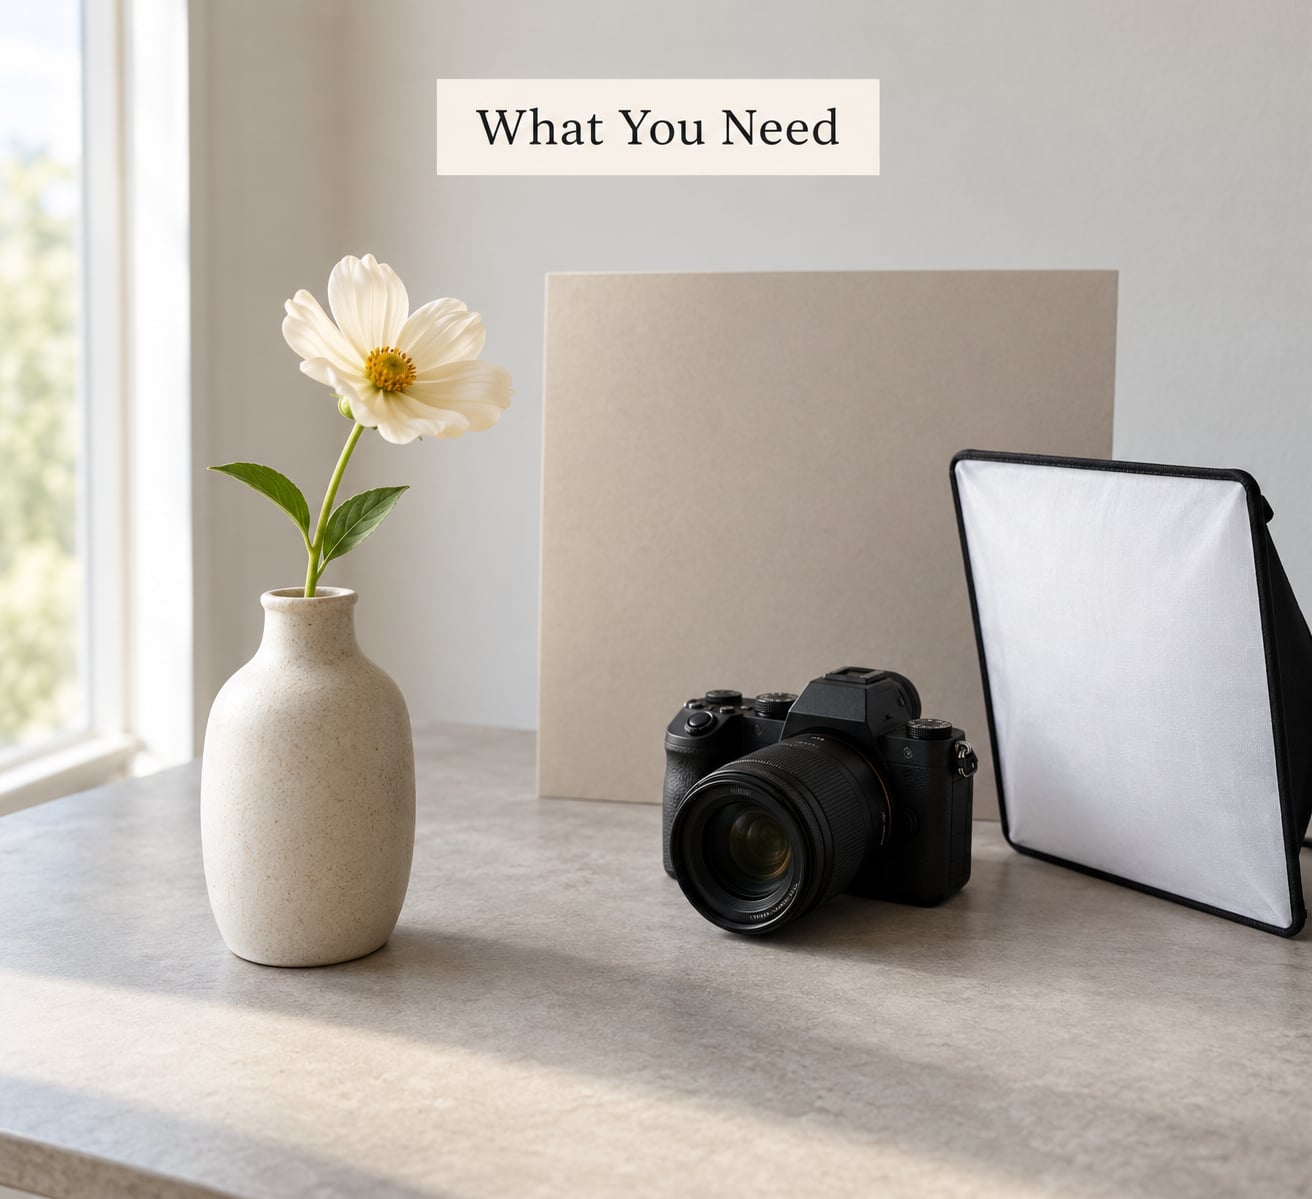
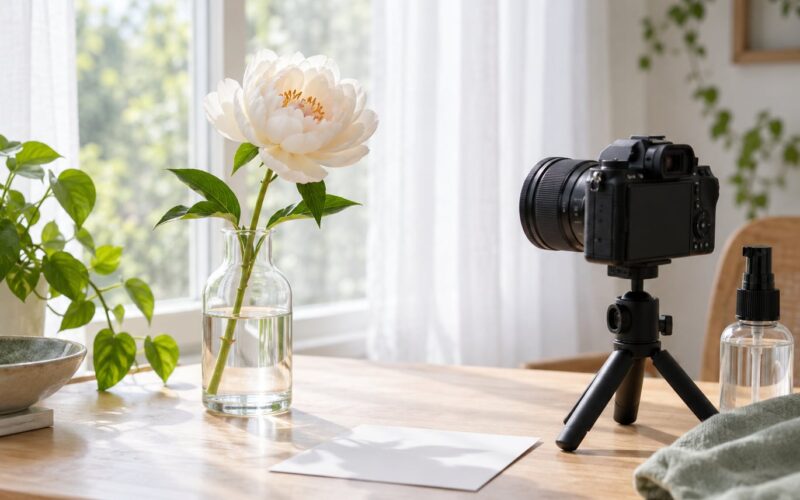
You need remarkably little. A windowsill, one flower, and something to put it in will get you 80 percent of the way there.
Essential kit
- One flower with a reasonably straight stem. A single rose, tulip, poppy, or dahlia all work. Buds that are half open photograph better than flowers that are already flopping.
- A small vase that is narrower than the flower head, so the bloom sits above the rim and reads as its own shape.
- A plain background — a sheet of card, a wall with nothing on it, or a piece of fabric. Colour works too, but it has to be a deliberate choice.
- Something to soften light if your window light is direct: a net curtain, a thin white bedsheet, or a sheet of baking paper taped over a frame.
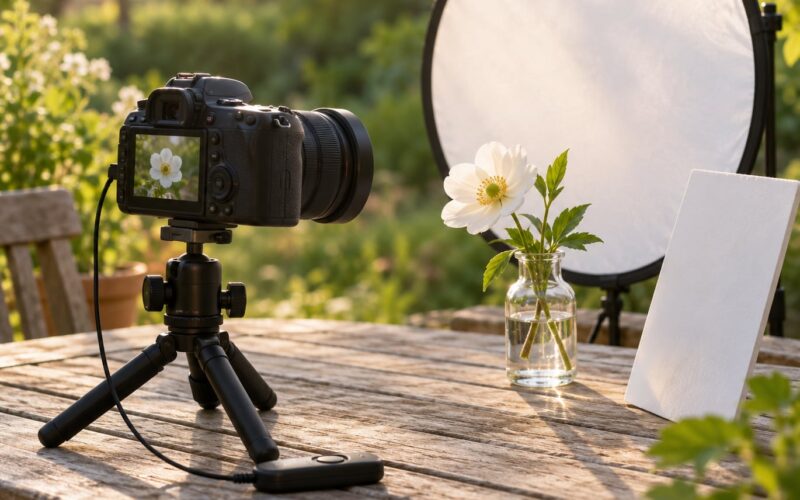
- A reflector — a sheet of white card, a piece of foil-backed takeaway packaging, or even a white pillow held by an assistant.
Nice to have
- A tripod, if you want to shoot at slow shutter speeds or stack focus.
- A spray bottle with water, for droplets on petals. Glycerine and water mixed roughly half and half hold beads much longer than plain water.
- A small piece of modelling clay to pin a stem at an angle so it holds its shape.
- A manual focus lens or a close-up filter, if you’re shooting detail rather than the whole stem.
Setting up the table
Clear a patch of table roughly two feet square, put the backdrop card behind it, and place the vase about 30 cm (12 inches) in front of the card. The gap matters. Back the vase right up against the background and you lose the shadow that separates it from the wall.
Preparing the flower
Rinse the vase, fill it with cool water, and re-cut about 2 cm (an inch) off the stem at an angle under the water. Cutting at an angle lets the stem take up more water than a flat cut does. Pull off any petals already bent or bruised at the base, and strip the leaves below the water line, since submerged leaves rot and cloud the water within a day.
Photograph your flower in water rather than a florist foam block if you can. Glass reads as clean and honest, and the refraction through the water is part of what makes the shot look like still life rather than a snapshot.
Step-by-Step
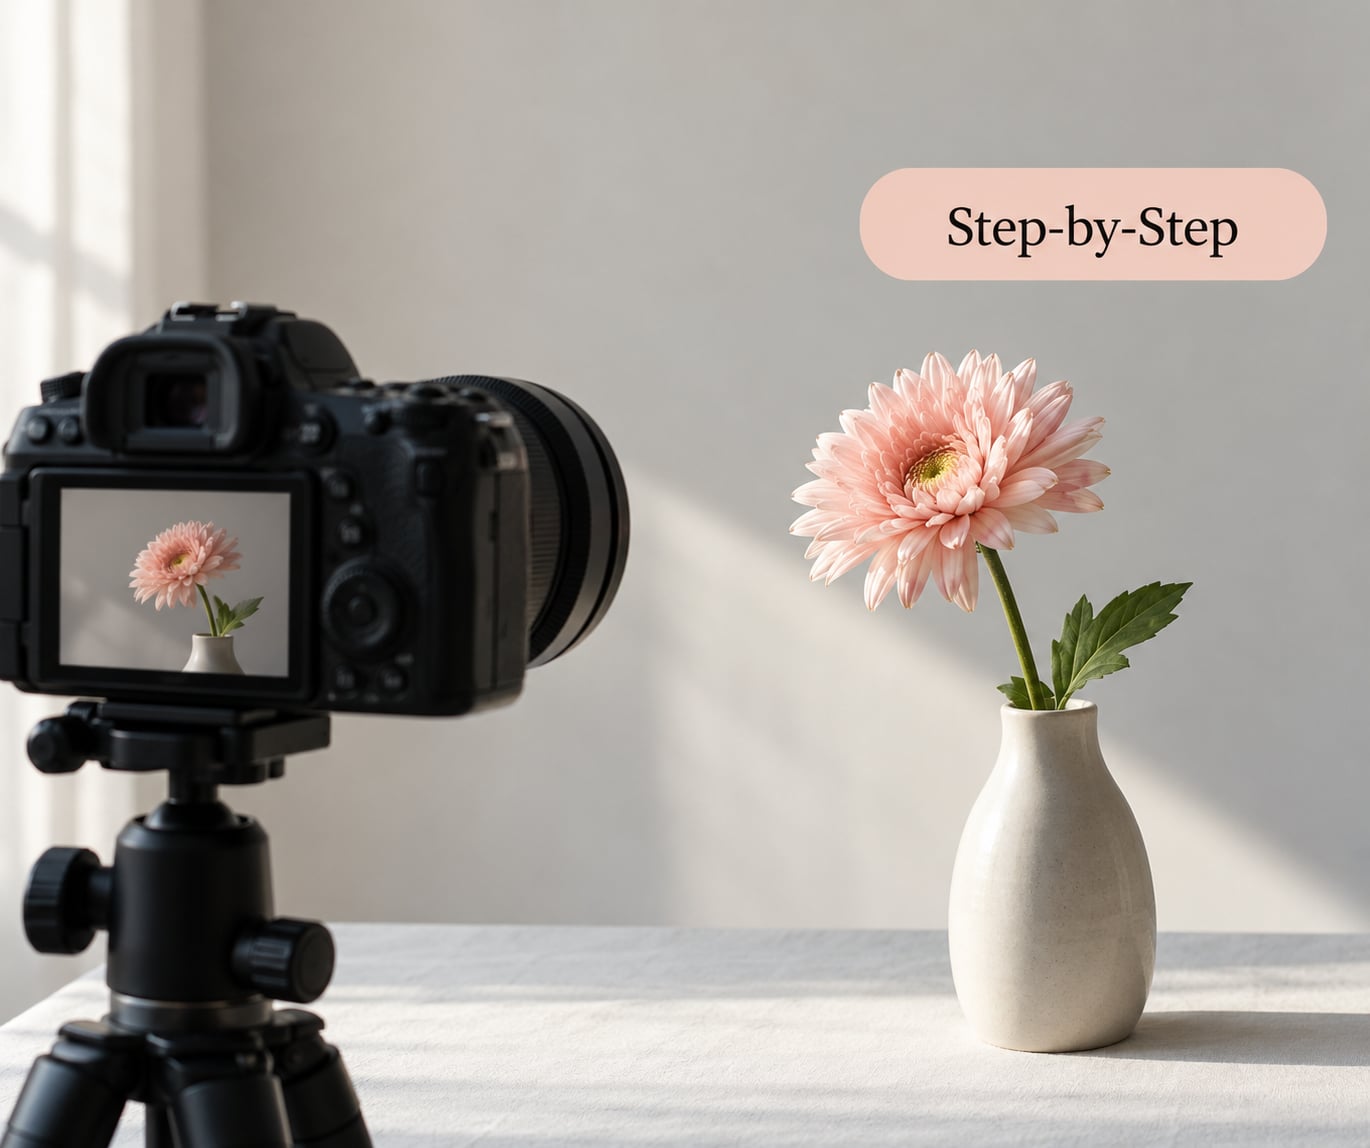
Step 1: Prepare the Flower and Vase
Give the flower a minute in the water and then check its shape from a few angles. A single stem photographs badly when it leans toward or away from the camera, because the bloom foreshortens into an unreadable blob. Turn the vase until the head faces slightly across the lens, not straight into it.
If the stem refuses to stand, use a little modelling clay pressed to the base, or let it lean against the rim of a taller vase. It worked for me the first time I tried it, and it costs almost nothing. You know the shape is right when the silhouette changes noticeably as you rotate the vase — keep turning until it stops changing.
Step 2: Choose a Simple Background
The rule I work to is that the background must be quieter than the flower in every way: less colour, less contrast, less texture. A pale grey or off-white card works with almost any bloom. Deep black works beautifully with light-coloured flowers, and looks dramatic.
Colour-matched backgrounds are worth trying too. A muted sage card behind a red rose gives you a complementary contrast without looking loud. Just check the background in the viewfinder rather than guessing — a colour that looks calm on the card can turn pink or green once it’s lit and in your camera.
Keep the background far enough behind the vase that it falls out of focus. If the backdrop is sharp enough to read the texture of the card, move it back another 20 cm.
Step 3: Set Up Soft, Directional Light
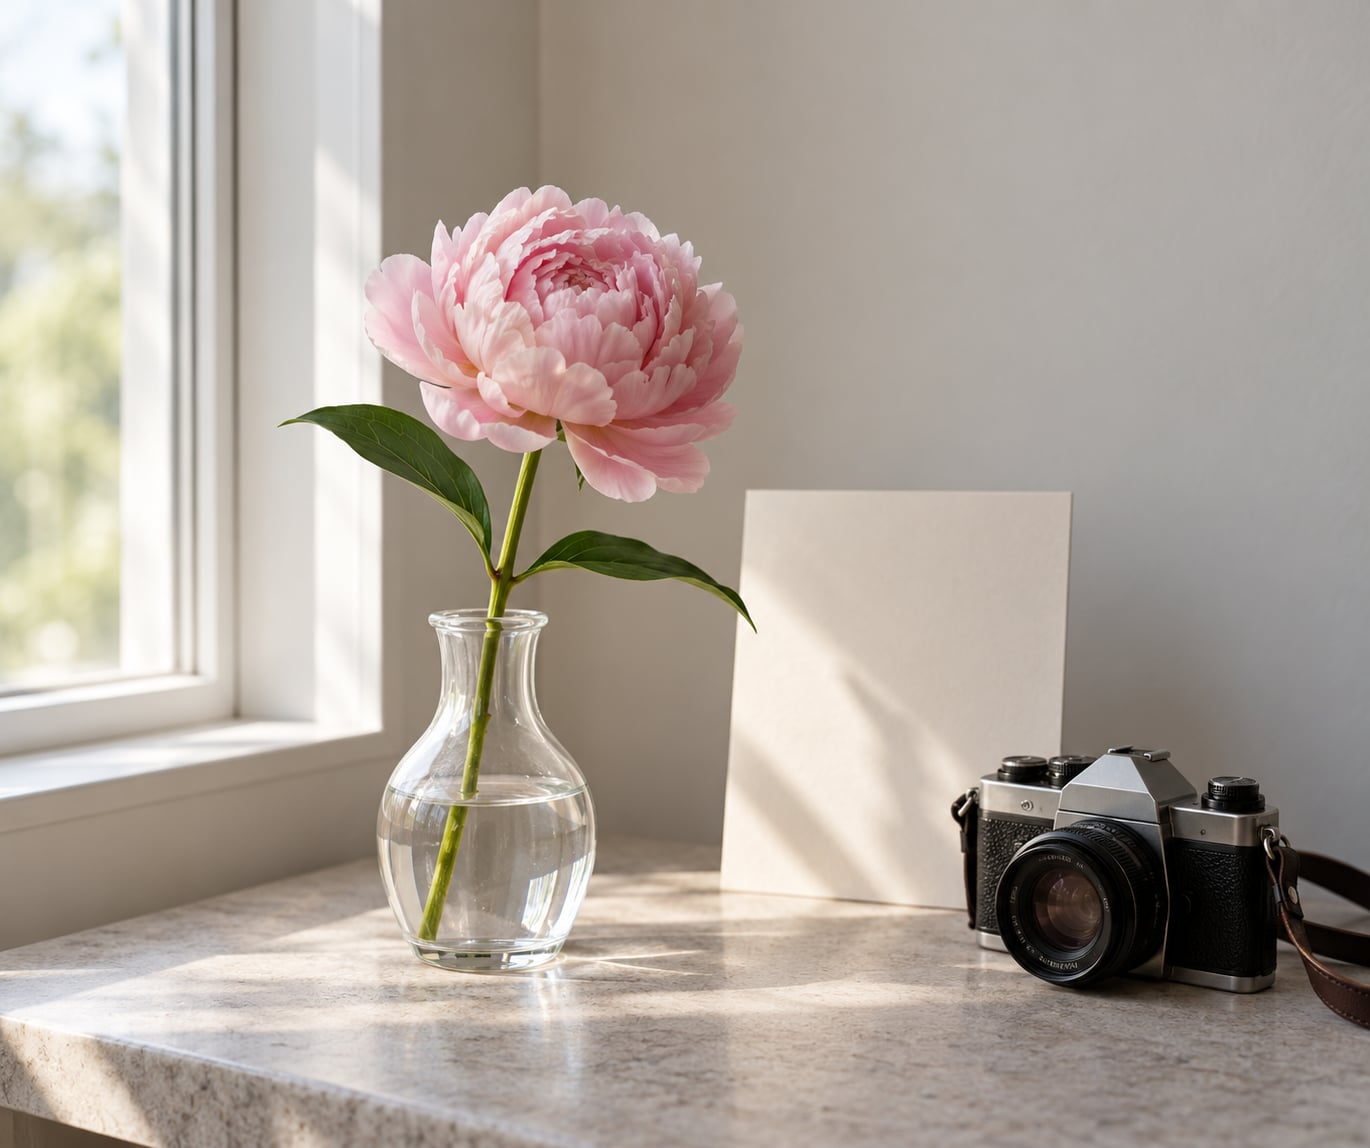
Put the flower beside a window, not in front of it, with the light falling across it at roughly 45 degrees. Side light gives you a lit edge on one side of the bloom and shadow on the other, which is what gives a flower its shape. Light from directly in front flattens it into a coloured circle.
If the sun is hitting the window directly, hang a net curtain or a thin white sheet between the glass and the flower. Direct sun on a petal blows out the highlights and the texture disappears. Overcast window light needs no diffuser at all, and it is genuinely the easiest condition to shoot in.
Now place the reflector on the shadow side, close enough to fill the darkness without creating a second set of shadows. If the reflection looks too strong, move the reflector further away. If you’re indoors at night and there is no window, a single diffused lamp bounced off a white ceiling is a perfectly workable substitute.
Avoid direct flash. It flattens the flower, kills the colour, and gives you a hard-edged shadow behind the vase. If flash is your only option, bounce it off a wall or ceiling, or diffuse it through a tissue paper layer.
Step 4: Frame the Flower Deliberately
Turn the camera vertical. A single flower is a tall, narrow subject, and a portrait frame gives you the natural place to put empty space above or beside the bloom. That space is not wasted — it’s the whole reason the image feels calm rather than cramped.
Try both: a tight frame where the bloom fills two thirds of the image, and a wide frame where the flower occupies a small part of a mostly empty background. Shoot both every time. Which one works depends on the flower, and you can’t tell from looking at it.
Watch the vase. If the vase is visually louder than the flower — dark glass, a strong pattern, a heavy foot — swap it, or cover the offending surface. The simplest test: squint at the frame. Whatever is left when detail blurs is what your eye lands on first, and you want that to be the flower.
Step 5: Focus on the Flower’s Key Detail
Decide what the picture is about before you focus. Is it the whole flower, the texture of a petal, the pollen in the centre, the curve of the stem? Put the sharpest point on that.
For a single autofocus point, choose the point nearest the camera, move it onto your target, and lock it. With manual focus, zoom in on the detail to set focus precisely, then step back and recompose if you need to.
Take one test shot and zoom into it at 100 percent on the camera screen before you do anything else. If the detail isn’t tack sharp, something is wrong: either the camera moved, the focus point was off, or you were closer than the lens can focus. A tripod solves the first. The third problem needs you to step back, or to use a focus ring or extension tube.
When you need the whole flower sharp from stem to petal in a single frame, stop down to f/8 or f/11, use a timer or cable release, and focus about a third of the way into the flower. The tradeoff is a busier background: at that aperture the depth of field reaches past the card, so you lose some of the separation that made the shot interesting.
Step 6: Adjust Camera Settings and Capture Variations
These are starting points, not rules. Change them to suit your light.
- Phone camera, window light. Aperture and ISO are handled for you. Keep the shutter at 1/120 second or faster by holding steady, and tap the bloom on screen to lock focus and exposure.
- Camera, whole flower sharp. f/8 to f/11 at 1/60 second on a tripod, ISO 100 to 400, focused manually about a third of the way into the flower.
- Camera, blurred background. f/2.8 to f/4 at 1/125 second or faster, ISO 100 to 400, with a single focus point on the front petal.
- Camera, backlit for glow. f/4 at 1/250 second or faster, ISO 100 to 800, focused manually on a petal edge.
- Overcast window light. f/4 at 1/125 second, ISO 200 to 800, single-point autofocus.
Shoot in RAW if your camera offers it. The colour of a petal shifts dramatically between a window and a warm lamp, and RAW gives you room to correct white balance afterwards without losing detail in the highlights.
Then vary things. Change the camera height from above the bloom to level with it or below the rim of the vase. Rotate the vase a few degrees. Move the reflector. Add a spray of water. Make ten frames that differ by one variable at a time, rather than twenty that all differ at once — that’s the only way you learn what each change actually did.
Step 7: Make Focused Edits
Start with the crop, because a good crop fixes more than a bad edit. Straighten the vase so it sits vertical, then trim the empty space so the flower sits off-centre with room to breathe. Leave the background slightly darker than it was in the frame — a small drop pulls the eye back to the bloom.
Next fix white balance using a neutral area in the shot, or set a custom white balance from the frame. Then correct exposure if the whole image feels flat, and add a little contrast. That’s enough for most shots.
Sharpen selectively, not globally. Softening the background and sharpening only the petals gives you the polished look people are after. And resist pulling the saturation up hard — a rose that looks electric magenta in editing looked like a slightly dull rose on the table. If you want a preview of how faithful the colour is, turn the saturation all the way down; if the flower still holds its shape, your colours are honest.
Common Mistakes
Lighting from directly in front. The flower goes flat and you lose all sense of its shape. Fix: move the light to the side, about 45 degrees across the subject.
Direct flash. Hard shadows, washed-out colour, a plastic-looking petal. Fix: switch it off entirely if you can. If you can’t, bounce it off a white ceiling and dial the power down.
Background clutter competing with the bloom. Even a slight pattern behind the flower pulls the eye away. Fix: move the card closer to neutral, or move the flower further from the background so it blurs out.
Reflections on shiny or curved glass. This is the one that catches everyone, especially at night when the vase mirrors your room. Fix: hang black cloth and shoot through a small hole in it, or drape dark fabric behind and beside the vase so there’s nothing bright to reflect.
Focusing on the middle of the flower. The technically correct focal point and the interesting focal point are often different places. Fix: decide what the image is about first, then put the sharpest point there.
Wilting mid-session. The bloom droops and the leaves curl before you’ve finished. Fix: recut the stem every 30 minutes or so, keep the water cool, and shoot the tight, tricky frames first while the flower is at its best.
One habit worth borrowing from the forums: shooting the same flower from a low angle exaggerates its height and turns an ordinary stem into something with drama. Get down to the level of the table and look up through the vase for a frame that doesn’t look like any other frame of the same flower.
Frequently Asked Questions
What is the best background for photographing a single flower in a vase?
A plain, matte, untextured surface placed 20 to 30 cm behind the vase works best. Off-white or light grey suits almost any flower, black suits pale blooms, and a muted colour gives you a deliberate contrast. Keep it far enough back that it falls out of focus, and avoid anything glossy that will reflect your lights or your room.
Can I photograph a single flower in a vase with a phone camera?
Yes, and most of the good single flower shots I’ve seen were taken on a phone. Turn off the flash, put the flower beside a window, tap the bloom on screen to lock focus and exposure, then step back slightly to avoid parallax. Portrait mode can blur the background, though a plain backdrop behind the vase already separates the flower for you.
Should I use natural light or a flash for flower photography?
Natural light wins nearly every time. Window light is softer, more even, and free of the colour cast that flash adds. Flash on a flower flattens the bloom and creates hard shadows, so treat it as a last resort. If you must use it, bounce the flash off a white wall or ceiling, or diffuse it through tissue paper.
How do I make the flower stand out from the background?
Make the background quieter than the flower in colour, contrast, and texture, and let light do the separating. Side lighting at about 45 degrees creates a lit edge and a shadow side on the bloom. Keeping the backdrop a step darker than the subject also helps, as does a wide aperture that throws the background out of focus.
What camera settings work best for a flower in a vase?
Start at f/2.8 to f/4 for a blurred background with the focus on the front petal, or f/8 to f/11 when you need the whole stem and bloom sharp. Use 1/125 second or faster handheld, ISO 100 to 400 indoors near a window, and a tripod at slower speeds. Shoot RAW so white balance is easy to correct later.
How do I choose a vase that photographs well?
Pick a vase narrower than the flower head so the bloom sits proud of the rim, and keep it simple: matte, plain, and no busy pattern. Glass is fine, but check for reflections before you commit, especially at night. A tall narrow vase suits a single long stem, while a short wide one suits a bloom that naturally sits low.
For your next session, do one thing only: put a single flower beside a window, set a plain card behind it, and shoot ten frames from that spot without moving anything except the camera height. Fix the framing from those ten, and everything else in this guide becomes a variation rather than the starting point. Once the light and the background are right, the rest is quick.