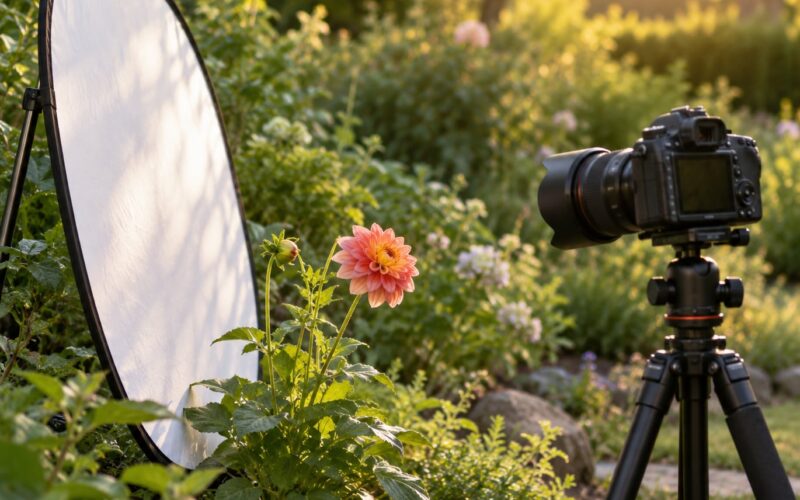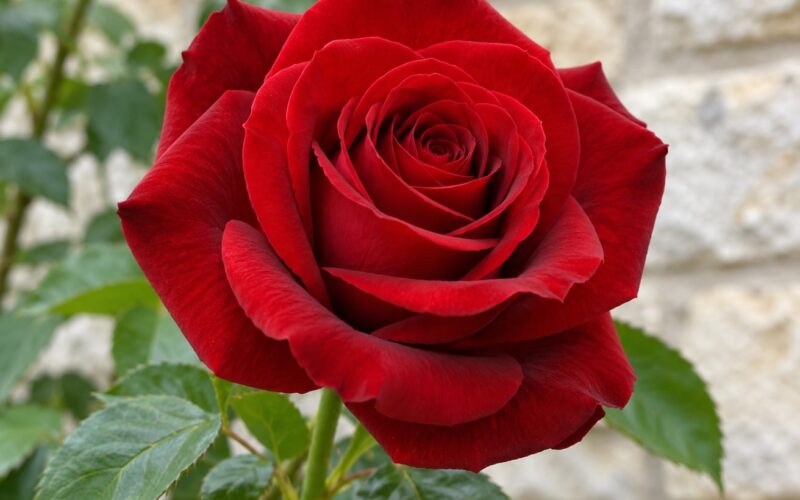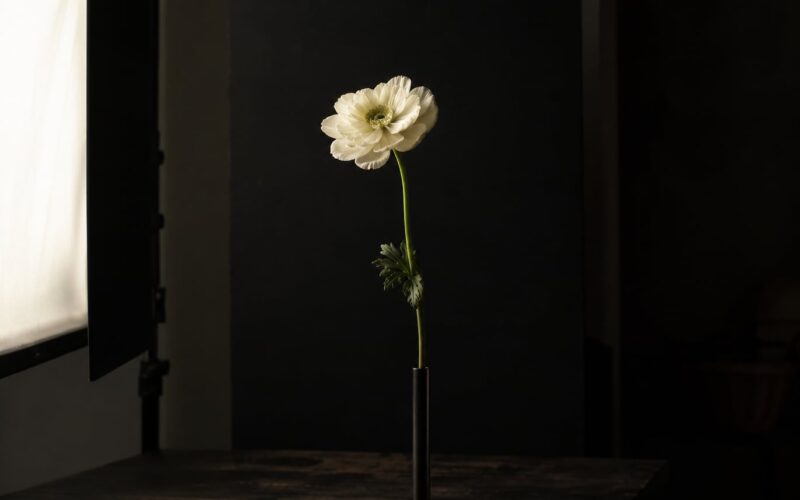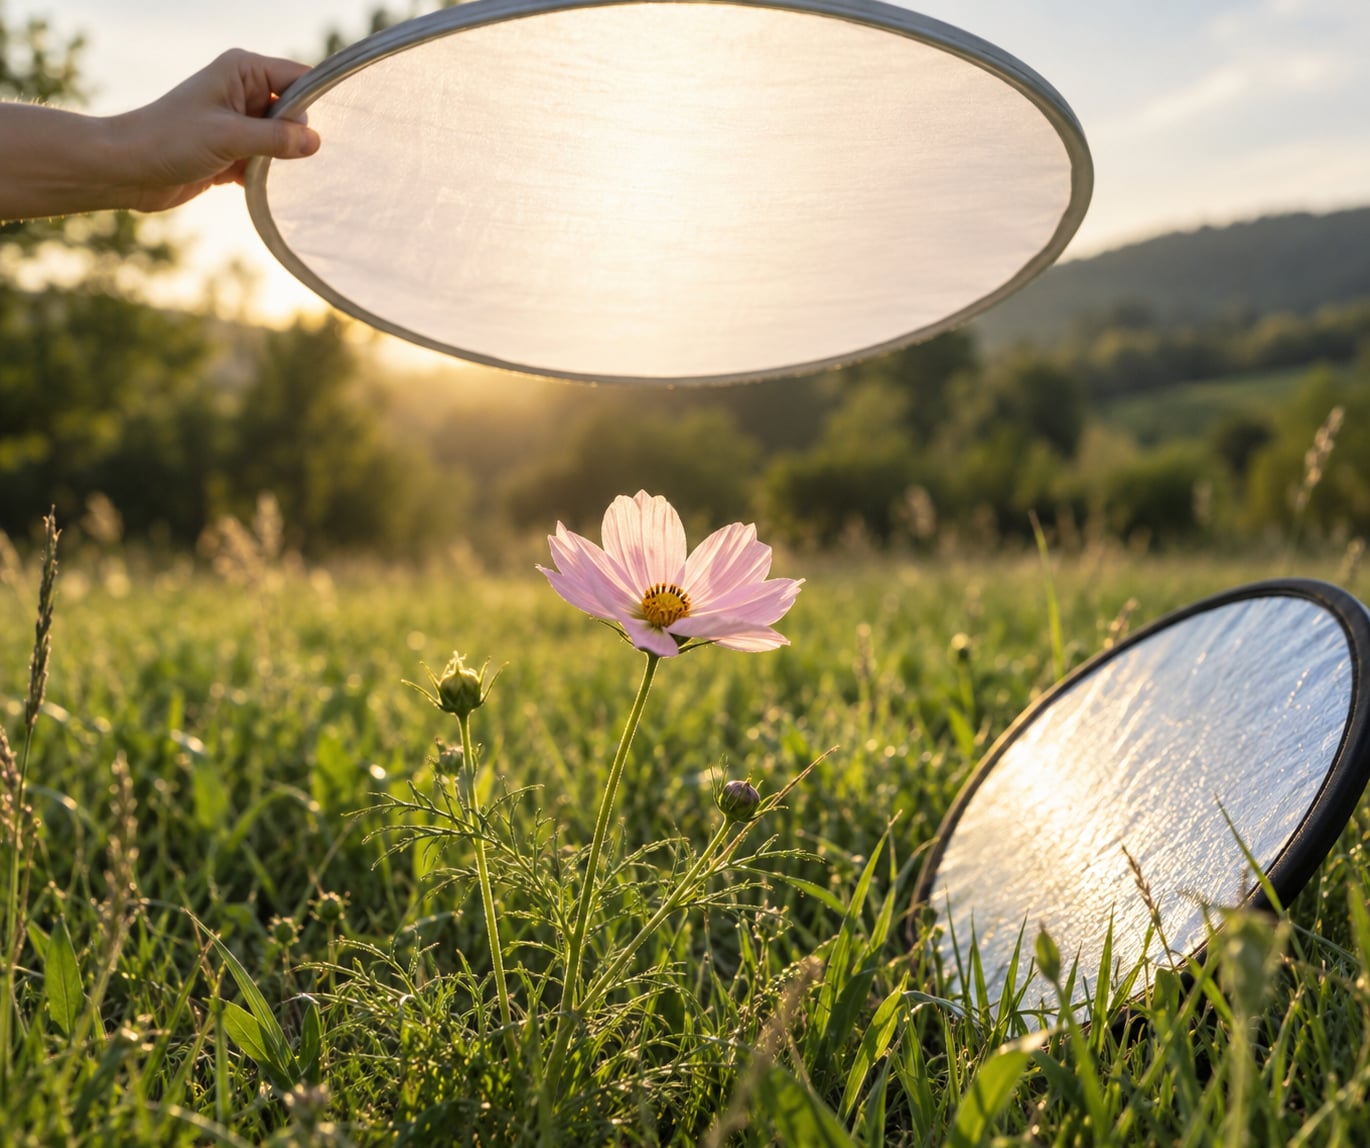
A diffuser is a translucent panel that scatters sunlight before it reaches your flower, turning hard midday light into soft, even, wrapping light. Learning how to use a diffuser in outdoor flower photography is mostly about placement, working distance and exposure, and the whole method takes about ten minutes once you have a panel in your bag.
The rule is simple enough to memorize. A diffuser works by transmission: the sun passes through a white translucent or fabric panel and arrives scattered. A reflector works by bounce: it catches stray light and sends it back at the shadow side of the subject. Most flower shots that look muddy in direct sun need both.
What follows is the field workflow I use on wildflower walks: what to carry, where to stand, what to set, and the three situations where adding a panel actually makes the picture worse.
Table of Contents
- What You Need
- Step-by-Step: How to Use a Diffuser in Outdoor Flower Photography
- How to Use a Diffuser in Outdoor Flower Photography for Soft Light
- Choose the Diffuser Size and Material
- Find a Directional Light Angle
- Set Camera Controls for Accurate Color
- Use Contrast to Shape the Flower
- Focus on Texture and Flower Detail
- Review the Photograph and Adjust
- Common Mistakes
- Frequently Asked Questions
- Can I use a diffuser handheld for outdoor flower photography?
- Is a white bedsheet a good DIY diffuser for flowers?
- How do I stop a diffuser from blowing around in the wind?
- Should I use flash when photographing flowers with a diffuser?
- Can I photograph flowers in open shade without a diffuser?
- Conclusion
What You Need
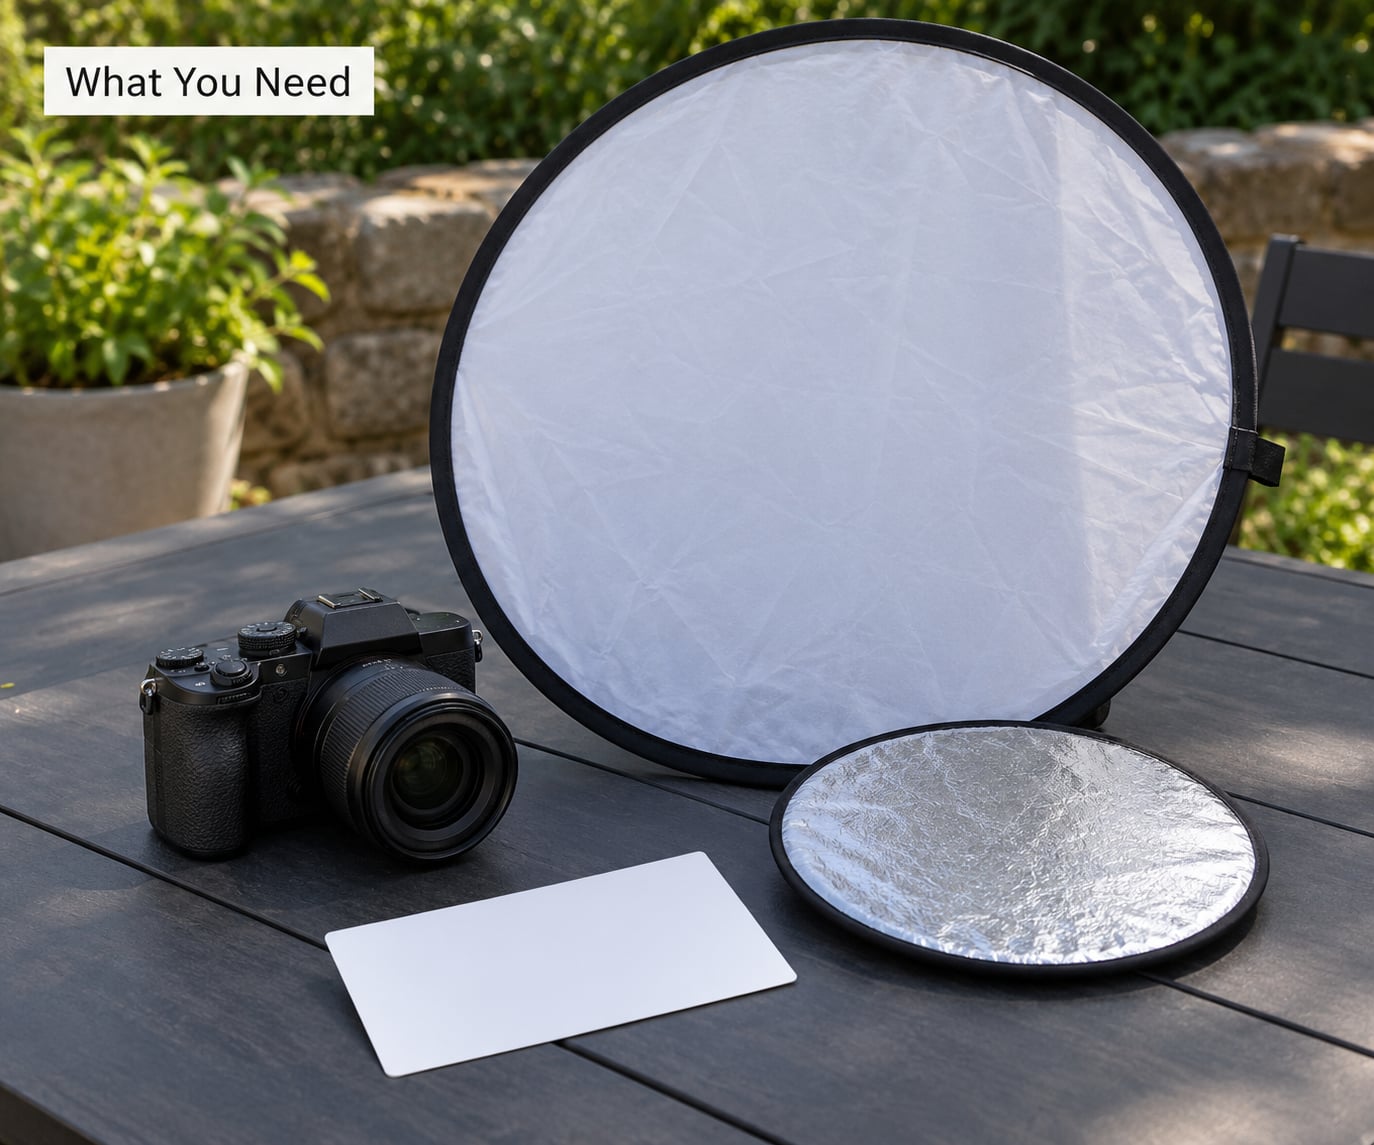
You need surprisingly little. The diffuser is the only piece that solves the main problem, and everything else on the list is a bonus.
- A translucent diffuser panel. This is the light-shaping tool. White translucent plastic, vellum or a collapsible fabric disc all scatter the sun’s disc into a broad soft source. The bigger the surface, the softer the light it delivers.
- A reflector or plain white card. Cardboard, foam board or the reflective side of a 5-in-1 disc. It returns a little light into the shadow side of the flower so the centre of the bloom does not go black.
- A tripod and a remote release or two-second self-timer. At macro distances you need both hands for the panel, and this is the only practical way to release the shutter without a helper.
- A lens cloth and a small clamp or clothes peg. Outdoor work means dew, pollen, and a panel that wants to be somewhere other than where you put it.
Build the kit slowly. A pocket-sized 12-inch translucent panel and a piece of white foam board will get you through a whole season of garden work before you need anything more expensive.
Step-by-Step: How to Use a Diffuser in Outdoor Flower Photography
How to Use a Diffuser in Outdoor Flower Photography for Soft Light
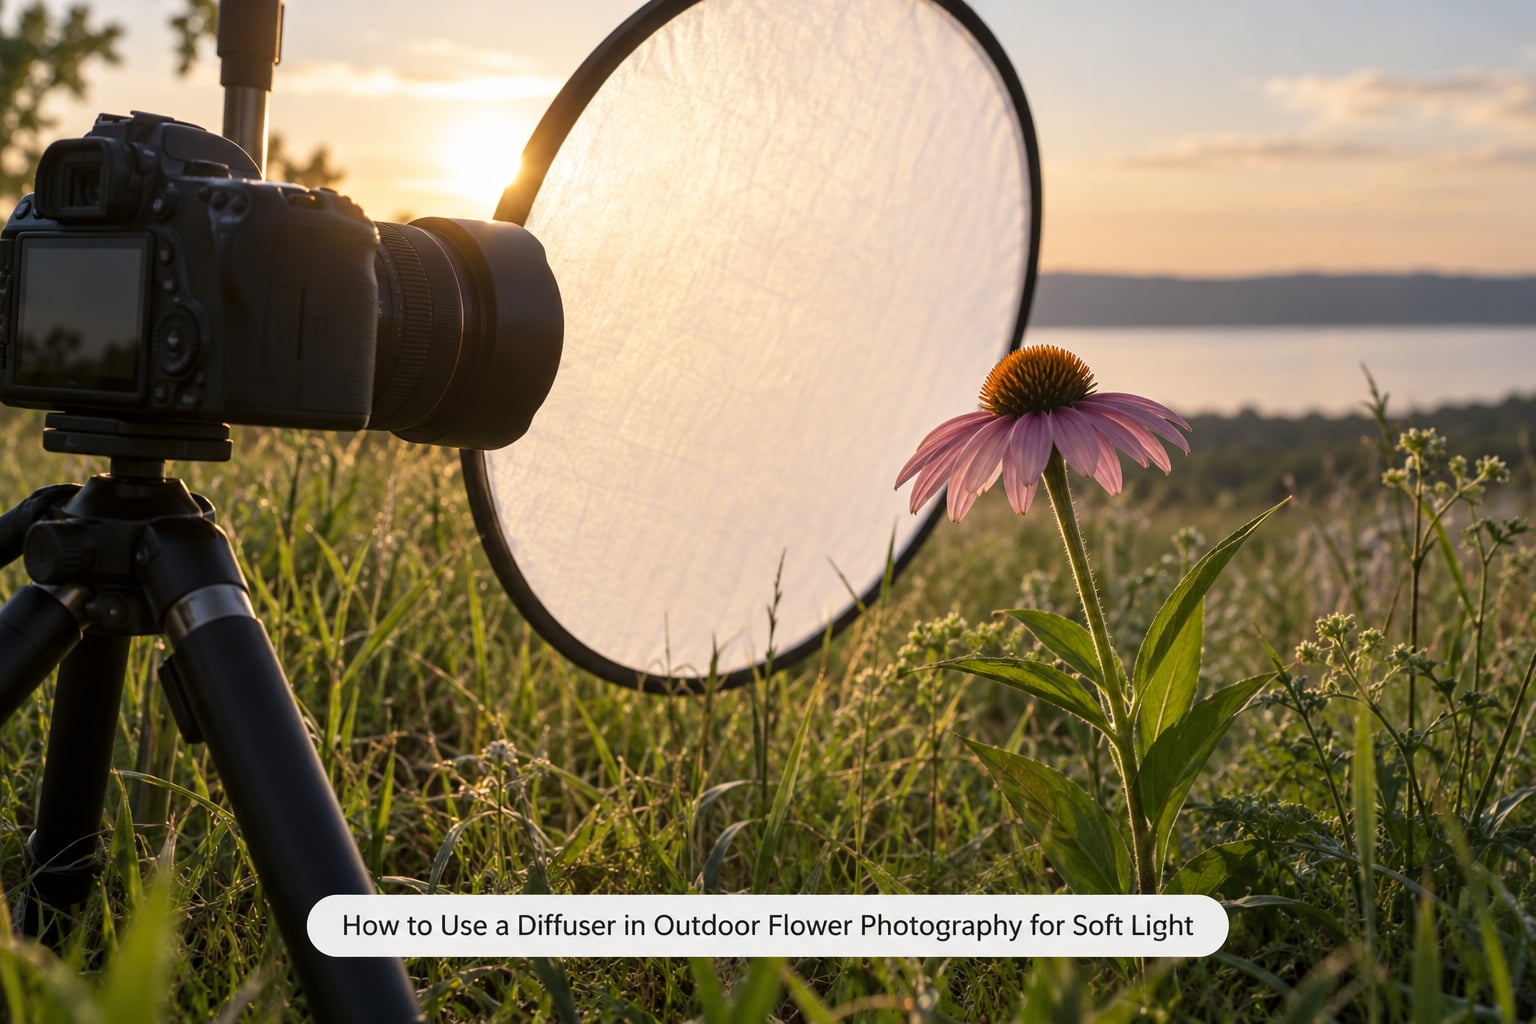
Hold the diffuser between the light source and the subject, roughly 30 to 60 cm in front of the flower, on the sun side. Never put it behind the camera, and never above the lens pointing down unless you are deliberately shading the bloom from a high sun.
Working distance is what controls softness, not the thickness of the material. The same panel produces noticeably softer light held close to the flower than held at arm’s length, because it appears larger from the flower’s point of view. Get as near as the lens allows without the front element touching the panel.
You will know it is working when the shadow edge on the petal has no hard line and the bright spot on a glossy surface spreads into a broad sheen instead of a burning point. If the shadow edge is still crisp, move the panel closer rather than changing anything on the camera.
Choose the Diffuser Size and Material
Size follows the shooting environment, not the price tag. Big panels deliver softer light, but they are awkward in a crowded public garden and impossible in a stiff breeze.
| Option | Light quality | Best environment | Main drawback |
|---|---|---|---|
| Collapsible translucent panel, about 12 inch | Soft, slightly cool | Public gardens, narrow paths, balcony pots | Casts your shadow easily at short working distances |
| Large collapsible panel, 32 inch or more | Very soft, wide coverage | Open fields of wildflowers | Catches wind, awkward to carry over rough ground |
| 5-in-1 disc, translucent face | Soft at moderate distance | Everyday flower walks, insects on blooms | Round shape spills light at the edges |
| White fabric sheet on a frame | Very soft, slightly warm | Static garden subjects, golden-hour experiments | Sags when damp, no wind resistance at all |
Test any panel before you rely on it: hold it in front of your eye facing a window. The more completely the sun’s disc dissolves into an even glow, the softer the light your diffuser will produce outdoors.
If you own a 5-in-1 disc, each surface has a job. The translucent face diffuses. The white side gives neutral, gentle fill. The silver face returns brighter, slightly cooler light for pale and blue-toned flowers. The gold face warms a flower shot in early or late sun. The black side subtracts light, and that is a useful trick: use it to shade a bloom from a high sun without touching the exposure.
Find a Directional Light Angle
Turn the flower, or move around it, until the diffused panel faces the brightest open sky and the shaded side keeps some depth. Soft light still needs a direction to model a three-dimensional subject.
A flower lit evenly from every side reads flat, like a sticker on the page. A flower with a gentle gradient from lit petals to a slightly darker throat has shape. Aim for a small stop or two of separation between the two sides, not a hard edge.
Low sun also gives you an angle to work with. Side light in the first hour after sunrise rakes across petals and reveals the texture a diffuser would otherwise smooth away.
Set Camera Controls for Accurate Color
Switch to manual exposure. Aperture priority will chase the brightness of a scene that keeps changing as cloud moves, and you will lose the matched frames you need for a fair comparison.
Start with the lowest native ISO your camera will shoot cleanly, often ISO 100 or 64. Choose an aperture around f/8 to f/11 for the classic macro depth of field, then check whether you have enough light. Diffusing costs you light, often a stop or more, and adding a neutral density filter is better than starving the shutter speed.
Set white balance to daylight rather than auto. Auto white balance drifts frame to frame under a panel, and a colour that shifts between two shots of the same bloom makes a poor pair.
Watch the histogram and the highlight warning. Soft light fools the camera’s meter into overexposing, and pale petals clip to flat white with no texture at all. If the highlight blinkers are firing, drop exposure by a third of a stop and shoot again.
Use Contrast to Shape the Flower
Once the sun is softened, most flower shots need a small amount of light returned into the shadow side. Hold a white card or the white face of your reflector about 30 cm from the darker side of the bloom, angled to catch light that has already passed the panel.
Fill is seasoning, not the main course. If the shadow side matches the lit side, you have gone too far and the flower will look papery. Aiming to lift the darkest part of the frame by roughly a stop is plenty.
For a pale flower in harsh sun, invert the usual approach and subtract instead. The black face of a 5-in-1 disc, held just out of frame, darkens the background side and stops stray light from flattening the petal.
Focus on Texture and Flower Detail
Diffused light makes detail easier to hold, but detail still has to be captured. At close range, camera movement causes a surprisingly large shift in focus, so rest your elbows or use the tripod and the self-timer.
Use single-point autofocus or manual focus with magnification, and pick a single feature to hang the focus on: a stamen, a petal edge, a dew drop. Landscape mode and wide-area autofocus will hunt at macro distances, and half the sharpness in the frame is a lottery.
For veins, pollen and seed heads, shoot at a higher resolution and crop in. If you are working at 1:1 or deeper magnification, focus stacking from several frames is the only way to get the whole flower sharp, and steady light from the panel makes the frames blend cleanly.
Review the Photograph and Adjust
Review on the camera screen at full zoom rather than at a glance. Zoom into a white petal and look for detail: clipped areas read as a flat, textureless block of white with a hard edge where the brightness steps down.
Then check three things in order. Histogram, so you know where the brightness actually sits. Colour, so pale pinks have not drifted toward grey or yellow. And the background, because a large panel often brightens clutter behind the flower as well as the subject.
Make one change at a time. If the shadows are heavy, add fill rather than raising exposure, because raising exposure will clip the petals you worked to protect. Once you are happy, shoot the identical frame with no panel at all so you have a genuine before and after at the same settings.
Common Mistakes
The panel is too large for the space. An oversized diffuser in a public garden hits people on the path and frightens insects. Drop to a 12-inch panel and bring it closer to the flower.
Fill arrives from every direction. Light bouncing from two sides at once erases the modelling and the flower looks like a paper cut-out. Pick one fill side and match its strength to the key.
White balance is left on auto. Under a panel the meter reads warm and pushes the frame cooler, and a drifting white balance ruins colour accuracy on pale petals. Lock it to daylight.
Your own shadow is in the picture. If the flower casts the shadow of you or your camera, move the panel higher and further to the side, or hold the camera above and shoot down. The cardinal rule stays the same: the diffuser sits between the sun and the subject.
The panel keeps moving. A flexible sheet or a big disc in a breeze changes the light between frames. Clamp it, rest the bottom edge on a tripod leg, or switch to a smaller rigid panel.
The result looks flat. Diffusion reduces contrast by design. Give the light back some direction with a reflector on one side, or wait for a low sun instead.
You diffuse light that was already soft. Under a solid overcast sky, or during golden hour, a panel drains texture and glow without fixing anything. Leave it in the bag.
You forgot the un-diffused frame. Without a before shot at the same settings you cannot tell whether the panel helped. Shoot the raw frame first, every time.
Frequently Asked Questions
Can I use a diffuser handheld for outdoor flower photography?
Yes, and at close working distances you often get better results by hand. A handheld panel lets you move with the light and react quickly, and for insects and skittish subjects a small panel held close disturbs far less than a tripod setup. For still flowers, a tripod with a two-second self-timer gives steadier results and a sharper frame.
Is a white bedsheet a good DIY diffuser for flowers?
For still subjects, yes. A white or pale bedsheet stretched on a frame between the sun and the flower produces genuinely soft, even light, and it costs almost nothing. Two drawbacks are worth knowing: fabric sags when it is damp with dew, and the sheet catches wind with no rigidity at all. A collapsible panel holds its shape and survives a walk in grass.
How do I stop a diffuser from blowing around in the wind?
Use a smaller, more rigid panel and work closer to the flower, or clamp the panel to a tripod leg, a fence post, or a stem. Resting the bottom edge on a tripod leg works well because the panel pivots instead of catching the full force of a gust. On genuinely exposed ground, a hand-held round disc is easier to control than a large fabric sheet.
Should I use flash when photographing flowers with a diffuser?
Usually not in daylight, because the sun is far brighter than any flash you would add. A diffuser modifies ambient light; it does not add any, and using it actually costs you one to two stops. Flash earns its place at dusk, under dense canopy, or for a fast burst of fill on a dark subject where you need the shutter speed for handheld work.
Can I photograph flowers in open shade without a diffuser?
Yes, and open shade is often where a diffuser earns its keep. Shade under a tree or wall gives soft light with a bright patch of open sky acting as a huge natural source, so the panel usually has very little left to fix. What matters there is a reflector or white card to lift the shadow side, and metering carefully so the bright background does not fool your camera.
Conclusion
Learning how to use a diffuser in outdoor flower photography comes down to four moves: put a translucent panel between the sun and the flower, hold it 30 to 60 cm away, expose in manual so pale petals do not clip, and add a reflector on one side to restore shape.
Start with one sunlit flower this week. Shoot it raw, bring the panel in close, change the angle, and shoot the matching frame before you touch a single setting. That pair teaches more than any settings chart.