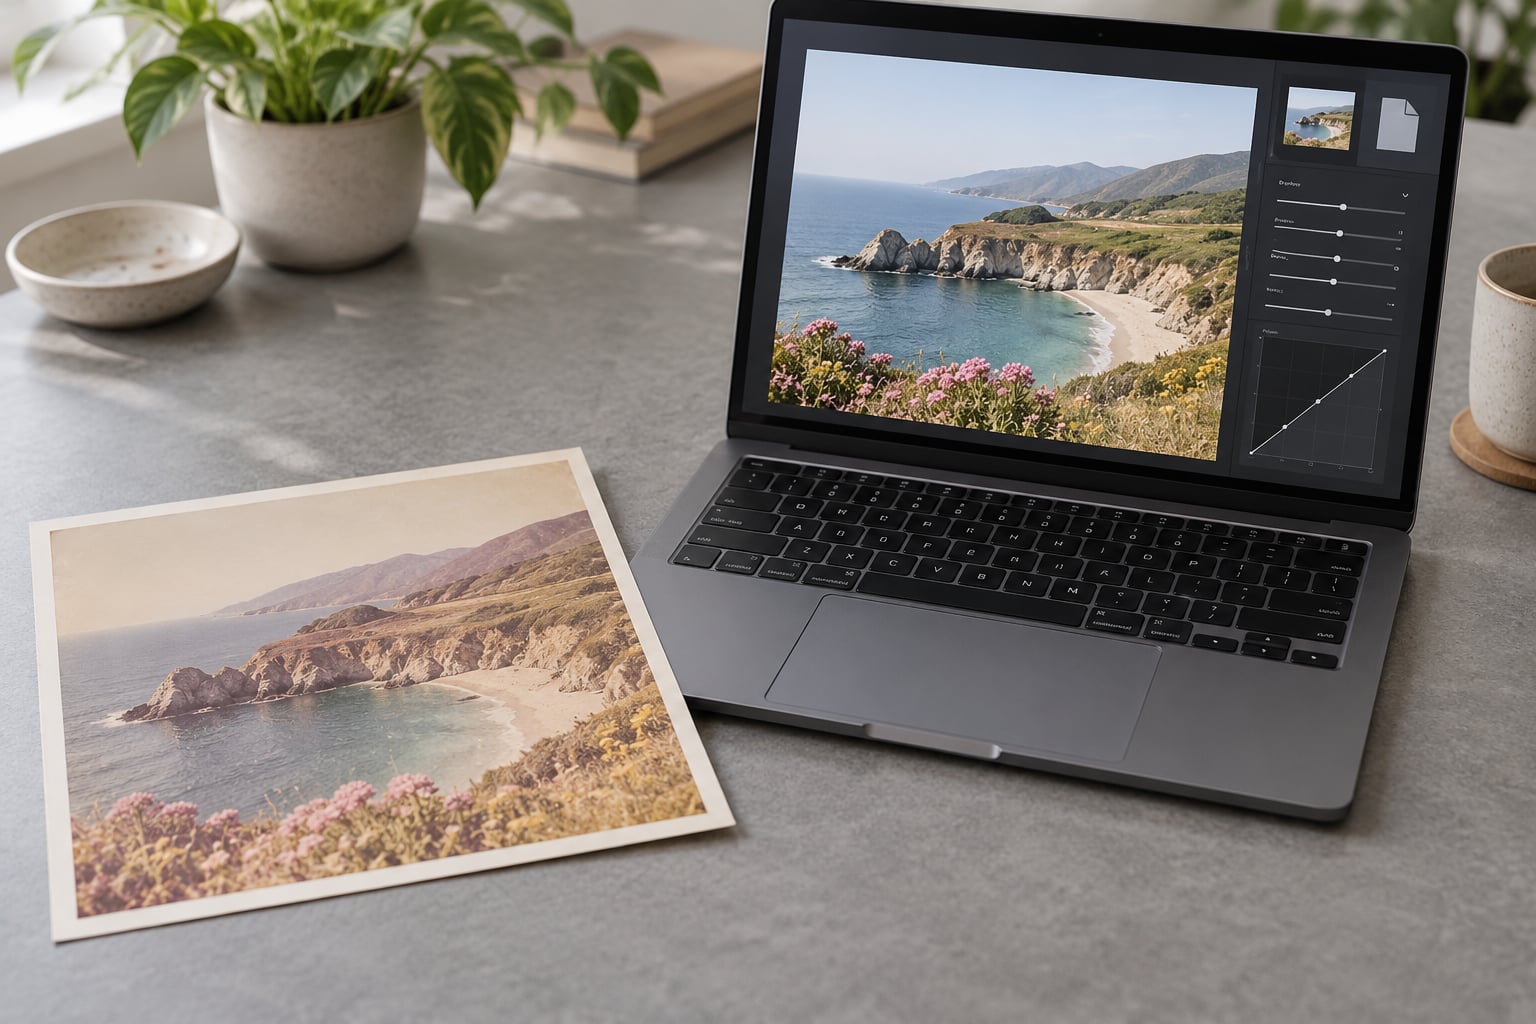
A faded photo is the easiest kind of damage to undo, because the colour is usually still sitting in the print, just squeezed into a narrow band of tones. To learn how to restore a faded photo, scan it at 600 DPI with your scanner’s automatic colour correction switched off, stretch the tones back out with Levels or Curves, then remove the colour cast in small steps. Scratch repair and sharpening come last, and the untouched master scan never gets opened again.
That order matters more than any tool choice. People on photography forums lose the faded colour data before they even start editing, because a scanner driver quietly applies its own correction and bakes a washed-out look into the file. Turn that off and you keep the raw tones, which is where the recovery is hiding.
Budget about 20 minutes for a single print once you have the software open, plus scanning time. Most of the work is judgement rather than effort: the difference between a restored photo and a ruined one is how gently you push each slider.
Table of Contents
- What You Need
- The scan
- The master file
- The editor
- Why photos fade in the first place
- Step-by-Step: How to Restore a Faded Photo
- Create a Protected Working Copy
- How to Scan or Open the Photo at the Best Available Quality
- Correct Overall Exposure and Contrast Gently
- Rebuild Color Without Creating an Unnatural Look
- Recover Detail with Selective Adjustments
- Sharpen Lightly and Check for Editing Artifacts
- Export and Save the Restored Version
- Common Mistakes
- Frequently Asked Questions
- Is it possible to restore faded photos?
- How do I brighten a faded picture?
- Why do old photos turn yellow?
- Can AI restore a faded photo, and does it change the faces?
- How do I scan an old photo without a scanner?
- Do photo stores like Walgreens or Michaels restore old photos?
- Conclusion
What You Need
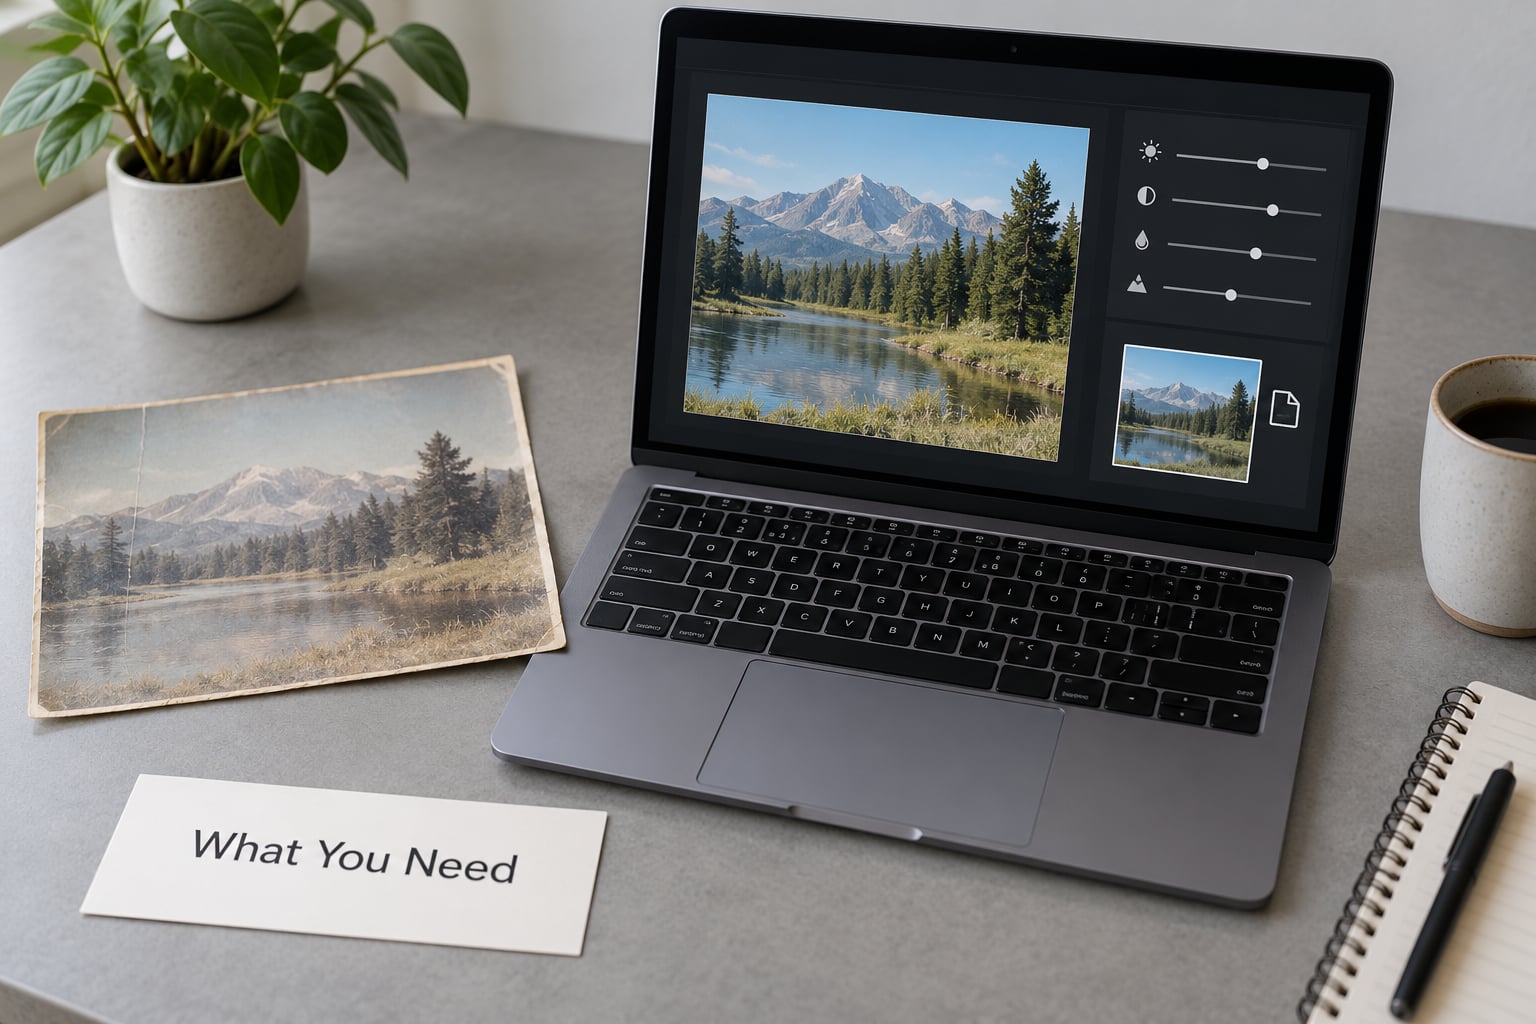
You need three things, and only one of them costs money: the best scan of the print you can get, an untouched master file, and an editor that gives you manual control over tone and colour.
The scan
A flatbed scanner is worth it if you own one, and affordable Epson-style scanners produce files that hold up fine when zoomed in. If the print is stuck in an album, framed, or behind glass, your phone will do — see the step below for how to shoot it without glare.
The master file
Save your first scan as a TIFF or PNG, at full colour, 16-bit if the software offers it. That is the master. Everything after this point happens on a duplicate. Users on r/GIMP who lost their originals usually skipped this step once and regretted it.
The editor
Any editor with adjustment controls works: GIMP is free and has everything this job needs, Affinity Photo is a good middle ground, and Photoshop is the familiar default. Mobile apps and online AI restorers are fine for a first look, but they are harder to undo.
Why photos fade in the first place
Ultraviolet light, heat, humidity and unstable consumer dyes break down the colour layers in photographic paper. The blue-sensitive and cyan layers usually go first, which is exactly why old prints turn yellow or pink. Paper itself also yellows from acid and lignin. None of that is recoverable by editing, but all of the remaining signal is.
Step-by-Step: How to Restore a Faded Photo
Create a Protected Working Copy
Duplicate the master before you touch anything, name it something like name-faded-working, and work only on that file. Every correction from here on is a small, reversible adjustment rather than a decision baked into the image, which means you can always dial a step back to zero and try a gentler version.
If your editor has adjustment layers or adjustment brushes, use them instead of painting directly on pixels. Layers let you compare a correction against the untouched original with one click, which is the fastest way to catch an overcorrection.
How to Scan or Open the Photo at the Best Available Quality
For a flatbed scan, use 600 DPI for a normal-sized print and 1200 DPI for small snapshots, wallet photos or crops you plan to enlarge. Scan in full colour, 24-bit or 16-bit, and turn off every automatic option in the driver dialog: auto colour correction, auto-levels, auto-enhance, dust removal and background removal. Those features are guessing, and on faded material they guess wrong.
If the print must stay in its frame, shoot it square-on in soft indirect light with the room lights off. Move the camera slightly left and right until the reflection from the glass disappears, then lock focus and exposure. Overcast daylight through a window beats a flash every time, because flash gives you a hotspot in the middle of the print.
After the scan, crop and straighten first. Fixing geometry before tone means every later correction is applied to an image that is already the right shape.
Correct Overall Exposure and Contrast Gently
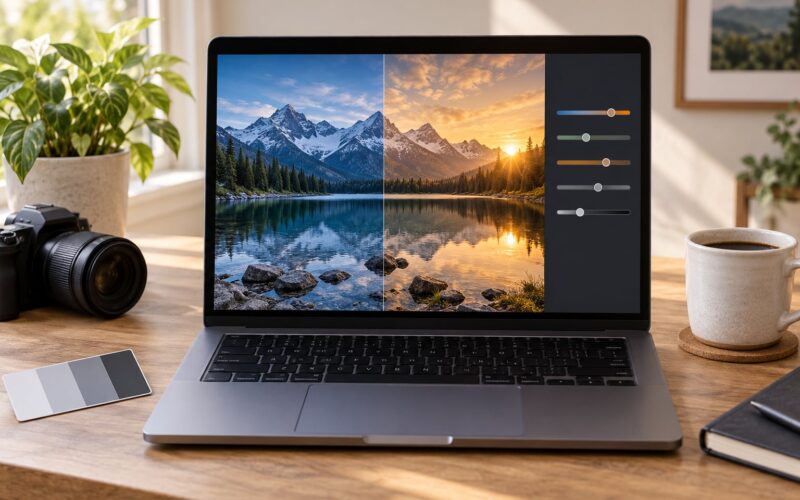
Open Levels (Image > Adjustments > Levels in Photoshop, Colors > Levels in GIMP) and look at the histogram. A faded photo shows a compressed hump floating in the middle, with empty space at both ends. Drag the black input point to the left edge of the data and the white input point to the right edge, then lift the midtone marker only a little.
That midtone lift is the single move people notice most. On the dpreview.com photo restoration forum, users describe pulling the middle marker up toward 0.50 and seeing the colour saturation come back on its own, because stretching the midtones reopens space for the colour channels to spread into.
Curves give you finer control. Build a gentle S-curve rather than a steep one, and stop as soon as the image looks like a normal photograph, not a dramatic one. Keep an eye on clipping: if shadows pile up solid black or a white shirt hits pure white, you have gone too far and thrown away detail that will not come back.
Rebuild Color Without Creating an Unnatural Look
Fade always arrives with a cast, and correcting it is a matter of moving each colour channel independently. Two tools handle this well: Color Balance (Colors > Color Balance in GIMP) and Curves, where you can select a single channel, such as midtones or reds, and drag it on its own.
For a yellow cast, lower the yellow-blue slider slightly in the midtones. For a pink or magenta cast, push green and blue apart until skin looks like skin again. White balance tools set the cast for you in one click, which is fast, but check the result against a known reference: a patch of neutral wall, a white shirt collar, a page of paper.
Then add colour back with Vibrance rather than Saturation if your software has it. Saturation is a blunt global increase and it is how people end up with orange skin and neon jackets. Vibrance lifts the muted colours and leaves the already-strong ones alone, which is exactly the profile of a faded print.
Take a break from the screen, come back, and compare. Skin should look plausible, clothing should match what you remember, and nothing should look freshly painted. A restored photo that looks better than the original is a restored photo that lies.
Recover Detail with Selective Adjustments
Global corrections treat a face and a hedge identically, which is rarely right. Use a mask, an adjustment brush, or a selection to give the important parts their own correction: a touch more contrast on a face, a touch more brightness on a dress that went grey.
Masks need soft edges. A hard-edged mask leaves a visible halo around the head, and the fix is to feather the selection and drop the mask opacity so the local correction blends into the global one.
Where the print has physical damage, work on it here with the spot healing brush or clone stamp. Small dust specks disappear in seconds. A crease or a torn corner needs the clone tool and a steady hand, and if the tear has removed information entirely, no amount of editing invents it. Build the missing area from nearby texture, keep the strength low, and accept that it will read as reconstruction rather than recovery.
Sharpen Lightly and Check for Editing Artifacts
Sharpening goes last, after the tone is right, because sharpening amplifies whatever is already there — including noise. Open Unsharp Mask (Filters > Enhance > Unsharp Mask in GIMP) and start well below the default. A radius around 1 pixel with a low amount keeps edges crisp without the dark outlines that make a restored photo look processed.
Zoom to 100 percent and look at three places: an eye, the edge of a high-contrast object like a window frame, and a smooth area such as sky. Sharpening halos show up as bright fringes along edges, and noise shows up as speckle in the shadows. Back the amount off until both disappear.
Then step back and view the image at normal size. Detail that looks obvious at 100 percent is invisible on a phone screen or a print, which is the only size that matters to most people.
Export and Save the Restored Version
Keep the master scan and the working file as lossless TIFF or PNG. Then export a separate share copy as a high-quality JPEG, which is small enough to email and fine for screens, and a print copy at a resolution matched to its size: roughly 1800 pixels on the long edge for an A4 print, 3000 pixels for A3, 4500 for A2.
If the photo is going into an album, a frame or a gift box, make the storage part of the job. Keep it under 75F and around 30 to 40 percent relative humidity, put it in an acid-free sleeve or album rather than a self-sealing bag, and use UV-filtering glass if it is framed. Keep three copies of the digital file on two kinds of media with one off-site, following the 3-2-1 rule, and the memory stops decaying even if the print eventually goes.
Common Mistakes
Most ruined restorations come from doing one of these things.
- Editing the only copy. Duplicate the master before the first adjustment, not after the third. There is no undo for a flattened, overwritten scan.
- Leaving scanner auto-correction on. The driver decides your tone curve, and on faded photos it decides badly. Users on r/GIMP only find out that restoring faded colour is partly a driver setting, not an editor setting.
- Sharpening before tone. You amplify noise first and detail second. Reverse the order.
- Cranking saturation to bring colour back. Use Vibrance, and go in small steps. A one-click saturate is the fastest route to plastic skin and false clothing colours.
- Pushing contrast until it snaps. Clipped highlights and crushed shadows are gone for good. A gentle S-curve is enough.
- Using strong face repair. This is the community’s loudest complaint, and it is a fair one. AI face tools routinely change the shape of a mouth, the spacing of eyes or the apparent age of a person. On r/photorestore, people ask specifically for results that are true to the original with natural tones and detail. Turn the strength down until the restored face still looks like the same person in the same photograph.
- Cropping away handwriting, dates or borders. The pencilled date on the back and the studio stamp on the front are part of the record. Straighten and crop around them.
- Judging the result zoomed in. Check at 100 percent for artifacts, then at fit-to-screen for the final verdict. Most oversharpened restorations look fine while you are zoomed out and terrible in a print.
One more limit worth stating plainly. Severe sun-fading, chemical staining and missing areas can be improved, not recovered. If the print is stuck together, has active mildew, or the emulsion has lifted, stop editing and take the master scan to a professional restorer — that is what the r/photorestore community recommends, and it is a much better outcome than a confident fake.
Frequently Asked Questions
Is it possible to restore faded photos?
Yes, in most cases. Fading compresses the tonal range and dulls the colour layers, but the signal usually remains in the print, just compressed. Scanning at 600 DPI with auto-correction off and stretching the tones with Levels or Curves recovers most of it. Truly missing areas, such as a torn or chemically bleached section, can only be reconstructed, not recovered.
How do I brighten a faded picture?
Open Levels and drag the black input point to the left edge of the histogram and the white input point to the right edge, then lift the midtone marker a little. Check that shadows are not clipping to solid black and highlights are not hitting pure white. For a gentler route, use a mild S-curve instead. Brighten before you add colour, not after.
Why do old photos turn yellow?
Ultraviolet light, heat, humidity and unstable dyes break down the colour layers in photographic paper, and the blue-sensitive and cyan layers usually go first, which leaves a yellow or pink cast. The paper itself also yellows as its acids and lignins oxidise. The cast can be corrected with Color Balance or per-channel Curves, but the paper tone returns over time unless the print is stored cool, dark and dry.
Can AI restore a faded photo, and does it change the faces?
AI can handle severe damage quickly, and it is useful for a first pass on badly scratched prints. It also invents detail that was never in the original, and face tools are the most aggressive: eyes, mouth and apparent age can shift. If the memory matters more than the result looking impressive, use AI for damage and manual Levels, Curves and Vibrance for tone and colour.
How do I scan an old photo without a scanner?
Photograph it with your phone. Turn off the room lights, use soft indirect daylight from a window rather than flash, hold the camera square to the print, and shift position slightly until the reflection from glass or plastic disappears. Lock focus and exposure, and shoot a little wider than the print so you can crop straight afterwards. Glare control matters far more than megapixels.
Do photo stores like Walgreens or Michaels restore old photos?
They print and re-print from digital files, but they do not repair damaged originals. Genuine restoration of a torn, stained or badly faded print is specialist work, done by photo restoration services that scan at high resolution and rebuild damage by hand. If your only copy is fading, start with a scan at home before you spend anything, and keep that master safe.
Conclusion
Start tonight, not tomorrow: scan the print at 600 DPI with auto-correction off, save an untouched master, and do your editing on a copy. Fix tone first, colour second, damage third and sharpness last, and judge the result at normal viewing size rather than zoomed in. Small, reversible corrections on a protected copy are what separate a restored photograph from a redone one.