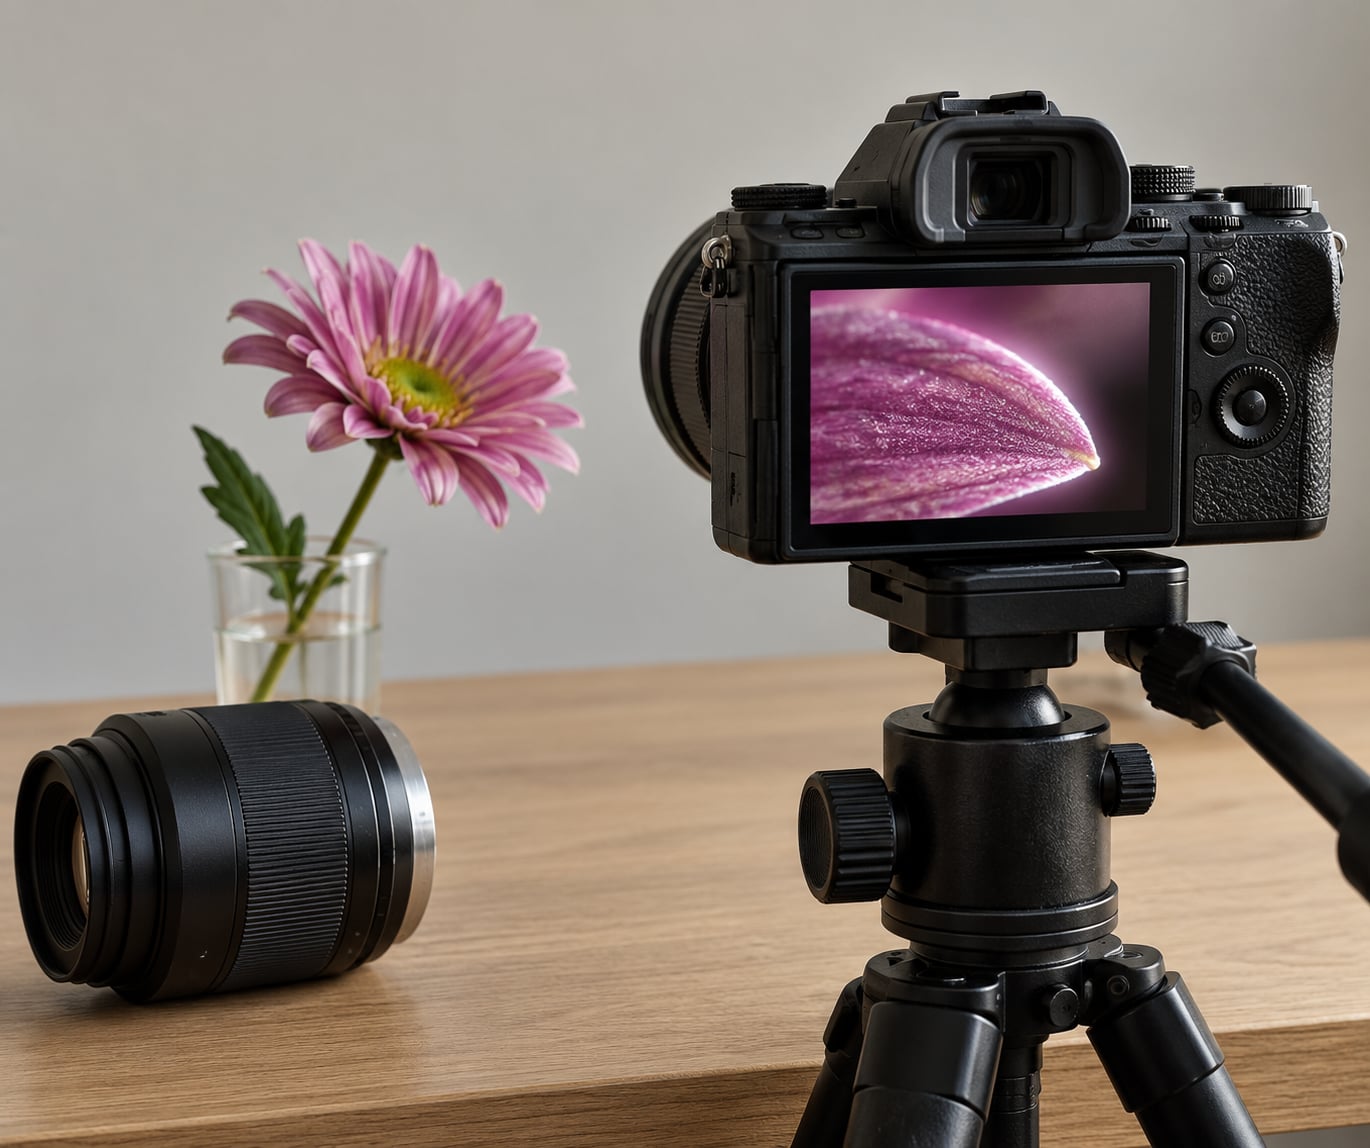
Learning how to focus manually with live view is mostly about three habits: put the camera in manual focus, magnify the part of the frame that matters, and turn the focus ring in tiny movements until that magnified patch looks sharp. Add focus peaking and a tripod, and you can hit critical focus on still subjects more reliably than autofocus does. The whole routine takes under a minute once you know where your camera keeps the magnify button.
That last part is where most people get stuck. Every manufacturer labels the same function differently, and the menu names change between generations of the same camera. Below I give you one camera-agnostic procedure, then translate it for Canon, Nikon, Sony, and Fujifilm so you can find your own controls without guessing.
None of this needs special equipment. If you have a camera with a rear screen and any lens that focuses by hand, you can follow the whole process as written.
Table of Contents
- What You Need
- Step-by-Step: How to Focus Manually with Live View
- Enable Live View and Prepare the Camera
- Magnify the Area You Need to Focus
- Adjust Focus Until the Subject Is Sharp
- Confirm Focus Before Taking the Photograph
- Choosing the Right Magnification Level
- Camera Button and Menu Cheat Sheet by Brand
- Enabling Focus Peaking and Other Focus Aids
- When Manual Focus in Live View Wins, and When to Skip It
- Common Mistakes
- Focusing in the wrong mode
- No switch on the lens at all
- Focusing on the wrong point
- Turning the ring too fast
- Judging sharpness in the wrong light
- Shaking the camera after focusing
- Ignoring focus breathing
- Magnifying past the screen’s resolution
- Leaving live view on for a moving subject
- Frequently Asked Questions
- Can I focus manually with live view on any camera?
- Is manual focus easier with live view than through the viewfinder?
- What is focus peaking, and does every camera have it?
- How do I focus manually on very small subjects such as flowers?
- Does live view make depth of field shallower?
- Should I use a tripod when focusing manually with live view?
- Conclusion
What You Need
Here is the honest list. Most people already own four of the five items.
- A camera with live view. Every DSLR made in the last two decades and every mirrorless body has it. Live view is the mode where the sensor, rather than an optical mirror and prism, feeds an image to your rear screen or electronic viewfinder.
- A lens that focuses manually. Every lens does this by hand, including autofocus lenses. Manual glass has no AF/MF switch, which trips people up; I cover that below.
- A tripod. Not optional if your subject is static. Magnifying the image and touching the ring adds movement you would not otherwise have.
- A way to release the shutter without shaking. The two-second self-timer is on almost every camera and is usually enough.
- Optional focus aids: focus peaking, a loupe or eyecup for the viewfinder, and a cable or wireless remote.
About button names: Canon tends to use descriptive words, Nikon uses symbols, Sony and Fujifilm split the difference. The function is identical, and the menu tree under it has been reshuffled more than once. Where I name a menu path, treat it as a starting point and look for the words, not the exact order.
One more thing worth sorting out first, because it causes quiet blur later: if your lens has an AF/MF or M/A switch, check where it sits now. A camera in manual focus with the switch on AF will refuse to let you focus by hand, and you will think your technique is broken.
Step-by-Step: How to Focus Manually with Live View
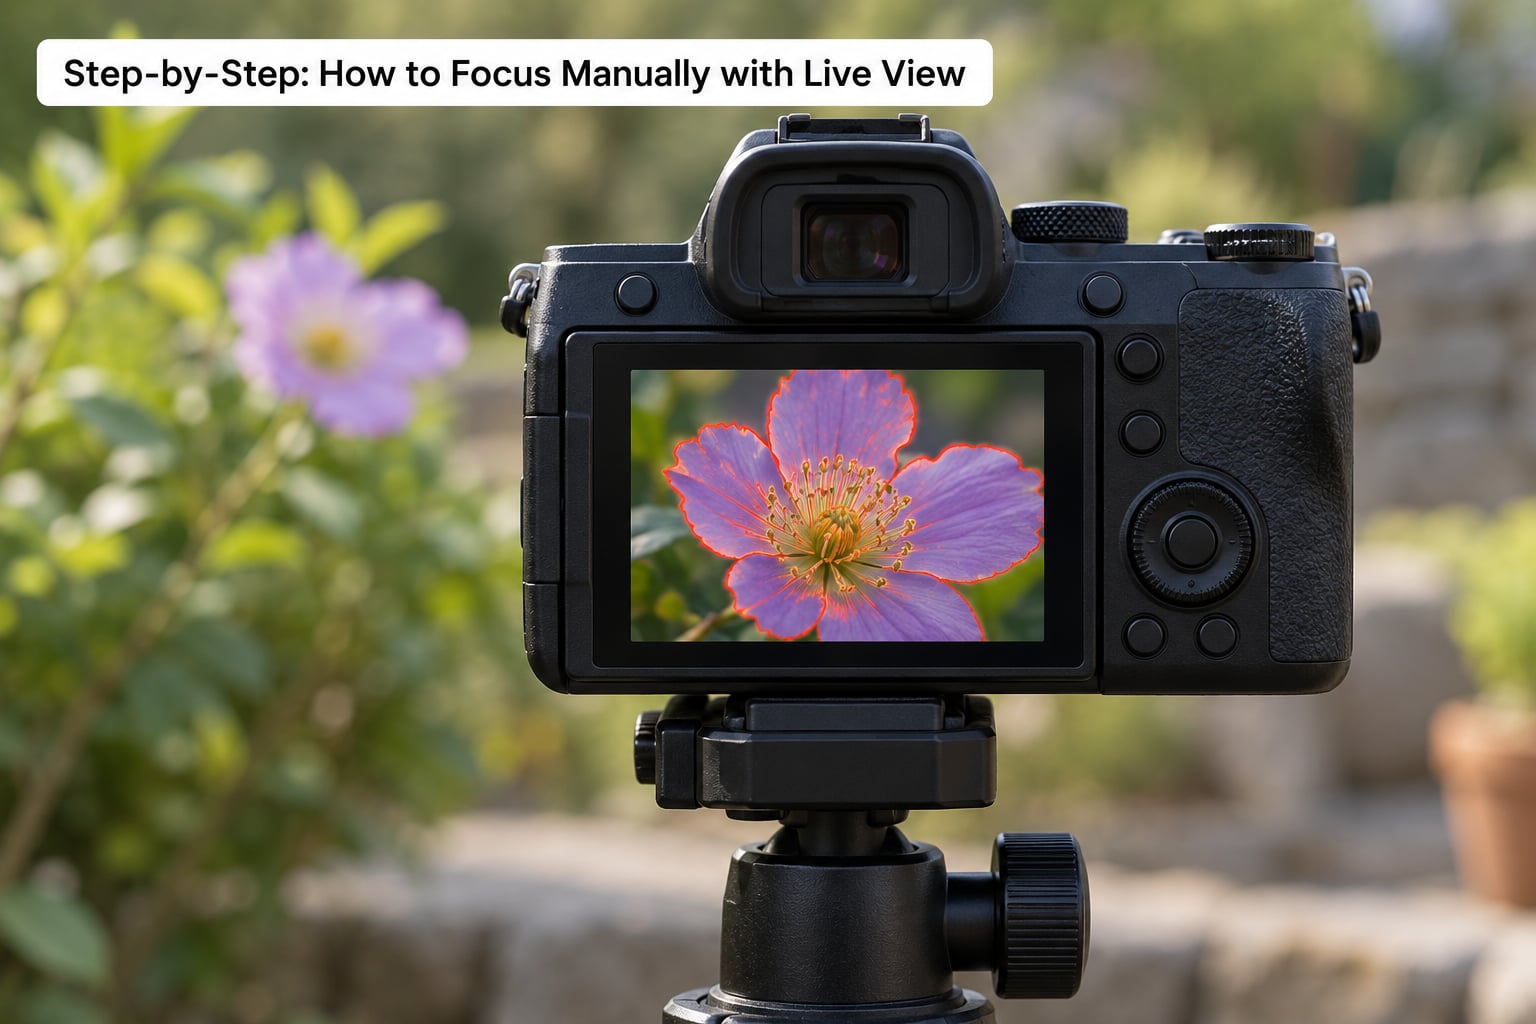
Follow these in order. The order matters more than it looks: each step assumes the previous one is done, and skipping ahead is why magnified focusing often ends in a soft frame.
Enable Live View and Prepare the Camera
Turn the camera on, switch the lens to manual focus, and press the live view button. On most cameras that button is labelled with a small camera icon or marked LV. Mirrorless bodies usually enter it automatically when the lens is away from the sensor.
Put the camera on the tripod before you frame. Frame the subject first at normal magnification, and only then zoom in, because the magnified frame is narrow and easy to lose.
Set the exposure before focusing. If you are working in bright sun, drop the screen brightness to its lowest useful setting; at night, raise it as far as it goes. A screen at the wrong brightness makes sharp detail look soft and soft detail look sharp, which is the whole reason people give up on this method.
Magnify the Area You Need to Focus
Press the magnify button to enlarge the image, then move the magnification square onto the exact part of the subject you care about. That square is the only part of the frame that is actually bigger, so put it on a flower stamen, a front eyeline, or a distant ridge line, not on empty sky.
Most cameras step through roughly 1x, 5x, 10x, and on some models more beyond that. Touchscreen cameras let you tap a spot and have it magnified there, which is faster once your finger lands where you want it.
How you move the square matters. The joystick, a directional pad, or dragging on the screen all work, and all feel wrong until you have done it ten times. Push it slowly. Fast inputs overshoot the area you wanted and leave you magnifying background instead of subject.
Adjust Focus Until the Subject Is Sharp
Now the actual focusing. Turn the focus ring a very small amount at a time and watch the magnified patch. Wide open, the transition from blurred to sharp is obvious; stopped down, it is subtle and takes patience.
Follow two rules. First, if you overshoot, come back past it and approach again from the far side, because focus rings are not perfectly repeatable and a second pass lands closer than the first. Second, if you cannot see the difference any more, stop rather than keep turning. If two settings look identical, both are close enough.
Focus peaking helps here. It draws bright outlines on the highest-contrast edges in the frame, so you turn the ring until the outline on your subject lights up and tightens. Where peaking is available, it is usually faster and easier than squinting at a magnified image in bright light.
If your subject is flat and perpendicular to the sensor, you can go further and pre-focus to the hyperfocal distance. Set the focus ring to the distance where everything from roughly half that distance to infinity looks sharp, and anything within your depth of field stays acceptably sharp. It is less precise than magnifying, and much faster when you are shooting a wide street scene.
Confirm Focus Before Taking the Photograph
Check three things in order: the magnified image still looks sharp, the focus indicator in the viewfinder or screen is lit if your model has one, and your peaking highlights are still on the subject rather than on something behind it. Then press the shutter.
Use the two-second self-timer or a remote release. Touching the shutter moves the camera enough to soften detail you just spent a minute nailing, and the effect is small enough to survive a quick look at the rear screen and get blamed on focus instead.
Inspect the first frame at full size before you change anything. If it is soft, the cheapest fix is usually to return to 1x and check whether you are judging sharpness at the wrong magnification, because too much zoom shows sensor noise and softened detail that have nothing to do with your focus point.
Choosing the Right Magnification Level
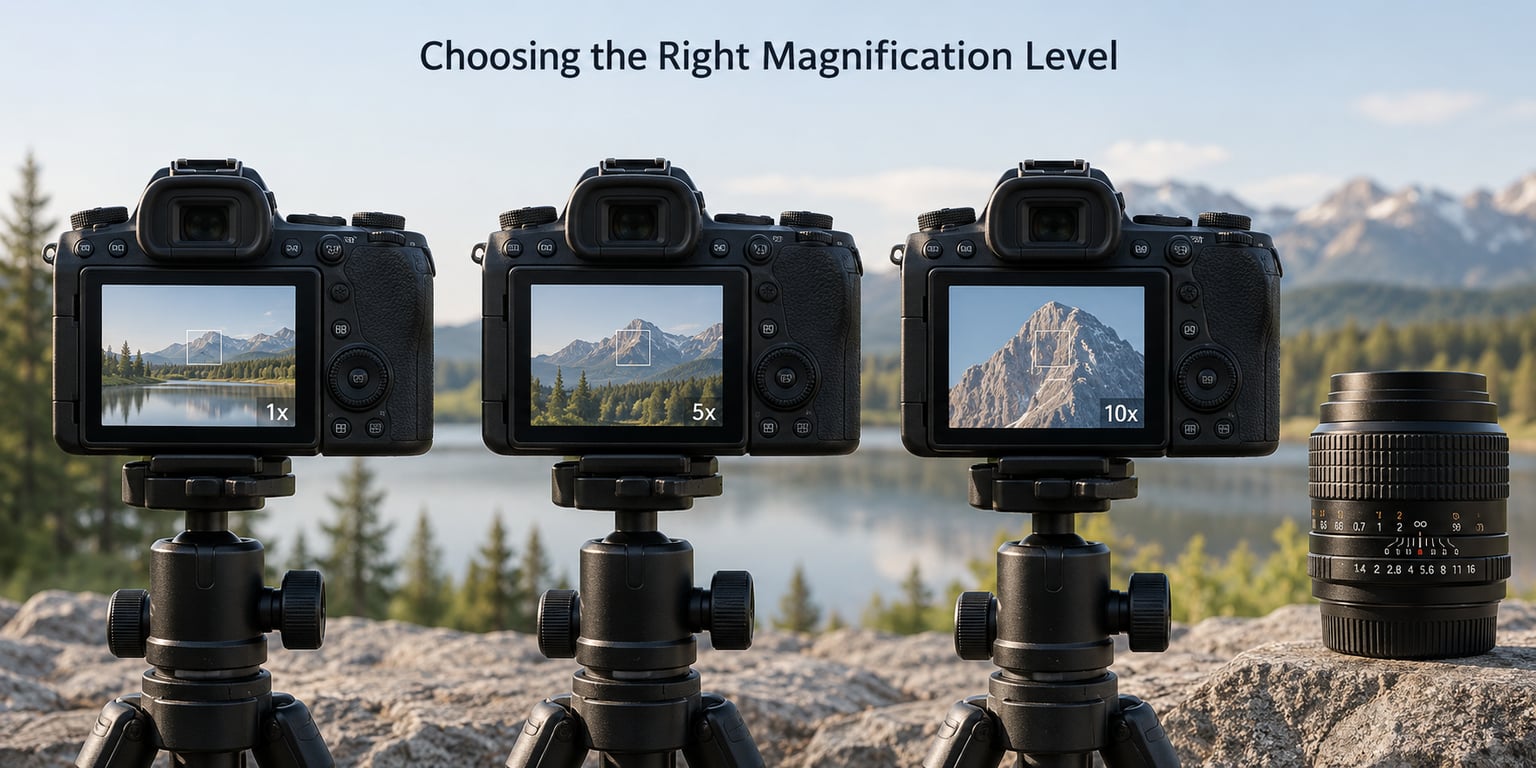
Magnification is not a quality setting. Bigger is not sharper; it is just bigger, until you magnify past the resolution of your rear screen and start seeing mush. Use the lowest level that clearly resolves the edge you are judging.
| Magnification | What it is good for | Watch out for |
|---|---|---|
| 1x (no zoom) | Framing, depth-of-field preview, checking the whole frame before you shoot | Almost never precise enough to judge critical focus by eye |
| 5x | Landscapes, architecture, wide scenes where subject detail is large in frame | Still coarse on very fine subjects like insects or distant stars |
| 10x | Close-up and macro work, still life, star focus, the default for careful work | Screen noise and dimming brightness in low light |
| 20x and beyond | Confirming a decision you are already confident about, or checking whether AF grabbed focus | Past the screen’s real detail; blur you see here is often not blur you recorded |
Inside those limits, some lenses behave differently. Long telephoto lenses gain less from high magnification because they are already magnifying the subject optically. A macro lens gains the most.
Camera Button and Menu Cheat Sheet by Brand
Below is the shortest translation I can give. Names move between generations, so if a label does not match, look for the function rather than the wording.
| Brand | Enter live view | Magnify | Focus peaking |
|---|---|---|---|
| Canon | Live View button, or the Start/Stop control on mirrorless | Q button, then the magnify key; press again to step up | Menu, then the AF/MF tab, then Manual Focus, then Focus peaking |
| Nikon | Lv button on the back, or the monitor selector switch | Plus magnify key, then the magnify button to change level; minus returns to 1x | MENU, AF/MF setting, MF assist, Focus peak highlight |
| Sony | Live View switch or button on the rear top corner | Focus Magnifier button near the rear dial | Menu, Focus, then Focus peaking settings, with a level and colour |
| Fujifilm | The Live View button, often marked with an eye icon | FOCUS button, then the electronic command dial to set magnification | MF Assist menu, then the manual focus assist display option |
On mirrorless bodies the electronic viewfinder magnifies the same way the screen does, and you keep the camera to your eye while zooming. It is the best way to focus in bright sun, where the rear screen washes out.
Enabling Focus Peaking and Other Focus Aids
Focus peaking is a display aid, not a capture aid. The camera analyses contrast in the live image and highlights the edges with the highest local contrast in a chosen colour, usually red, yellow, blue, green or white.
Turn it on from the manual focus menu listed above, then set the highlighting level to high or medium. The high setting picks up only genuine maximum contrast and gives you a tighter target; the low setting lights up so many edges that it becomes noise of its own.
Two habits make peaking genuinely useful. Watch the outline thicken and brighten as you approach focus rather than waiting for it to appear, and make sure the highlighted colour does not match something already in your scene. Peaking is most reliable as a confirmation tool: magnify to 5x or 10x, focus by eye, then check with peaking.
If your body lacks a peaking option entirely, or you own an older manual lens that has no switches at all, two substitutes work well. Many cameras have a manual focus assist function that briefly magnifies the frame the moment you turn the ring, which is the same idea automated. Failing that, a cheap loupe over the viewfinder gives you the classic ground-glass experience in bright light.
When Manual Focus in Live View Wins, and When to Skip It
Manual focus in live view is not a moral upgrade. There are situations where autofocus is simply faster and more accurate, and using manual there costs you frames.
Manual wins on static subjects with a known target: still life, product work, close-ups on a tripod, a landscape where you want the foreground critical, an older lens with no autofocus, fog and mist where contrast-based autofocus hunts, and night skies where you start from the brightest star in the frame and switch to the lens you are aiming at.
Autofocus wins on anything that moves between focusing and shooting: wildlife, children, sport, street, and candid work. It also wins when you are on a moving platform, where your tripod and your body are not stable enough for magnified judging.
There are camera-side costs too. Live view drains batteries noticeably faster than the viewfinder, some cameras blackout the display briefly when they fire, and long exposures on a small aperture produce a dim, noisy preview that makes accurate judging harder than the situation deserves. Nothing about magnified live view focus changes depth of field; you still see the same slice of depth you would record.
Common Mistakes
These are the errors I see most, in the order people hit them.
Focusing in the wrong mode
If the lens switch is on AF, or the body still has AF selected, turning the focus ring moves nothing on most modern lenses. Set the lens to MF or M/A, and set the body to manual focus as well if it has its own setting.
No switch on the lens at all
Almost every manual and vintage lens focuses by hand, so nothing needs enabling. Put the body in manual focus mode if it insists, and on older bodies that may mean turning off autofocus-driven electronic focus or using a manual-focus adapter that removes the electronic contacts. If your lens has image stabilisation and no contacts to tell the body its focal length, you may need to enter the focal length yourself so stabilisation knows what to compensate for.
Focusing on the wrong point
Zoom the wrong part of the frame and you will produce a beautifully sharp background. Decide before you magnify which edge is the subject, and place the magnification square there deliberately.
Turning the ring too fast
A quick twist overshoots and tells you nothing. Use the smallest movement the ring allows and re-approach from the same side each time; it feels slow for about two minutes, then it becomes the fastest way you have.
Judging sharpness in the wrong light
Screen brightness is the main reason people report they cannot tell whether anything is in focus. Match the brightness to the light you are in, shade the screen with your hand when shooting in daylight, and clean the screen and the front element, because a smeary lens makes sharp look soft everywhere.
Shaking the camera after focusing
Touching the shutter, the tripod head, or the lens barrel after you have focused will soften the frame. Use the two-second self-timer, an electronic or wired remote, or a body with a silent electronic shutter where the situation allows it.
Ignoring focus breathing
Some lenses change focal length slightly as you focus, so the sharpness you confirmed at 10x drifts when you zoom back out to 1x and shoot. Check after returning to 1x, and on stubborn lenses confirm at the magnification you will actually shoot at.
Magnifying past the screen’s resolution
Beyond a certain zoom you are enlarging screen pixels rather than sensor detail, and the image turns to mush whether or not you are in focus. If 10x looks worse than 5x, step back down and judge at 5x.
Leaving live view on for a moving subject
Latency between what you see and what the camera records is much greater in live view than through an optical finder. For anything that moves, switch back to autofocus and shoot rather than fighting it.
Frequently Asked Questions
Can I focus manually with live view on any camera?
Yes. Any camera with a live view screen or electronic viewfinder can be focused by hand, and every lens focuses manually even if it also focuses automatically. The only requirement is magnification: without it you are working at 1x, which is fine for large subjects but not for macro work or stars. Very old DSLRs and most fixed-lens compact cameras lack magnification entirely.
Is manual focus easier with live view than through the viewfinder?
For close work, low light, and anything with a small subject detail, yes. A magnified screen resolves edges you simply cannot see on a focusing screen, and you can hold the camera to your eye in bright sun. Through an optical finder, experienced photographers often focus faster because they rely on the whole image rather than one point. On a mirrorless body the electronic viewfinder magnifies exactly like the screen, so the two are equivalent.
What is focus peaking, and does every camera have it?
Focus peaking is a display overlay that outlines high-contrast edges on the live image so you can see where the sharpest detail sits. Most recent Canon, Nikon, Sony and Fujifilm bodies offer it, usually in a manual focus menu with a colour and a sensitivity level. It is a viewing aid only: it does not affect the recorded image. Older bodies and some models in video mode lack it, which is where a magnify-and-look method takes over.
How do I focus manually on very small subjects such as flowers?
Magnify to 10x, place the square on a structural detail like a stamen or the edge of a petal rather than on the middle of the flower, and turn the ring in the smallest movements available. Turn on focus peaking and watch the outline tighten rather than appearing. Stop down for depth of field, but expect the preview to darken and get noisy as you do, and stop at f/8 rather than pushing to f/16 for preview reasons alone.
Does live view make depth of field shallower?
No. What the live view image shows is what the lens is actually focusing through, so the depth of field you see at 1x is the depth of field you record. Exposure settings, not the display mode, decide how much of the frame is sharp. The one caveat is that a dim, noisy preview at small apertures can make you misjudge fine detail, so raise magnification and lower screen brightness before you decide a frame is out of focus.
Should I use a tripod when focusing manually with live view?
Yes whenever the subject is not moving. Magnifying, turning the ring, and pressing the shutter all move the camera a little, and magnified judging makes you more sensitive to that movement than normal shooting does. A tripod plus the two-second self-timer removes it almost entirely. Without a tripod, brace the camera against something solid, hold your breath on the release, and expect to check each frame closely.
Conclusion
Start with the smallest possible version of the routine: switch the lens to manual focus, enter live view, set the camera on the tripod, magnify to 10x, and turn the focus ring in the tiniest increments until the patch under the square looks sharp. Release on the two-second self-timer and check the frame at full size.
Once that feels natural, add focus peaking as a confirmation layer rather than a crutch, and a pre-focus approach for scenes where a whole range needs to be sharp. Everything else on this page is refinement, and this is the part that gets you a crisp photograph in 2026.