Reach for aperture priority mode whenever the look of your frame depends on how much of the scene is sharp. You pick the f-number, the camera reads the light and picks the shutter speed to match, and you keep creative control of depth of field without re-metering every time the clouds move. It is the right default for portraits, flowers, street work and most daylight scenes. The one thing to watch: in dim light the meter will happily hand you a shutter speed slow enough to blur.
I shoot most of my daylight work in this mode. It is faster than manual and more predictable than leaving everything to the camera, which is why the answer to when to use aperture priority mode is usually “most of the time, until the light or the motion tells you otherwise.”
Table of Contents
- What You Need to Use Aperture Priority Mode
- Step-by-Step: Setting Up Aperture Priority Mode
- Step 1: Put the camera in aperture priority mode
- Step 2: Choose the aperture for your subject
- Step 3: Set ISO and read the shutter speed the camera chose
- Step 4: Use exposure compensation when needed
- Step 5: Take a test shot and review the result
- Step 6: Know when to switch away from aperture priority mode
- Common Mistakes to Avoid in Aperture Priority Mode
- Frequently Asked Questions
- When should I use aperture priority mode instead of manual mode?
- What aperture should I use for portraits and scenery?
- How do I prevent blurry photos in aperture priority mode?
- Should I use exposure compensation in bright sunlight?
- Can I use aperture priority mode for moving subjects?
- What is a good starting ISO for aperture priority photography?
- The First Thing to Do Next
What You Need to Use Aperture Priority Mode
Almost any camera made in the last fifteen years will do. There is no special body required, just a mode marked A on Nikon, Sony, Fujifilm and most Panasonic bodies, or Av on Canon, which stands for aperture value.
Beyond the mode itself you need four controls on the body to be comfortable with it:
- The aperture control. Usually the top command dial on a mirrorless camera or an entry on a front or rear dial on a DSLR. With a manual-focus lens that has its own aperture ring, turn the ring instead.
- The ISO control. Either the ISO button next to a dial, or the ISO tab inside a menu. Most people who use this mode a lot turn on Auto ISO and set a ceiling.
- Exposure compensation. A dial, a button plus a dial, or a menu slider. This is how you tell the camera the scene is brighter or darker than it looks.
- The exposure display. The top plate LCD or the strip at the bottom of the viewfinder. This is where you read the shutter speed the camera picked, and whether it is too slow.
One honest note about lenses: when you fit a fully manual-focus lens with an aperture ring, the camera body cannot command the aperture, so the ring does the work and the mode behaves closer to a manual exposure. Useful to know when the aperture does not respond to a dial.
Step-by-Step: Setting Up Aperture Priority Mode
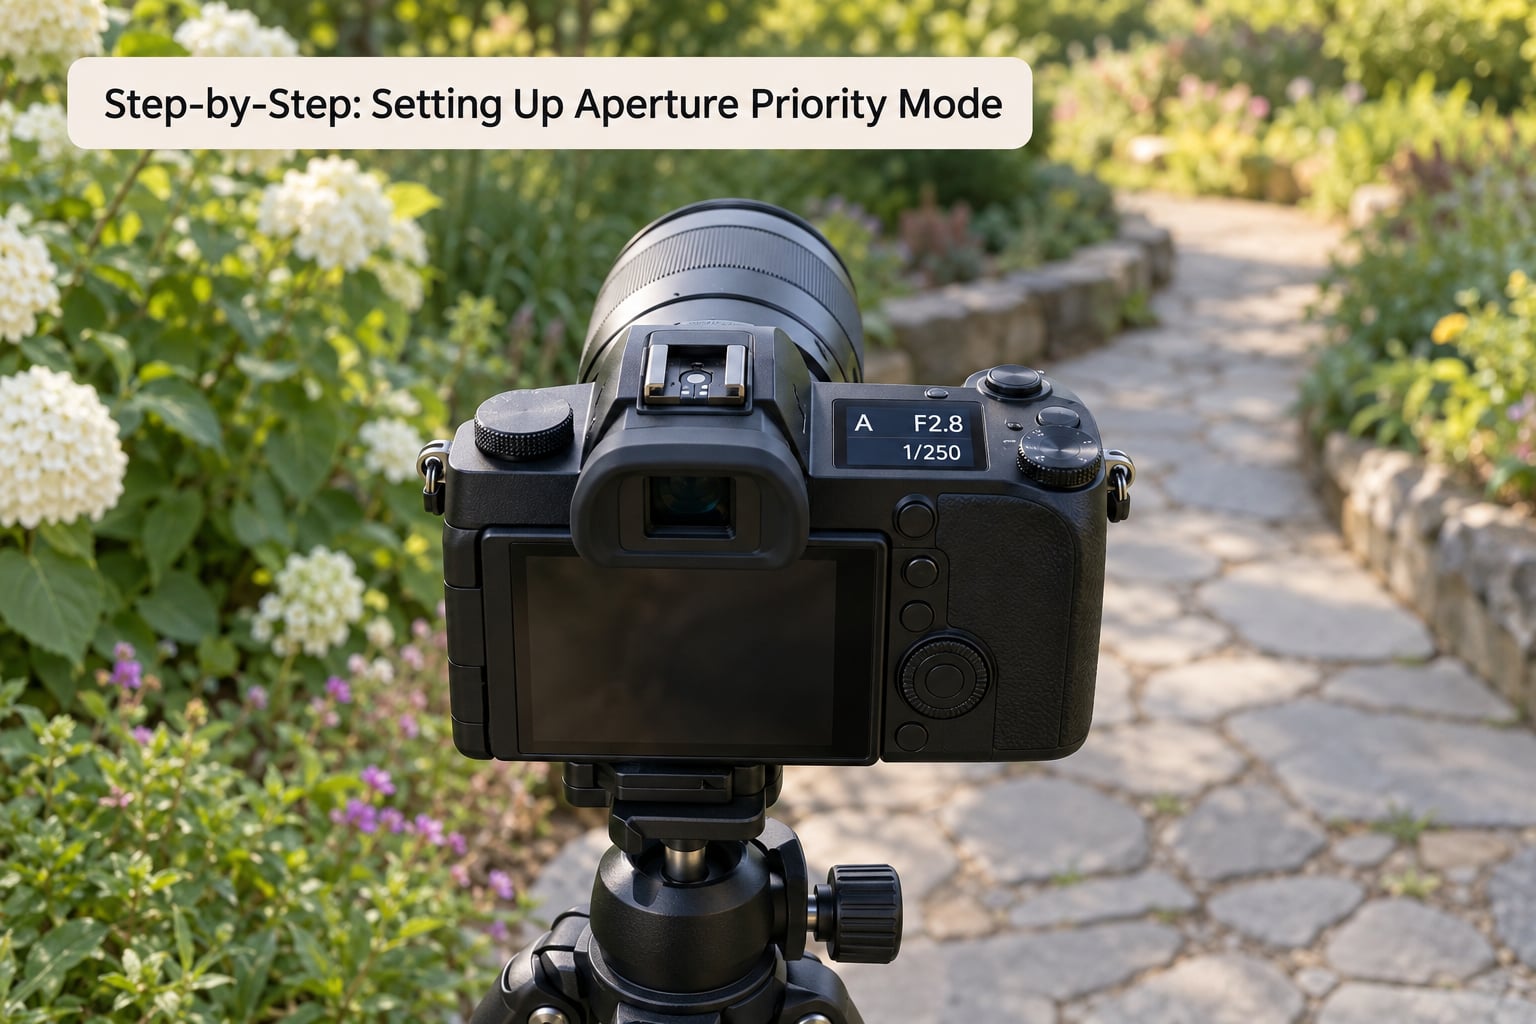
Step 1: Put the camera in aperture priority mode
Turn the mode dial until A or Av lines up with the index mark. On Canon bodies you will see Av sitting between Tv and P, which is a good reminder of what it does: Tv is shutter priority, P is program, Av hands you the aperture instead.
From this point on the camera controls shutter speed, and ISO too if you have enabled Auto ISO. You control the aperture, the ISO ceiling and the exposure compensation dial. Everything else on the dial, including flash sync and any exposure lock, still works exactly as it does in other modes.
Users on Reddit’s r/AskPhotography commonly run this mode with a locked ISO range and exposure compensation rather than a fixed ISO, which is the setup I would copy if you are starting out.
Step 2: Choose the aperture for your subject
The aperture is the reason you picked this mode, so decide it before anything else. Depth of field is the one exposure variable you cannot recover later: once the background is smeared into blur, no edit brings it back. Sharpness, ISO and exposure are all recoverable; that is not.
Start from this cheat sheet and adjust for your lens and light:
| Situation | Starting aperture | What it gives you |
|---|---|---|
| Single person portrait, blurred background | f/1.8 to f/2.8 | Shallow depth of field, soft background, subject pops |
| Headshot or tight group of two or three | f/4 to f/5.6 | Everyone sharp with the background softening a little |
| Family group, kids, pets in motion | f/5.6 to f/8 | Deep depth of field, less chance of someone blurred out |
| Flowers, still life, food | f/4 to f/8 | Subject sharp, background melts away |
| Scenery, architecture, interiors | f/8 to f/11 | Front to back sharp, straight vertical lines at f/8 |
| Night or heavy shade, subject is moving | Widest the lens goes | Gathers light, but you must watch the shutter speed |
Two things to keep in mind. A lens behaves differently: a 200mm f/2.8 at f/4 has a much deeper depth of field than a 50mm f/1.4 at f/4, because focal length is part of the calculation. And pushing past about f/11 on most lenses costs you sharpness to diffraction, a softening you cannot edit away either.
Step 3: Set ISO and read the shutter speed the camera chose
Look at the exposure display after you set the aperture. The shutter speed is the number the camera solved for, and it is the first thing you should check.
The golden rule of shutter speed is reciprocal focal length for handheld shooting with a steady subject. On a 50mm lens, keep the speed at or above 1/50s. On a 200mm, you need 1/200s or faster before camera shake shows up. Stabilisation buys you a few stops on some bodies, but it does not freeze movement, and it does nothing at all for a tripod-less night shot.
For moving subjects, go faster. Sports, running children and anything handheld by a moving person generally wants 1/500s or more, and that is usually the moment to stop and reconsider the mode entirely.
On ISO, decide whether you want it fixed or automatic. Fixed ISO keeps noise consistent across a sequence of frames, which matters for consistency. Auto ISO lets the camera find the light, and you set a maximum so it stops climbing at a point you are happy with. Most cameras adjust shutter speed first with Auto ISO on and only raise ISO when the shutter speed hits your minimum limit, which is why a dark scene in aperture priority often shows you ISO climbing while the speed stays stuck.
Step 4: Use exposure compensation when needed
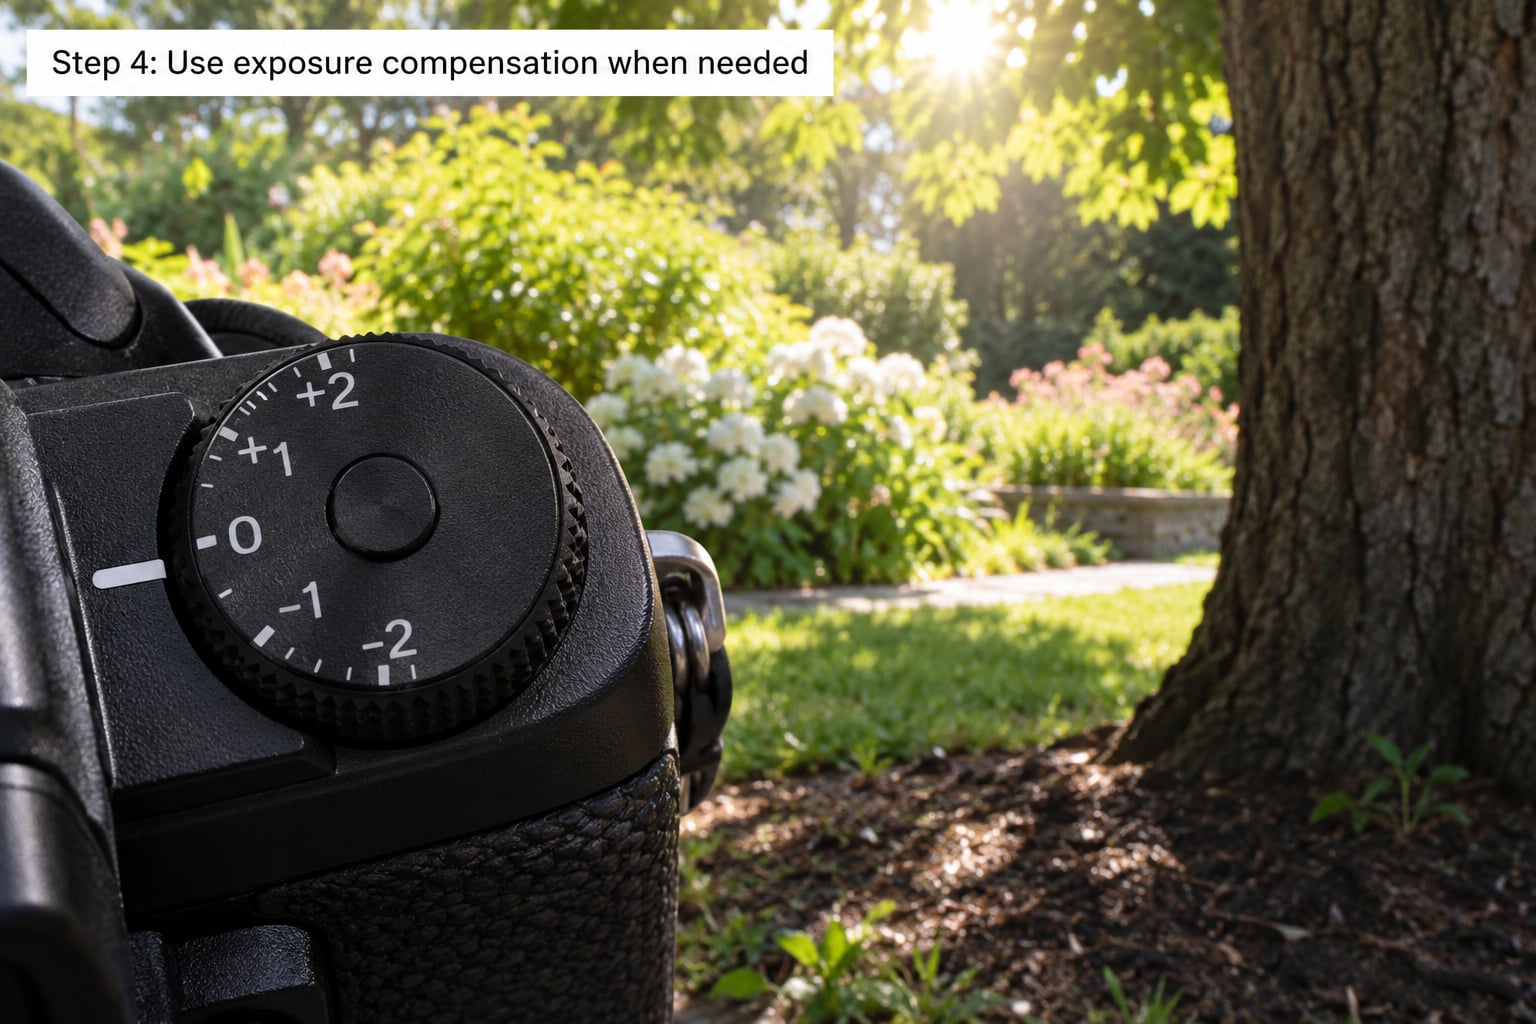
The camera meters for an average grey. That is usually fine and occasionally wrong, and exposure compensation is how you correct it without giving up the aperture you just chose.
Dial in negative compensation when the scene has a lot of bright area: snow, sand, a sky filling most of the frame, a sunlit wall. Meters get fooled by large bright areas and the result is a grey, lifeless frame, usually with a blown sky. One or two stops down fixes it. Bright snow is a good example: without compensation it comes out looking like dull concrete.
Dial in positive compensation when the scene is dominated by shade, a dark subject or a backlit subject where you want the exposure set on the face. Start at about one stop and add in halves.
Many people also add a small permanent offset for their editing style. Shooting a touch under the meter, around minus one third of a stop, leaves a little more headroom in the highlights and costs nothing in post.
Step 5: Take a test shot and review the result
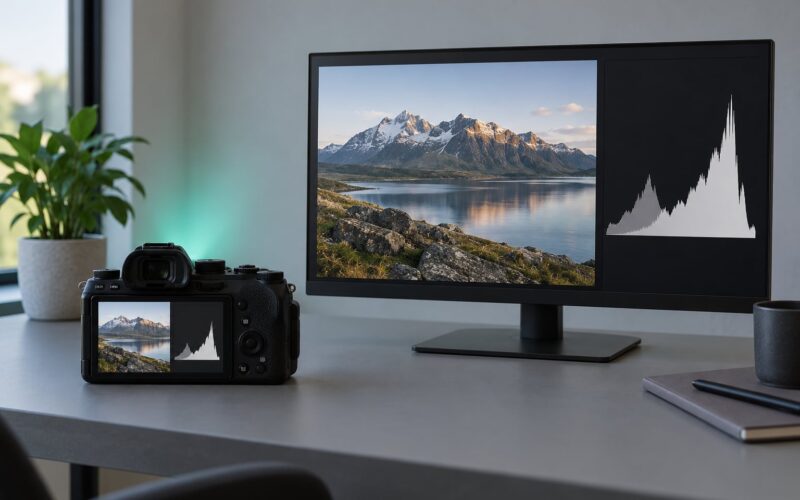
Make one frame, then check it. Turn on the histogram and the highlight warning if your camera has them.
A histogram bunched hard against the right edge means clipped highlights, and clipped detail is gone for good. A histogram that never touches either edge means the image is flat and has room to be brighter. Most cameras also flash a warning icon or blink the screen when highlights clip, which is worth switching on permanently.
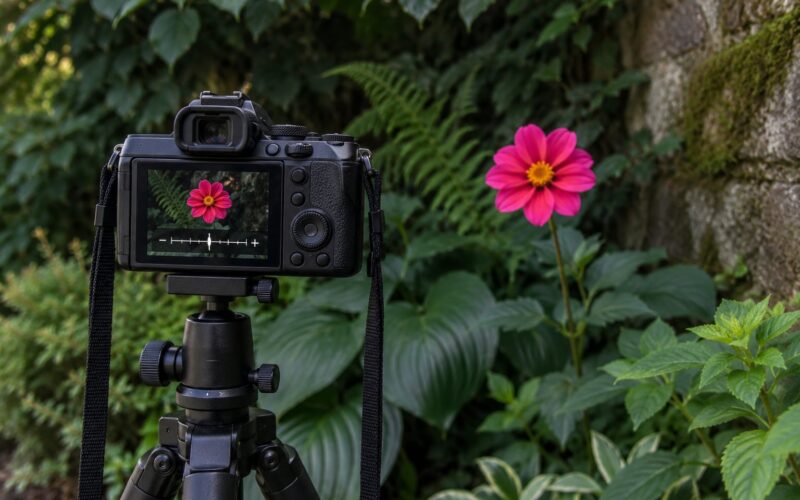
Then check two things that are not about exposure. Is the focus where you wanted it? At f/1.8 the depth of field is thin enough that a millimetre of focus error shows, so use a single-point AF spot or enlarge the frame before you commit. And did the aperture give you the look you wanted, or did the background stay busier than you expected?
If the answer is wrong, change one thing at a time. Aperture a stop, then compensation a stop, then ISO. Changing three at once teaches you nothing.
Step 6: Know when to switch away from aperture priority mode
Switch to manual when the light stops changing rapidly but you want the exposure locked to identical values across a series, or when you are stacking exposures for focus stacking and want every frame at the same shutter speed. One commenter described manual as tedious and time-consuming, worth it mainly for astrophotography, which matches my own experience.
Switch to shutter priority (S or Tv) when the subject’s speed decides the exposure instead of its depth. Sports shooters on r/sportsphotography describe the same split: manual when the light holds steady, aperture priority with a minimum shutter speed when clouds come and go and re-metering by hand wastes frames.
Switch to program (P) when you have no opinion about either value, such as snapshots indoors on a camera with no priority modes at all.
Some cameras offer a hybrid. Canon’s Fv mode lets you set both aperture and shutter speed and the camera fills in whichever one you did not touch, which some users prefer as a single mode to learn. If your body has it, spend an afternoon with it before deciding.
Common Mistakes to Avoid in Aperture Priority Mode
Stopping down too far for the light. Pick f/11 on a 50mm lens in fading evening light and the camera is forced into a slow shutter speed to compensate for the light you just threw away with a tiny aperture. The fix is to open up and let ISO rise instead.
Ignoring the shutter speed on the display. This is the most common failure. Aperture priority picks a correct exposure, not a sharp one. Make a habit of reading that number every time you raise the camera.
Leaving Auto ISO uncapped. Without a ceiling the camera will climb to ISO 12800 before it gives up, and the noise will be worse than the blur you were trying to avoid. Set a maximum that matches your tolerance for grain.
Using a wide aperture for a group of people. At f/1.8 only a narrow slice of the frame is sharp. In a shot of eight people standing at different distances, somebody at each end will be soft. f/5.6 or f/8 costs almost nothing in dim light and fixes it.
Overexposing bright scenes. Snow, white walls and bright skies push the meter the wrong way. Check the histogram before you assume the camera is right, and dial in negative compensation as a habit for these.
Trusting the meter on a backlit subject. A face against a bright sky gets exposed for the sky and the face goes dark. Either use spot metering on the face, or set positive compensation and let Auto ISO find the rest.
One habit worth building early: turn on the electronic level or the grid, and check the histogram after the first frame of any new scene. Both take half a second and they catch most of what goes wrong.
Frequently Asked Questions
When should I use aperture priority mode instead of manual mode?
Use aperture priority whenever depth of field is the creative decision and the light is changing. It suits portraits, group photos, flowers, travel and street work where the meter needs to keep up. Switch to manual when you need several frames at identical exposure settings, such as focus-stacked frames or bracketed sequences in unchanged light, or when you are working at night and want total control of the exposure triangle.
What aperture should I use for portraits and scenery?
Start at f/1.8 to f/2.8 for a single-person portrait with a blurred background, f/4 to f/5.6 for a headshot or two people, and f/5.6 to f/8 for groups and anyone who might move. For scenery and architecture, f/8 to f/11 keeps the whole frame sharp, and f/8 is a good choice if you want straight vertical lines. Beyond f/11, diffraction starts softening detail.
How do I prevent blurry photos in aperture priority mode?
Watch the shutter speed the camera selects, every single frame. For handheld work keep it at or faster than the reciprocal of your focal length, and add margin for movement: 1/500s or faster for sports and children. If the light is too dim for that, open the aperture or accept a higher ISO. Setting a minimum shutter speed limit with Auto ISO lets the camera raise ISO instead of dropping below your floor.
Should I use exposure compensation in bright sunlight?
Usually yes. The meter aims for middle grey, so a scene full of bright area, such as snow, sand, a pale wall or a sky filling the frame, comes out too light and often with clipped highlights. One to two stops of negative compensation restores the tone and keeps the sky intact. Check the histogram rather than trusting the viewfinder, which is often brighter than the recorded file.
Can I use aperture priority mode for moving subjects?
You can, with care. Aperture priority meters a still scene, so a sprinting athlete can pass through the frame while the camera is holding a speed set for standing still. Set a minimum shutter speed of 1/500s or faster, which forces Auto ISO to climb as needed, and switch to shutter priority or manual if the light is unreliable enough that you want to hold the speed yourself.
What is a good starting ISO for aperture priority photography?
Base ISO is the cleanest place to start, and on most modern cameras that means ISO 100 or ISO 64. For daylight work with plenty of light, a fixed base ISO gives you clean, consistent files. In shade, indoors or near sunset, turn on Auto ISO and set a ceiling you are willing to accept, usually somewhere between ISO 3200 and ISO 6400 depending on how much grain your editing can handle.
The First Thing to Do Next
Turn the dial to A, set f/4, leave ISO at 100 and take one frame in daylight. Read the shutter speed, then the histogram. Repeat at f/1.8 and f/8 and look at what changed in the background. That comparison teaches depth of field faster than any article, including this one.
Once the aperture choice feels automatic, the rest is guardrails: a minimum shutter speed limit, an ISO ceiling, and exposure compensation that you reach for the moment the light gets contrasty.