Learning how to photograph sunflowers comes down to three moves: shoot about an hour after sunrise or an hour before sunset, get down low so the sky backs the flower, and get close enough to photograph the seed head texture. Get those right and even a phone camera produces sharp, warm shots.
That is the whole trick, honestly. Sunflowers are a forgiving subject because they hold their colour all season, face roughly the same direction, and offer three distinct pictures in one plant: the wide field for scale, the single bloom for shape, and the disc florets for detail. What usually goes wrong is not gear, it is light and angle.
This guide walks through the field workflow in the order you would actually do it on the day — what to bring, how to scout, which settings to dial in for the light you have, and how to rescue the files at home. No expensive kit required.
Table of Contents
- What You Need
- Essential
- Optional but useful
- Step-by-Step: How to Photograph Sunflowers in the Field
- 1. Scout the Sunflowers and Choose the Best Time
- 2. Compose the Flower and Its Surroundings
- 3. Set the Camera for Sharp Flower Detail
- 4. Use Light to Show the Flower’s Texture
- 5. Capture Variations and Check the Results
- Common Mistakes
- The flower is blurry
- The yellow petals are blown out
- The background is cluttered
- The light looks flat
- Everything looks over-edited
- You forgot the field around the flowers
- Frequently Asked Questions
- When is the best time of day to photograph sunflowers?
- What aperture should I use for a sunflower field?
- Can you photograph sunflowers well with a phone?
- How do I stop my sunflower photos looking dark or oversaturated?
- How do you deal with wind when photographing flowers?
- Conclusion
What You Need
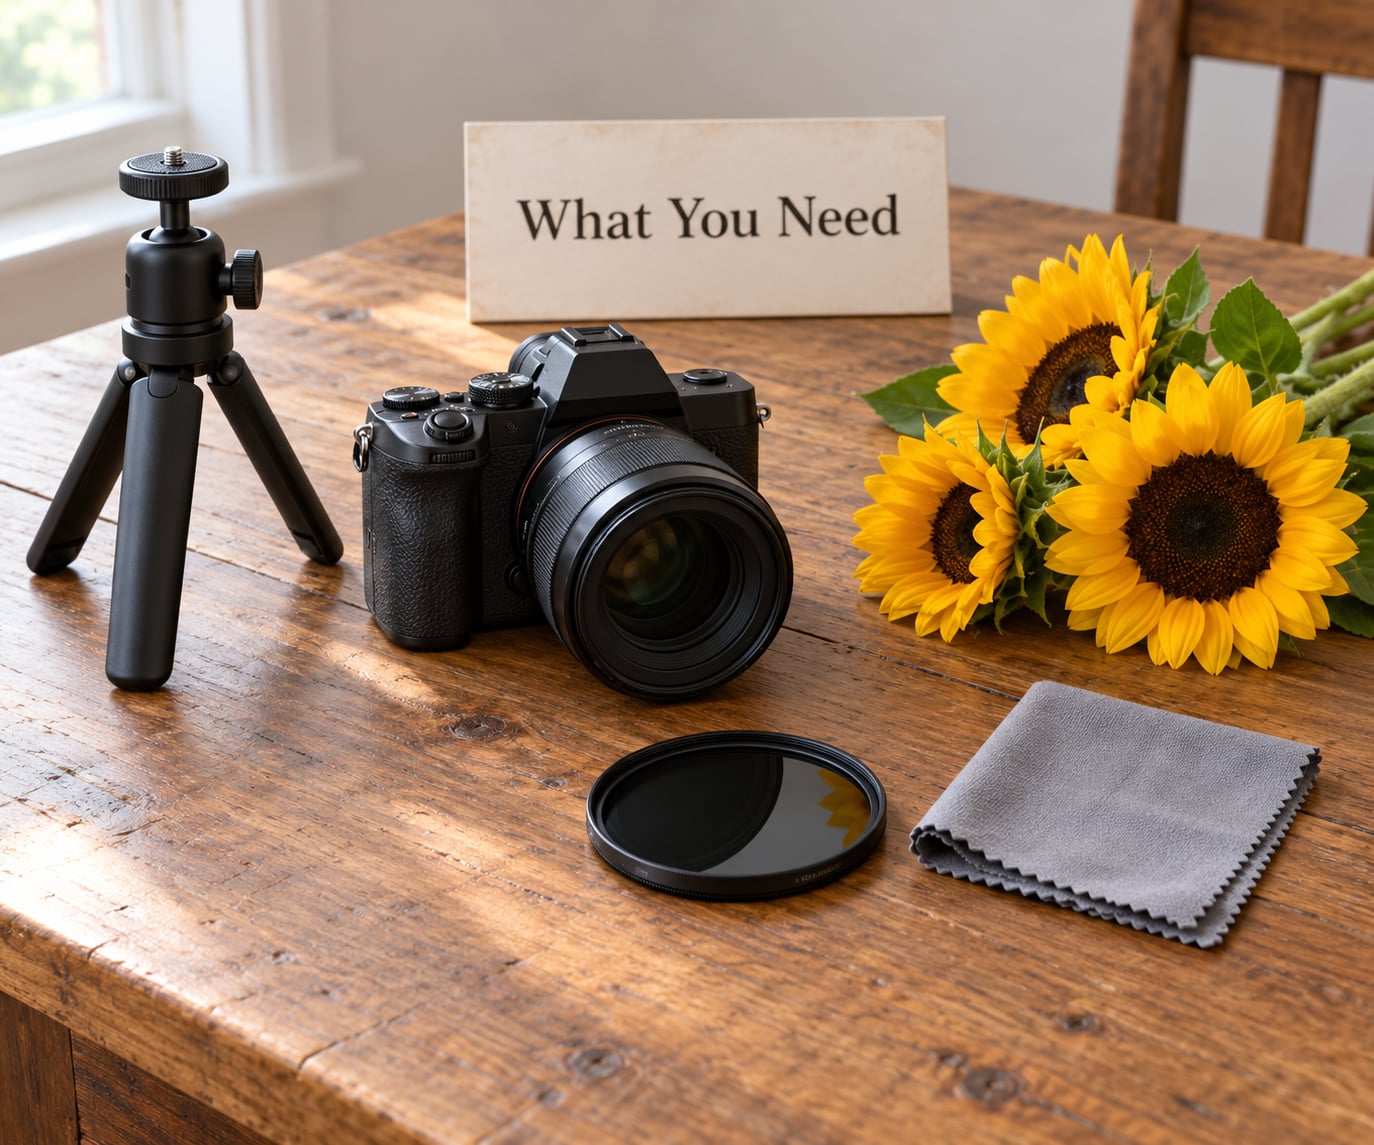
Most of what helps here is cheap or free. Split your list into what genuinely changes the result and what is nice to have.
Essential
- Any camera with manual mode. A DSLR, mirrorless body, or a phone with a Pro or Manual mode. Aperture control is the one thing you cannot fake, and it decides whether your background is a creamy blur or a legible mess of stems.
- A wide or standard zoom. A 24-70mm on full frame, or roughly 16-50mm on a crop sensor. Wide for the field, longer end for one flower filling the frame.
- A cloth. Microfibre, kept in a pocket. Dust on a front element costs you contrast and no amount of editing gets it back.
- Water and sun protection. Sunflower fields are open, unshaded and often several hectares of reflected yellow light. Most sessions last longer than you think.
- Something to kneel on. Fields are frequently muddy right where the flowers are. A kneeling pad or a folded jacket saves your clothes and stops you bracing awkwardly against a stem to keep the camera level.
Optional but useful
- A true macro lens or a close-up filter. Necessary for filling the frame with anthers and pollen. Without one you can still get a satisfying semi-macro at arm’s length.
- A small tripod or beanbag. Useful for starbursts, long exposures and low-angle shots where your elbows end up in mud.
- A circular polarizer. Cuts glare off petals and deepens blue sky, at the cost of roughly a stop of light. Skip it in low light.
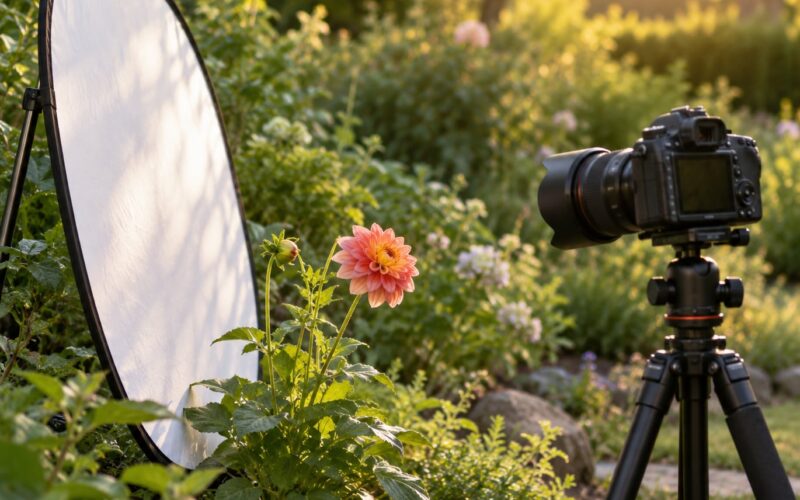
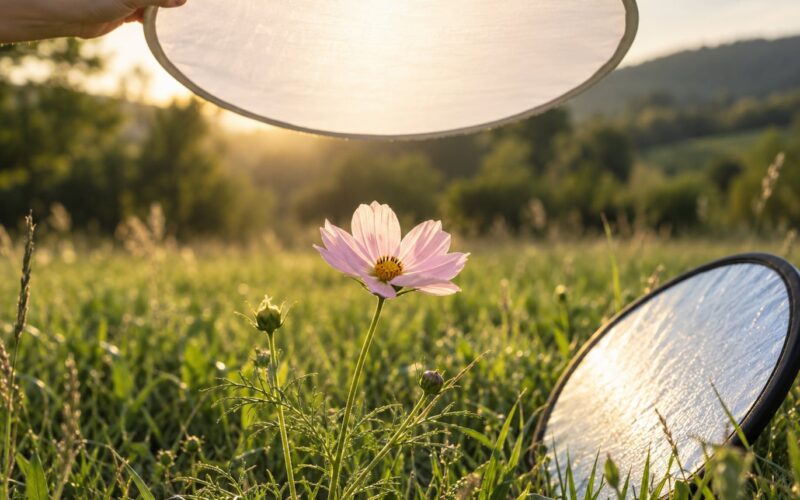
- A white reflector or a sheet of foam board. A dollar-and-change way to lift a flower face backlit against the sky.
Check whether the field is private before you walk in. Many are, and they charge an entrance fee or need a booking in peak season. Paying it is the price of the photographs.
Step-by-Step: How to Photograph Sunflowers in the Field
1. Scout the Sunflowers and Choose the Best Time
Arrive early and walk the edge first. You are looking for four things: flowers with clean, fully open faces; a background you can work with; how much the plants are moving in the wind; and which way the discs are pointing.
Plants track light, so a row of sunflowers will often face one direction. That is your free light source — walk around to the opposite side and you have the flower lit from the front with a shaded background, which is far easier than fighting the sun.
Golden hour is the hour after sunrise and the hour before sunset. The light is low, warm and soft, shadows are long rather than harsh, and the petals glow. Many fields close before the evening hour arrives in peak summer, so if you can only come on a weekday afternoon, plan around what you have rather than waiting for light that will not come.
2. Compose the Flower and Its Surroundings
The most common mistake is walking to the nearest perfect bloom and stopping. Shoot the field first — rows receding to a vanishing point, low camera, sky filling the top half. The wide shot is what says where you were.
Then work the angles. Lie down and shoot straight up for a symmetric frame of disc against sky. Get in among the plants for repeating rows of yellow. Use the path or fence line as a leading line so the eye travels into the picture instead of stopping at the first stem.
Leave negative space above the flower. It costs you nothing and it gives the frame air, which matters even more when someone crops it for a phone screen later. Use the rule of thirds rather than dead centre, unless the symmetry is the point.
Watch the background before you press the shutter. A single bright shirt, a bin, or a strip of sky between two stalks pulls more attention than the flower does. Shift half a step sideways and it usually disappears.
3. Set the Camera for Sharp Flower Detail
Switch to manual or aperture priority, set your ISO low, and adjust only aperture and shutter. That gives you control over how much of the frame is sharp and whether a petal freezes.
Wind is usually the limiting factor in a field, so shutter speed wins over aperture. Aim for 1/500s or faster for a whole field in a breeze, and 1/1000s or faster for a single flower that is nodding. Open the aperture as far as you can while holding that speed, and raise ISO rather than accept blur.
For a single bloom you want the opposite. Stop down to f/5.6 or f/8 so more of the flower head is sharp, and use single-point autofocus on the disc. A very wide aperture such as f/2.8 on a single flower often leaves only the front petals in focus and looks accidental rather than dreamy.
The table below is the cheat-sheet I keep in my head, organised by the light you actually have.
| Light condition | Aperture | Shutter speed | ISO | Notes |
|---|---|---|---|---|
| Golden hour, wide field | f/5.6 | 1/500s | 100-200 | Low angle, sky backdrop, underexpose by about half a stop |
| Golden hour, single bloom | f/4 | 1/800s | 200 | Shoot from the shaded side so the sun is behind you |
| Overcast or dull sky | f/4-f/5.6 | 1/320s | 400-800 | Cloud is your softbox; lean in close for detail |
| Harsh midday | f/8 | 1/1000s | 100 | Diffuser or reflector over the flower, otherwise shoot under a leaf |
| Backlit against sky | f/2.8-f/4 | 1/1000s | 200-400 | Expose for the sky, add a reflector on the flower face |
| Macro detail of disc florets | f/8-f/11 | 1/250s, tripod or braced | 100 | Focus on the nearest anthers; wind is your enemy here |
| Sun starburst | f/11-f/16 | 1/100s, tripod | 100 | Narrower aperture gives sharper, longer rays |
Shoot RAW. Bright yellow clips badly in a JPEG, and the petal edges lose their texture permanently once the highlight is gone.
4. Use Light to Show the Flower’s Texture
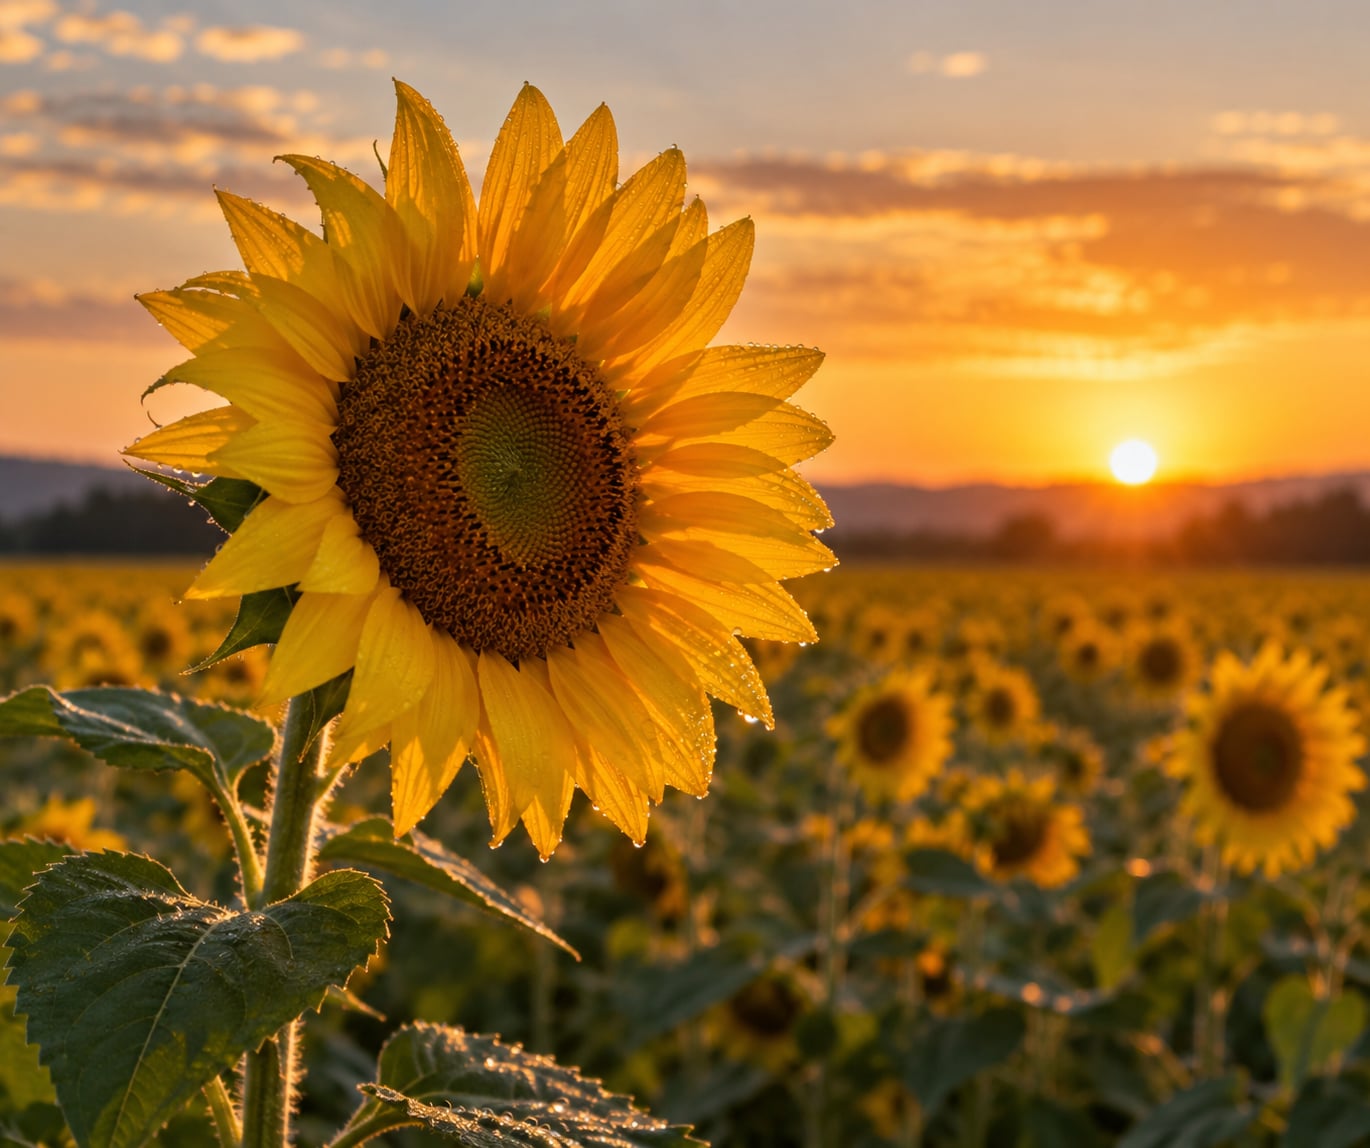
Backlighting is the reason people fall for sunflower photos. Sunflower petals are thin and slightly translucent, so with the sun behind them they light up from inside and the veins show. You get a rim of bright yellow along the petal edges and a warm glow through the disc.
The catch is exposure. Meter for the sky and the flower goes dark; meter for the flower and the sky turns white. Shoot RAW, meter for the sky, then lift the shadows in post. A white reflector held under the flower face fills that shadow in a second if you would rather fix it in the field.
Silhouettes work at dusk rather than in a field, because the flower needs a bright background and low ambient light to drop below it. Side lighting at golden hour is the most forgiving of all: it shows petal texture and pollen without the exposure gymnastics.
5. Capture Variations and Check the Results
Do not leave after one frame. Work through close-ups of a single bloom, environmental shots that show the rows, at least one vertical and one horizontal frame, and one frame of the back of a flower where the green sepal and stem form an abstract shape most people walk past.
Then review before you pack up. That check is the difference between a good trip and a wasted one, and it takes two minutes.
- Zoom in on the focus. Check the nearest petals and the anthers are sharp, not just that the frame looks fine at screen size.
- Blink through the highlights. Petals that are pure white with no texture are gone. Underexpose a third of a stop and take another.
- Look behind the flower. Busy stems, weeds or bright sky patches behind the subject need a small move.
- Check the colour. If the whole frame is one flat yellow, that is the composition talking, not the settings.
Common Mistakes
Every one of these is fixable in a few seconds, and most happen before the shutter is pressed.
The flower is blurry
Almost always wind or a shutter speed too slow. Raise it to 1/500s or faster, switch to continuous autofocus with a tracking point on the disc, and use burst mode. If light is thin, raise ISO rather than dropping the shutter speed. A slightly grainy sharp frame beats a clean blurred one.
The yellow petals are blown out
Yellow is the first colour to clip, and once it clips the petal texture is unrecoverable. Spot meter or underexpose by a third to half a stop, and check the histogram rather than trusting the screen, which lies in bright sun. Shoot RAW and recover the edges later.
The background is cluttered
Widen the aperture to f/2.8 or f/4 so the background falls out of focus, move the subject a few steps from whatever is behind it, or change your angle until the distraction is behind something else. Long lenses help because they compress and hide a messy horizon.
The light looks flat
Overcast skies are actually kind — the cloud is a giant softbox and petal detail still holds up. Make it work by shooting close, so you are filling the frame with texture, and by adding contrast in editing. Avoid shooting into a bright sky at midday, which puts the flower face in shadow.
Everything looks over-edited
If the yellow reads electric and the greens read acid, saturation and vibrance have both been pushed too far. Drop both, pull the yellow channel’s luminance down slightly, and let the colour come from the light. If a plant looks better in black and white, that is usually the honest version of a frame shot in flat conditions.
You forgot the field around the flowers
Close-ups alone read as a garden, not a field. Get low, include rows receding into the distance, and shoot from a slightly raised angle or lying down so the horizon sits high in the frame. Scale is the whole point of the location.
Frequently Asked Questions
When is the best time of day to photograph sunflowers?
Shoot in the golden hour, the hour after sunrise or the hour before sunset, when the light is low, warm and soft and the petals glow. Midday sun drops the flower face into shadow and blows out the yellow. If the field closes before evening light arrives, which is common in peak summer, shoot on a weekday afternoon instead and move in close, since detail holds up better under flat midday light than scale does.
What aperture should I use for a sunflower field?
Use f/5.6 or f/8 for wide shots of the field so the rows stay sharp into the distance, and open up to f/2.8 or f/4 when you want a creamy background behind a single bloom. For macro detail of the disc florets, stop down to f/8 or f/11 and brace the camera on a tripod, since that depth of field only works if the camera is still.
Can you photograph sunflowers well with a phone?
Yes, for everything except true macro. Use Pro or Manual mode and set the ISO low, tap the flower to lock focus and exposure, then lower exposure slightly with the sun dial so the yellow holds its texture. The limit is the minimum focus distance: push in as close as focus stays sharp, then step back and crop instead of guessing.
How do I stop my sunflower photos looking dark or oversaturated?
Dark flowers almost always mean you metered for a bright sky with the sun behind the subject. Meter for the flower instead, add a reflector or white foam board underneath to lift the face, or shoot RAW and raise the shadows later. Oversaturation comes from pushing yellow: drop vibrance first, lower the yellow luminance slightly, and leave some clip on the brightest petals.
How do you deal with wind when photographing flowers?
Treat shutter speed as the priority setting and everything else as adjustable. Hold 1/500s for a whole field in a breeze and 1/1000s for a single nodding bloom, then open the aperture and raise ISO as needed to hit it. Continuous autofocus with a tracking point and burst mode will get you a usable frame where single-shot AF gets you a blurry one.
Conclusion
Start with the flower, the background and the light — in that order — before you touch a single dial. Check that the bloom is clean, walk around until the mess behind it is gone, and note which side the sun is on.
Then set your aperture for how much background you want to keep, choose a shutter speed fast enough to beat the wind, and shoot RAW. If you only remember one thing from how to photograph sunflowers, remember to get low. The field, not the flower head, is what makes the photograph.