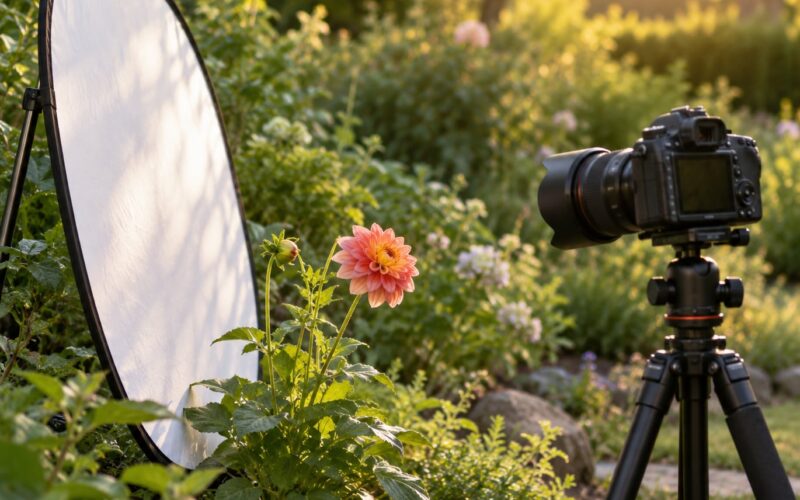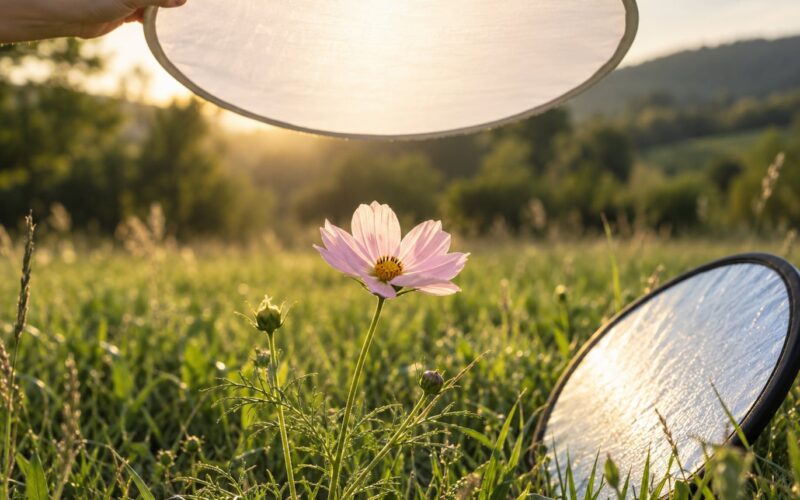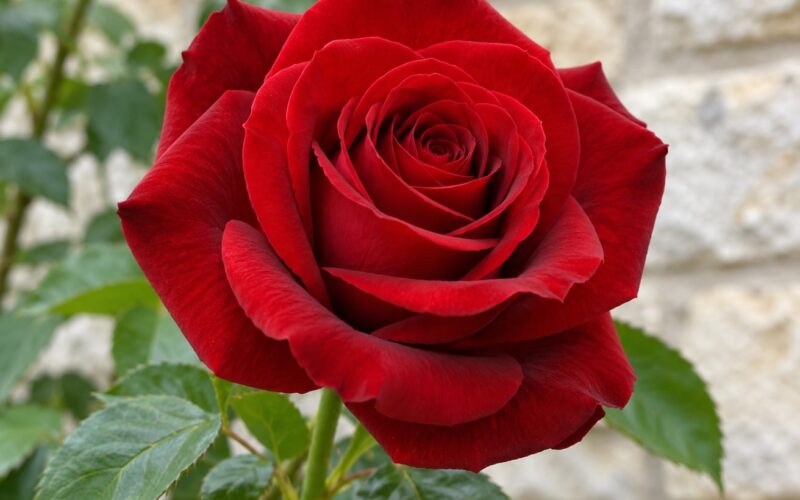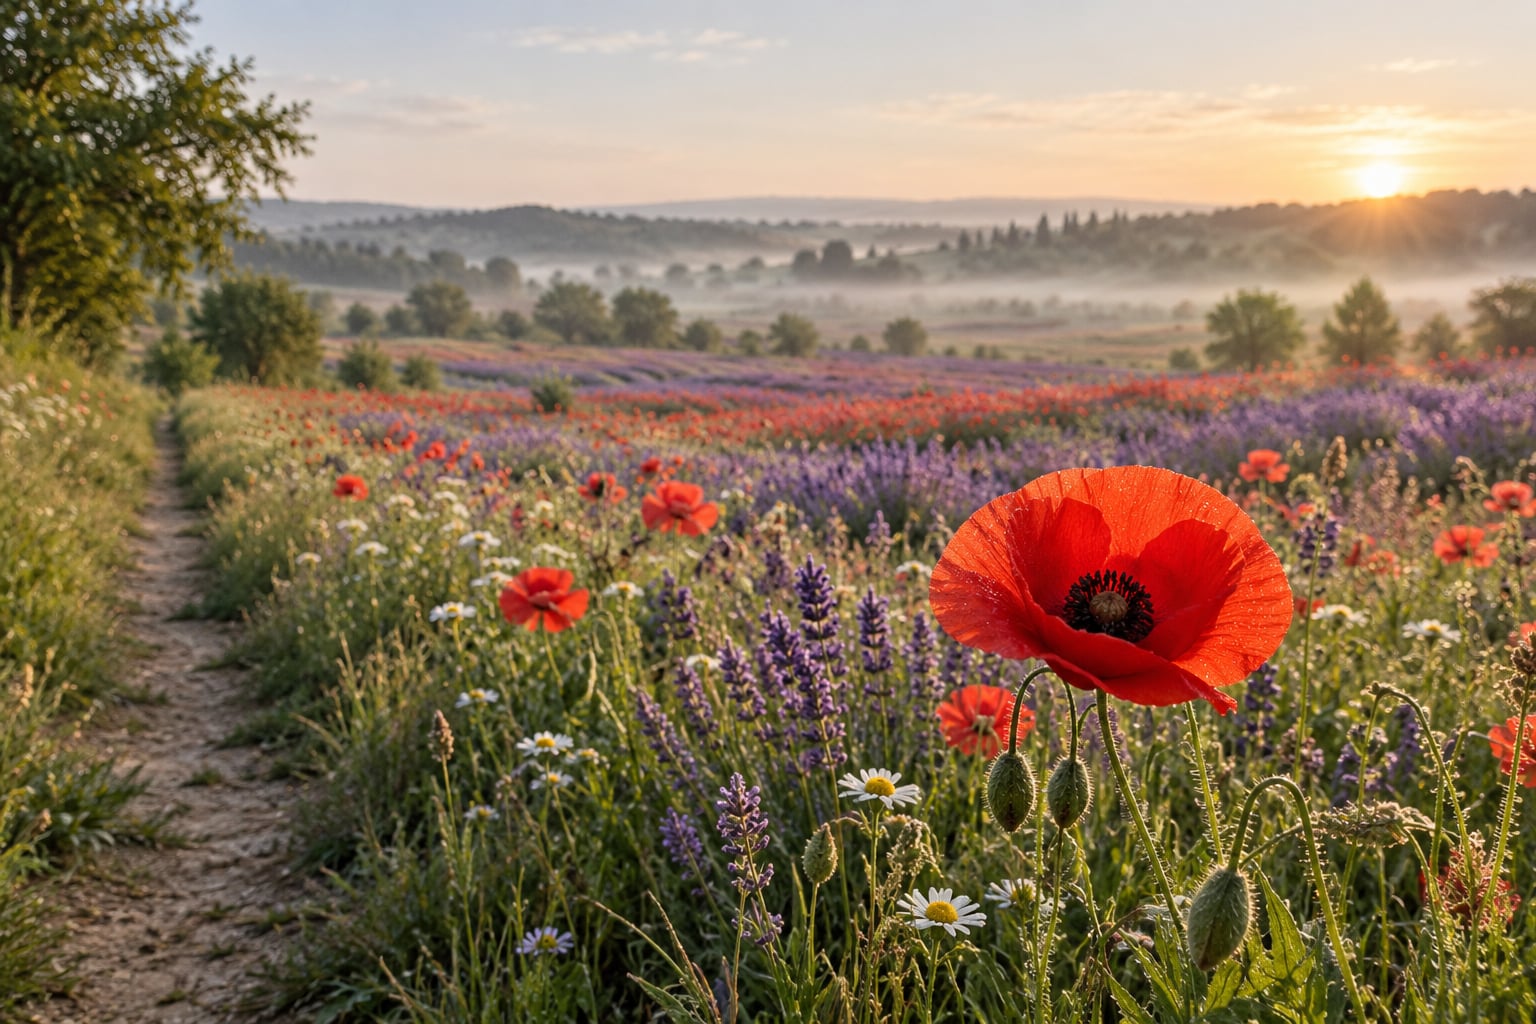
A flower field looks cluttered when the frame holds too many competing points of attention and nothing separates your subject from everything around it: tangled stems crossing each other, three colours fighting for the same spot, a horizon cutting straight through the middle, one blown highlight the eye cannot stop looking at.
This guide covers how to photograph a flower field without it looking cluttered, from scouting the spot to the final crop. The short version: pick one hero bloom, walk until the background calms down, shoot at a wide aperture with a longer lens, and leave breathing room around the subject. Almost none of the fix happens in editing software.
If you photograph wildflowers, you will already know the version of this that frustrates people most. You are standing in a meadow, you frame what looks like a beautiful sweeping shot, and the picture comes back as texture. Every blossom is sharp, every stem is legible, and the eye has nowhere to rest.
Table of Contents
- What You Need
- Step-by-Step
- Step 1: Scout for a Simple Background
- Step 2: Wait for Directional Light
- Step 3: Use a Simple Composition
- Step 4: How to Photograph a Flower Field Without Cluttered Edges
- Step 5: Set Focus and Exposure
- Step 6: Shoot Variations and Review Results
- Step 7: Edit for a Cleaner Finish
- Common Mistakes
- Frequently Asked Questions
- What is the best time of day to photograph a flower field?
- What camera settings work best for a flower field on a phone?
- Do I need a telephoto lens to avoid a cluttered background?
- How do I keep flowers sharp when the field is windy?
- How many flowers should I include in a clean composition?
- What should I do when I cannot control the background?
- Conclusion
What You Need
You need very little. A camera or phone, a lens you already own, and roughly twenty minutes of walking around before you lift the camera. Gear matters far less here than most gear articles would have you believe, because clutter is decided by position and light long before it is decided by glass.
- A camera or phone. Any interchangeable-lens camera works, and a recent phone with a 2x lens does surprisingly well at 85mm equivalent. The single most useful thing on either is a way to lock focus on one specific point rather than the whole frame.
- A normal or short telephoto lens. Around 50mm to 135mm is the useful range for isolating a subject in a field. 35mm works for walking shots and low angles. Anything wider than about 24mm in an open meadow pulls foreground, subject and horizon all into focus, which is the fastest route to a cluttered frame.
- Something with a wide aperture. A prime in the f/1.8 to f/2.8 range makes shallow depth of field easy. One 50mm f/1.8 will carry almost an entire wildflower session on its own.
- A polariser, optionally. Useful on an overcast day because it deepens the greens and cuts glare off petals. It costs you a stop and a little sharpness at the edges, so skip it when the light is already soft.
- A knee pad or something to kneel on. The lowest, cleanest angles in a field come from about fifteen centimetres off the ground, and that is hard on bare grass and older knees.
- A weather-aware plan. Check the wind forecast before you go. A stiff breeze is not fatal, but it changes your shutter speed and it decides whether the wide “field of flowers” frames are even possible.
Stay on the path or on bare ground while you work. A few bent stems for a photograph is one thing, a flattened patch that lasts a season is another, and some fields are closed precisely because of it.
Step-by-Step
The whole method in one line: walk the site first, wait for directional light, build a composition with one clear subject, clean the frame edges, set focus and exposure deliberately, shoot variations, then edit in a fixed order. Each step below tells you what to do and how to tell from the screen whether it worked.
Step 1: Scout for a Simple Background
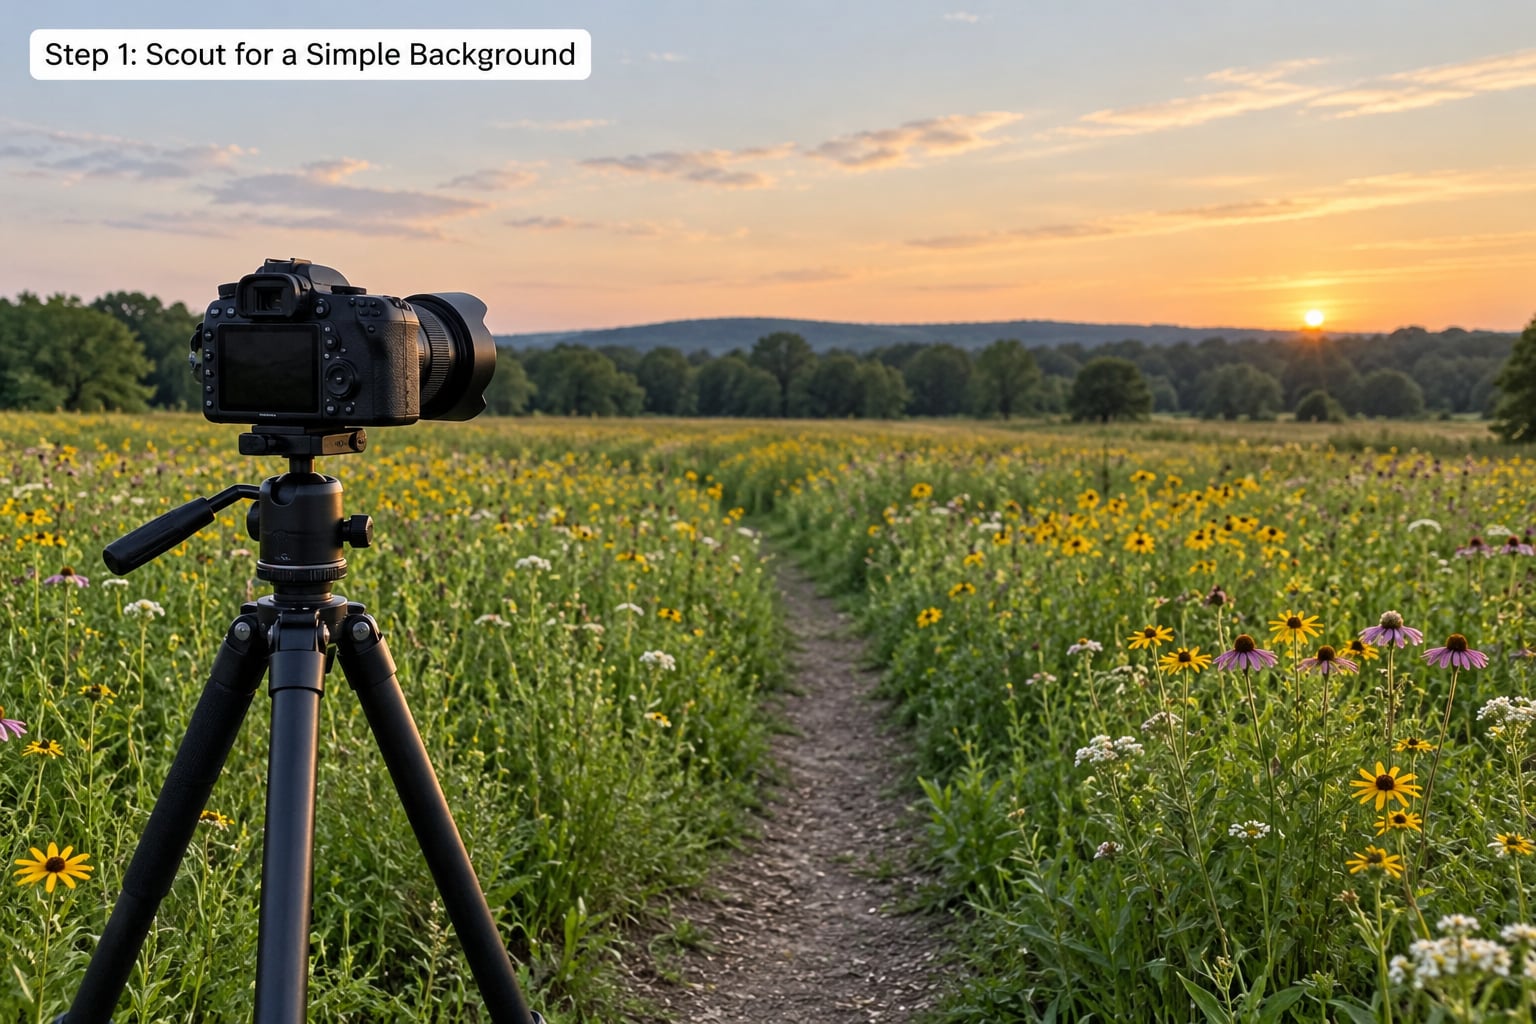
Walk to the edge of the field before you shoot anything. Flower fields usually have a rim of taller grass, a hedge, a fence line or a line of trees somewhere, and those are your clean backdrops. From that edge, look across a metre of ground at roughly the height you plan to shoot from.
What you are looking for is a position with nothing awkward in it: no other visitors, no parked vehicles, no buildings, no signs, no intersecting lines of path or wire. A distant tree line is ideal because it is even in tone and gives the eye somewhere soft to rest.
How to tell it worked: raise the camera to eye level at your chosen spot and take one test frame. If the busiest thing in the picture is your subject, you have found a position. If the busiest thing is a bright sky gap, a white post or a footpath cutting diagonally, keep walking. In a meadow, a small lateral move often changes the whole background.
Step 2: Wait for Directional Light
Early morning and late afternoon light rakes across a field at a low angle, and that raking is what separates stems from each other. It puts a highlight on one side of every bloom and a shadow on the other, so the flowers read as individual shapes instead of a flat sheet of colour. This is the single biggest visual upgrade available to you, and it costs nothing but patience.
Overcast light is not a failure. It is even, shadowless and often the best choice for a wildflower meadow, because saturated colour renders cleanly and nothing flares. The trade is flatter texture, so rely on composition and a close subject rather than on light to do the separating.
Watch the frame for a minute before settling. On a bright day, look for highlights bouncing off pale petals or dew; if the brightest thing in the picture is not your subject, either change your position or wait for cloud to come over. Midday sun straight down is the hardest light of all: it flattens depth, hardens shadows and lights every stray stem equally.
How to tell it worked: the histogram should have its main mass just under the right edge, not touching it. If highlights are clipping, the light is beating you and the fix is time or position, not settings.
Step 3: Use a Simple Composition
Reduce clutter by giving the frame one job. A clean flower frame usually has a subject, a small number of supporting elements, layered depth, and negative space. That last one does the heavy lifting: an area of plain tone, blurred flowers or open sky with nothing in it tells the eye where the picture is about.
Try putting your subject on a third rather than dead centre, aimed into the open side of the frame. With flowers, the useful version of the rule of thirds is about where the eye travels, not about grid lines. If your subject is on the right, give it space on the right and fill or blur the rest.
Depth is what stops a field photo from looking flat. Look for a few blurred blooms close to the lens, your sharp subject in the middle distance, and a soft band of colour behind that. Three layers is plenty. A foreground bloom so close it becomes a coloured smear across the bottom corner does more for the photograph than any filter.
Keep horizons level. In an open field the horizon is a strong line, and a tilted one instantly reads as a mistake. Turn on the level indicator in your camera or phone and check it before every frame.
Step 4: How to Photograph a Flower Field Without Cluttered Edges
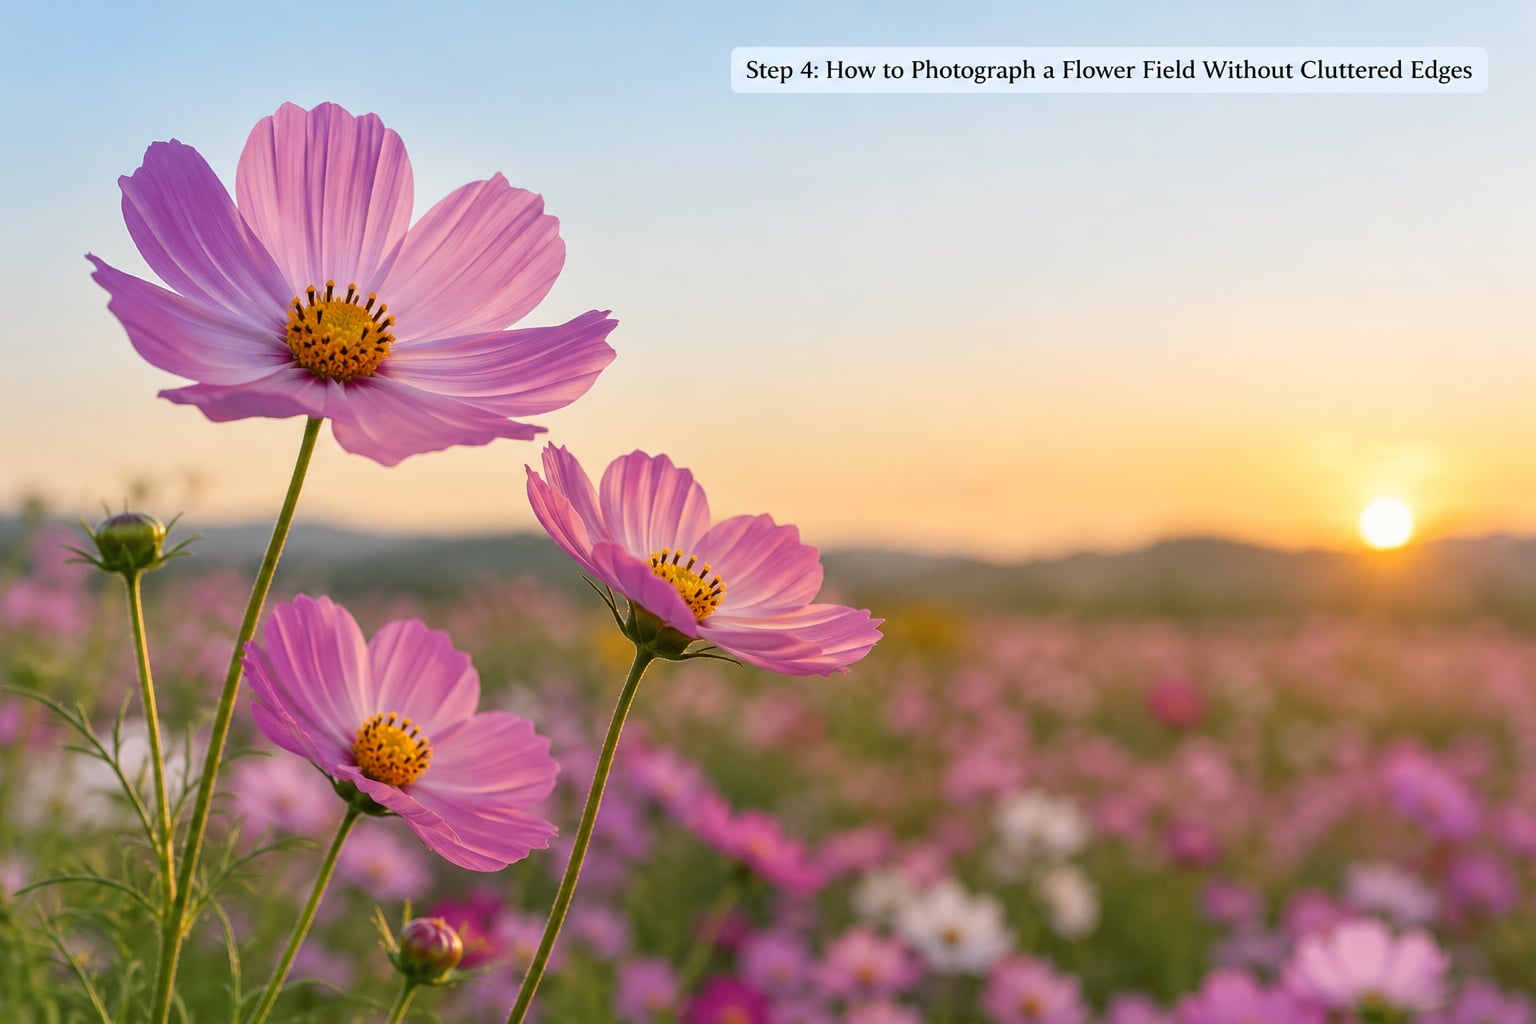
Clutter concentrates at the edges of a frame. Stray stems that poke in from a corner, a half-cut flower straddling a border, a bright yellow bloom half in and half out, these read as noise because the brain cannot complete them. Check all four edges before you press the shutter, and treat anything half-in as a reason to shift either the camera or yourself.
Leave breathing room around your main blooms. A tight frame with a stem touching the subject on three sides looks trapped, even when the background is perfectly soft. Back off slightly or change focal length until the subject has a margin of simpler colour or blurred texture on the sides that matter.
Watch for tangencies, where one shape just touches another without overlapping. A stem brushing the edge of a petal, a horizon line landing exactly on a bloom, a bright dot sitting on the outline of your subject: each looks like a small accident and each pulls attention. The fix is a few centimetres of movement in any direction.
How to tell it worked: zoom in on the finished frame on the camera screen and look only at the borders, not the middle. If nothing there demands a decision, you are done with the framing.
Step 5: Set Focus and Exposure
The trap in a flower field is trying to make everything sharp. Sharpness is not the goal; separation is. Once you accept that, the settings below are unremarkable, and depth of field becomes a background control rather than a question of getting the whole field in focus.
Put your focus point on the front third of the hero flower, use a single-point or single-area autofocus mode rather than a wide or tracking mode, and check that the camera is not grabbing the closest stem instead. On a phone, tap the subject on screen, drop the exposure slider a touch if the flowers are pale, and step back rather than zooming in, because digital zoom on a phone adds no detail and adds visible mush.
Wind is the field-specific constraint nobody warns you about. Petals move several centimetres in a gust, so a flower that was sharp at 1/250s is soft at the next attempt. Aim for 1/500s or faster in any breeze, raise ISO rather than slowing down, and shoot in short bursts. Many photographers simply work at dawn, when the air is calm and the light is soft, and that habit removes the problem entirely.
| Scenario | Aperture | Shutter | ISO | Focal length | Focus |
|---|---|---|---|---|---|
| Single flower, blurred field behind | f/2.8 or wider | 1/500s | 100-400 | 85-135mm | Single point on front petal |
| Low angle, foreground blur | f/2.8 | 1/500s | 100-400 | 50-85mm | Manual, check on screen |
| Wide field with pattern | f/8 | 1/250s | 100-200 | 24-35mm | Hyperfocal, front third |
| Backlit at golden hour | f/4 | 1/1000s | 200-800 | 100-200mm | Single point, watch for flare |
| Strong wind | f/4 | 1/1000s | 400-1600 | 100-200mm | Single point, burst mode |
| Phone camera | Portrait mode | Auto or 1/500s | Auto | 1x or 2x, no digital zoom | Tap subject, exposure down |
On exposure, protect the highlights. Petals and dew clip to flat white very easily, and once they do, no amount of editing brings texture back. If the histogram spikes against the right edge, dial in negative exposure compensation by a third or half a stop and shoot again. Underexposing slightly and lifting shadows later is the safer trade in bright fields.
Step 6: Shoot Variations and Review Results
One frame is a coincidence. Shoot a set: same subject from a step higher, then lower, then a step sideways, once at 85mm and once at 135mm, once at f/2.8 and once at f/4. Most fields give you one good frame out of about ten variations, and you cannot know which one until you look.
Capture both horizontal and vertical versions of anything worth keeping. A wide field often wants the landscape frame with a third of the image as sky, while a single bloom among many usually wants the vertical frame, because the extra height isolates the subject instead of putting more flowers beside it.
Review on the camera screen rather than on your phone later. Zoom to 100 percent, check the edges for half-subjects, and check that your subject really is the sharpest thing in the frame. Keep the version with the clearest visual hierarchy, not the version with the most colour. The rest of the field can be soft, and it should be.
Step 7: Edit for a Cleaner Finish
Edit in a fixed order, and the order matters more than the tools. Crop first, because a crop can remove half the clutter and changes how every later adjustment lands. Straighten while you are there, then set exposure and highlights, then whites, then texture and clarity, then sharpen selectively, then colour.
Crop to the strongest composition you can find inside the frame, often tighter than feels comfortable. A 4:5 or 2:3 crop that removes a stray corner usually looks more considered than the original wide frame. You can always crop back out, which you cannot do with a blurry or blown highlight.
Pull highlights down and lift shadows only slightly. Heavy clarity and texture sliders amplify exactly the detail that made the frame feel busy, so a heavily textured flower field looks worse, not better. Sharpen the subject only, using a mask or a small radius, and resist saturating the whole image: if you need heavy saturation to make a frame interesting, the composition was not doing its job.
For genuine stragglers, use a spot healing tool sparingly on isolated stems, and never on the subject’s petals. And a warning: do not remove real field detail just to make the image look empty. A little texture is what tells the viewer the flowers were growing in soil.
Common Mistakes
Most cluttered flower photos come from a short list of repeatable decisions. Here is what each one looks like and what to do about it.
- Shooting in harsh midday light. Overhead sun flattens depth, hardens shadows and lights every stray stem equally. Come back at the edges of the day, or wait for cloud. If the forecast is hopeless, convert the problem: photograph a single bloom close, where the light quality matters less than the separation.
- Placing the subject against a busy background. The fix is movement, not aperture. Walk sideways or crouch until the background behind the flower is even in tone. This is the cheapest correction in photography and the one beginners skip most.
- Using too much depth of field. At f/11 everything in a field is sharp, and sharp everywhere means no hierarchy. Open up to f/2.8 or f/4 and let the rest of the field fall away.
- Tilted horizons. In an open meadow the horizon is the strongest line in the picture, so a tilt is impossible to ignore. Turn on the level guide.
- Cutting flowers at the frame edge. Half-subjects read as mistakes. Shift the frame so the edge either includes a whole flower or excludes it entirely.
- Leaving stray stems in the corners. Look only at the borders of the finished frame. Anything poking in from an edge is almost always worth losing.
- Leaning on saturation and texture in software. Boosting both makes every stem more visible, which is the opposite of what you want. Lower the sliders instead and let the crop do the work.
Two field habits are worth adding to that list. First, get low: most people shoot a field standing up, and the interesting band in a meadow sits between fifteen and sixty centimetres. Lying flat or kneeling turns a texture into a landscape with a foreground. Second, know when to walk away. Some fields are genuinely too uniform, too populated or too tangled to de-clutter, and a busy, honest frame that shows what the place actually looks like is better than a tight crop of three sad stems.
Frequently Asked Questions
What is the best time of day to photograph a flower field?
Early morning and the last hour before sunset are best, because low light rakes across the stems and separates them instead of flattening them into one sheet of colour. Dawn adds something extra: the air is usually calm, so flowers hold still and you can use a slower shutter. Overcast days are also worth shooting, since the even light renders colour cleanly and produces no harsh highlights.
What camera settings work best for a flower field on a phone?
Tap the flower on screen to set focus and exposure, then pull the exposure slider down a little if the petals look pale. Use the 2x lens rather than digital zoom, because digital zoom adds no detail. If your phone has a portrait mode, use it, but step back a few paces first, since it simulates blur and looks weakest when everything is close. Shoot in bright, even light and avoid the midday sun.
Do I need a telephoto lens to avoid a cluttered background?
Not strictly, but it helps a lot in an open field. The usual advice is to get closer or move further from the background, and in a meadow you often cannot do either because the next stem is ten centimetres away. A 100mm to 200mm lens lets you frame a single bloom from a few metres back, which gives the background something to blur against. A 50mm prime with a wide aperture is a workable substitute.
How do I keep flowers sharp when the field is windy?
Use a fast shutter speed, 1/500s or quicker, and raise ISO rather than slowing down. Shoot short bursts and pick the sharp frame, since a gust will spoil part of any sequence. Shielding the flower with your own body works surprisingly well in light wind. The simplest answer is timing: shoot at dawn, when the air is calm, or wait for a lull and watch a single flower for a few seconds before pressing the shutter.
How many flowers should I include in a clean composition?
One hero flower plus a few supporting blooms. A single sharp subject against a softened field is the cleanest option, and two or three sharp subjects in a loose diagonal still works if the spacing is deliberate. What you want to avoid is twenty equally sharp blooms, because at that point the eye has no landing place and the frame reads as texture. A wide field shot only stays calm when repetition or a single vanishing point organises it.
What should I do when I cannot control the background?
Change what is behind the subject rather than fighting the light. Shoot upward so the background becomes plain sky, crouch so the far side of the field becomes a soft band of colour, or use a longer lens to push distant clutter out of the frame. In editing, a tight crop removes a surprising amount of background, and slightly underexposing with raised shadows keeps attention on the subject. If nothing works, move to the next flower.
Conclusion
Start with the position, not the camera. Walk the edge of the field until you find one spot where the busiest thing in the frame is a single flower, wait for light with some direction to it, and take ten variations from that spot before changing anything.
That is the whole method. One subject, one calm background, a wide aperture, a fast enough shutter for the wind, and a crop that gives the flower room to breathe. Most of the clutter was never in the field. It was in the frame you brought to it.