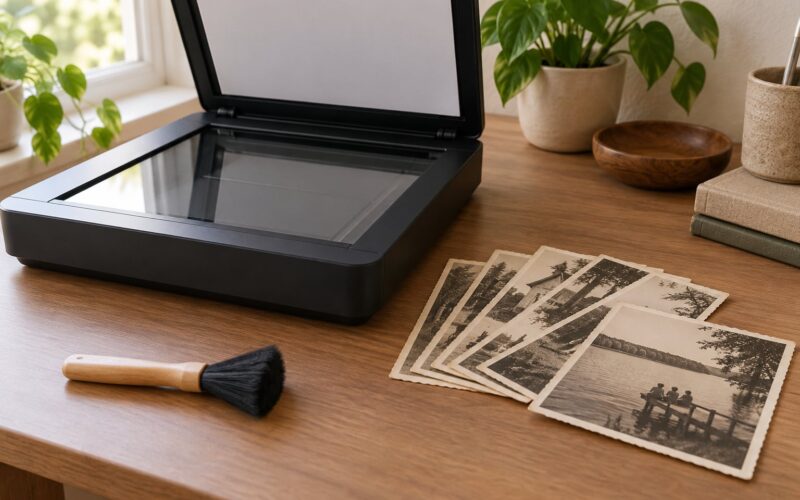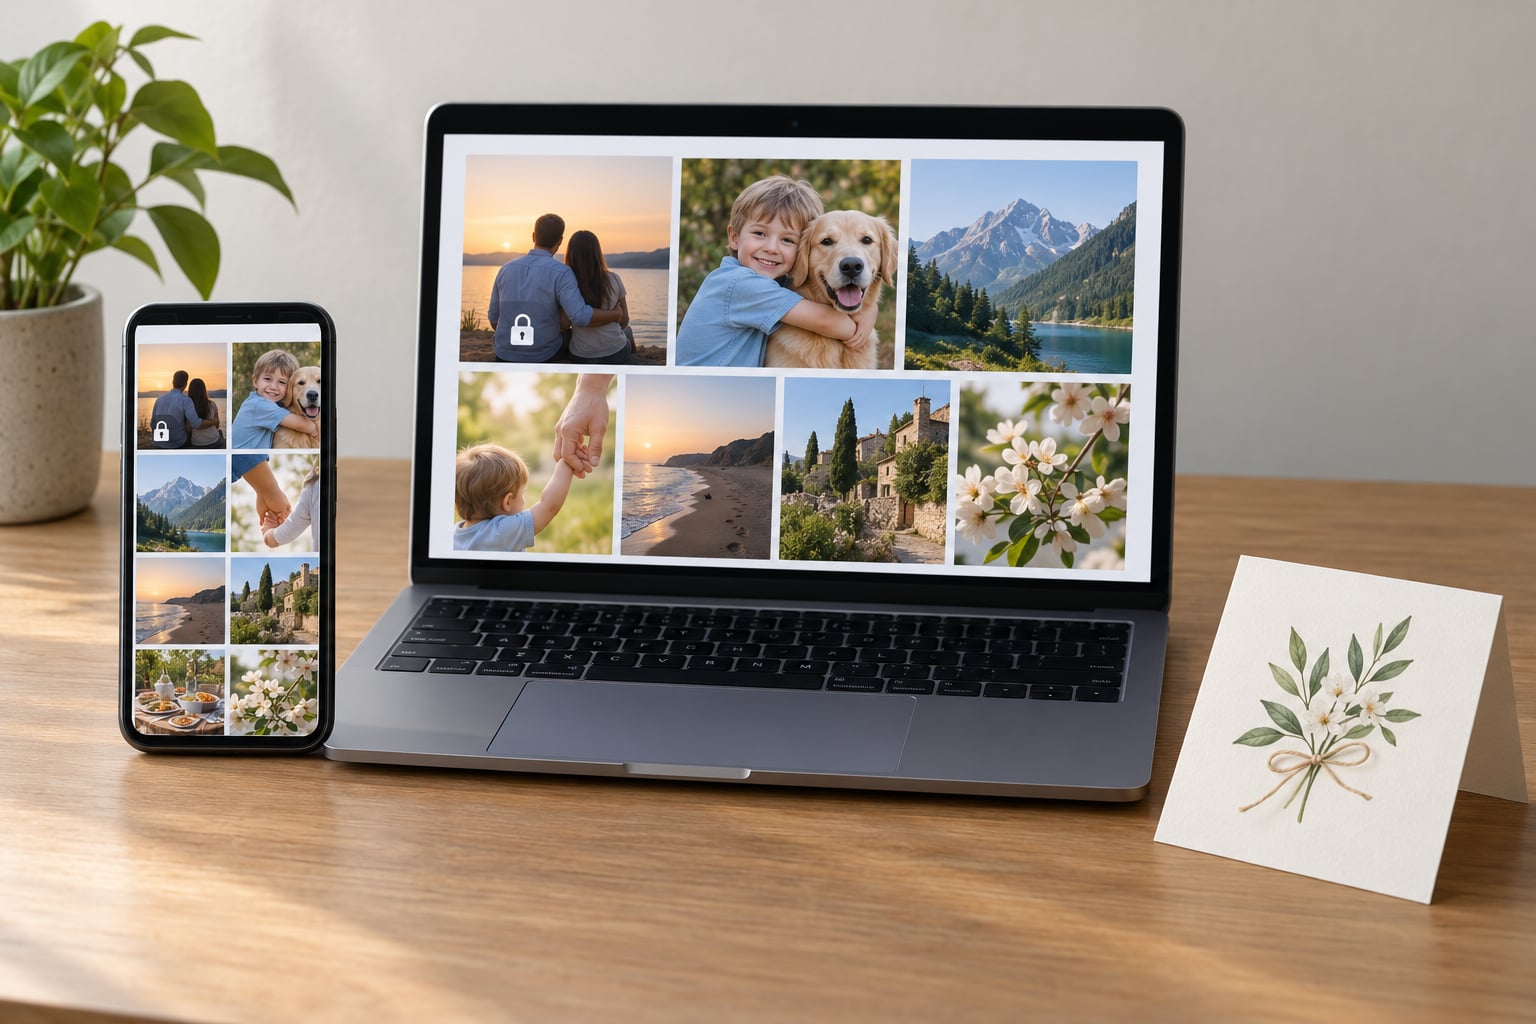
If you want to know how to share photos privately with family, the short answer is simple: build a private album or folder, invite named people one by one, and never rely on a public link or a hidden folder. The whole setup takes about fifteen minutes on a phone, and it is easier than most people expect.
I set one of these up for my own family after a holiday album ended up somewhere I did not intend, so I have walked through the exact settings rather than the theory. Two things decide the whole job: which sharing method you pick, and whether you check access before you invite anyone else in. Everything else is detail.
The menus move around between app versions, so I have named the labels as they currently appear and flagged where Android and iOS differ. Last checked in October 2026.
Table of Contents
- What You Need
- Step-by-Step
- Choose a Private Sharing Method
- Create the Family Photo Collection
- Set Access and Privacy Controls
- Test the Link on Another Device
- Share and Maintain the Collection
- Common Mistakes
- Frequently Asked Questions
- Can my family members see my pictures if I share my Apple ID?
- What is the safest way to send private photos?
- Is FamilyAlbum photo sharing safe for family photos?
- How do I create a shared album on my iPhone?
- Can I revoke access to a shared photo album later?
- How can I share photos with family members who are not technical?
What You Need
You need four things: the original photos on a device you control, an account on the service you pick, the email addresses or phone numbers of everyone who should see them, and enough storage that video will not push you into a paid plan halfway through a birthday.
Sorting out the recipient list first is the part people skip, and it is the part that saves arguments later. Write the names down before you build anything.
It also helps to separate three ideas that get mixed up constantly, because only one of them is a security feature:
- A private album is visible only to people you add as members. Membership is an account or a verified invite, so the album does not appear in search or on a profile.
- An access-restricted link can require a sign-in or a password before it opens. It is convenient, but the link itself travels, and anyone who forwards it passes that problem on.
- A password-protected folder in a storage service is encrypted at rest on the provider’s servers. That protects the files if the provider is breached. It does not encrypt the contents so that only you and your relatives can read them, unless the service offers client-side, end-to-end encryption as a separate option.
Google Photos and Apple Photos encrypt data in transit and at rest, and both allow invite-only shared albums. Apple’s Advanced Data Protection is an opt-in setting, and when it is off, iCloud data is not end-to-end encrypted. Photos shared to a shared album are visible to every member of that album, which is worth remembering before you add a relative who forwards links.
Step-by-Step
Choose a Private Sharing Method
An invite-only album suits almost every family. If your relatives are mostly on Apple hardware, a Shared Album in Photos works, and if they are on Android, a shared album in Google Photos covers them instead. A mixed household usually ends up with everyone installing one app and signing in with their existing Google or Apple account.
A password-protected folder in an encrypted cloud service makes more sense when the people receiving the photos already use that service for documents, or when you want to control an expiry date. A synced family library is the third option, and it suits a household where everyone is constantly shooting photos and wants them to land in one place without anyone curating anything.
To share photos privately with family, the deciding question is whether relatives need to add their own photos. Viewers only need an album. Contributors need a shared album or a shared folder they can write to.
Create the Family Photo Collection
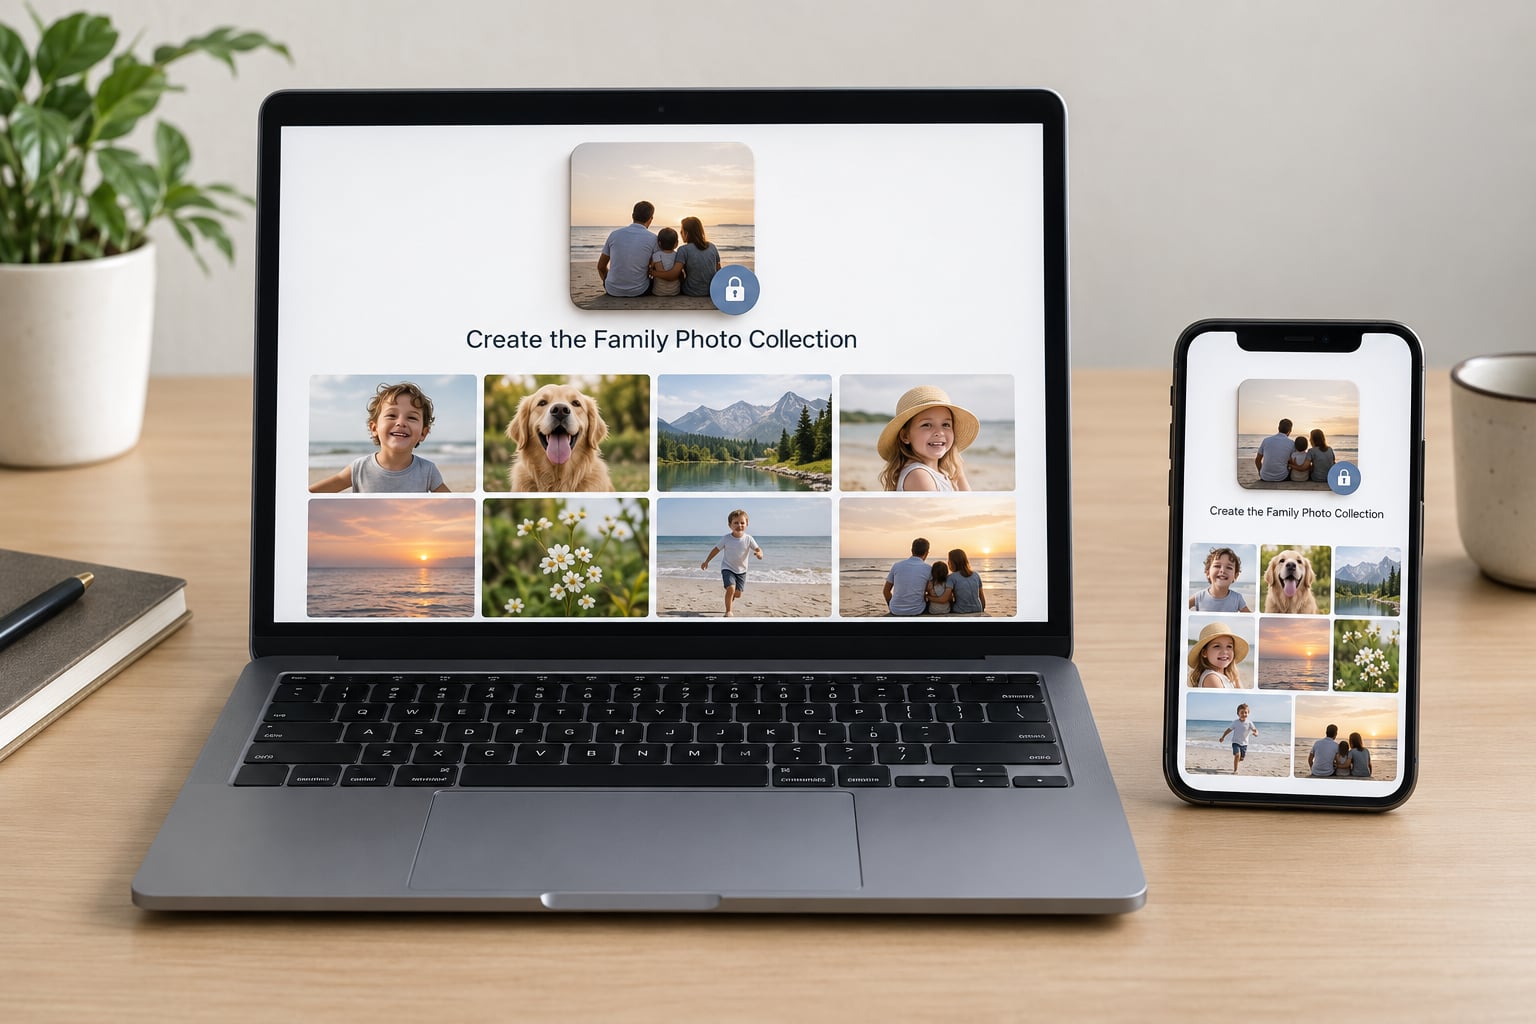
Start a new album and name it for the event and the year, something like “Whitby 2026” rather than “Holiday stuff”. A dated name becomes part of the archive later, and searching for it in three years is much easier than scrolling.
Add the photos you actually want seen, then look at the whole album on the album cover screen before anyone else can. This is where wrong photos get caught: a screenshot of a bank statement in the middle of the seaside shots, or a picture of a cousin asleep on a sunbed.
Check the selection before sharing with nobody but yourself, and delete anything private, unflattering or location-tagged. On Apple devices, open Photos, tap Albums, then the plus sign to create one, and use Select Photos to add what you want. On Android, open Google Photos, tap your avatar, then Collections, then New collection, and give it a name there.
Set Access and Privacy Controls
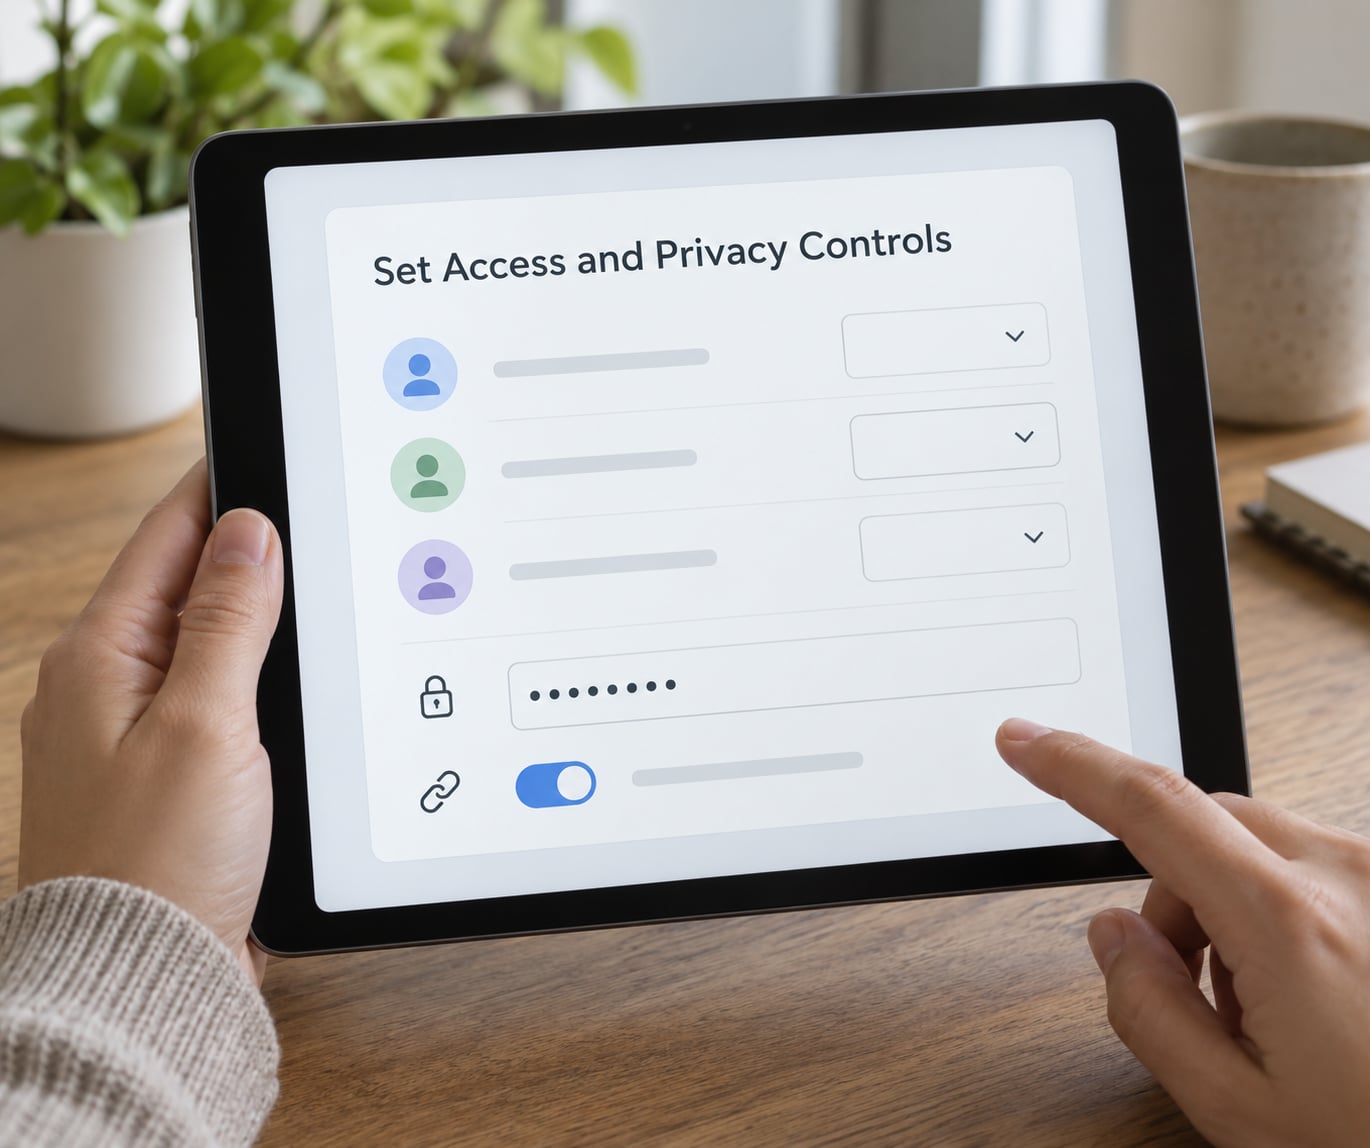
This is the step that decides whether the album is actually private, so slow down here. In a shared album, you invite people by address or phone number and choose what each person may do. In Apple Photos you get two switches: “Allow Editing” and “Allow Comments”. Turning editing off for a relative makes them a viewer, which is the right setting for a grandparent who has previously deleted something they liked.
In Google Photos, open the album, tap Share, then Manage access. That screen separates people who have access from links you have created, which is the bit most people never open. Before you tap Done, check that the link sharing section says “Restricted”, not “Anyone with the link”. Restricted means a recipient has to be in your Google account contacts.
If you do hand out a link, add a password, turn on an expiry date, and set download permission to your liking. Undo the decision later by deleting the link rather than hoping nobody copied it.
One warning about a hidden folder: hiding a folder changes nothing about who can reach it. Anyone with your account or with a forwarded link sees it exactly as before. Privacy here comes from controlling membership, not from making something harder to find.
Test the Link on Another Device
Open the invitation from a private browsing window while logged out of your own account, or ask a family member to open it on their phone before you announce it. What you want to confirm is narrow and specific: the link opens, it opens only for the person you intended, the permission matches what you set, and the person can see the photos but not the ones you left out.
Signing out first catches the most common failure, which is an album that looks private because your own account is already logged in. Two minutes here saves a week of backpedalling.
Share and Maintain the Collection
Send invitations through a channel the recipients already read, and say in the message who can see it. A short line like “this album is just for the four of us, please don’t forward the link” does more than any setting.
Maintenance is the boring half that keeps a shared album useful. Add relatives when someone new becomes part of the group, remove them when a relationship changes, and revoke links you created months ago that nobody uses any more. When someone switches phones or loses an account, invite them again rather than passing a backup link around.
Keep a separate backup of anything that matters. A shared album is a distribution channel, not an archive, and it can disappear with a cancelled subscription or a deleted account. Two copies in two places is enough for most families, and a monthly check that both copies still open takes about a minute.
Common Mistakes
- Leaving “Anyone with the link” on. The most common leak in family sharing. Fix: delete the link and re-share to named people only, then check that the setting still reads Restricted.
- Treating a hidden folder as private. Fix: confirm the album or folder has named members, not a hidden label.
- Sharing the wrong album. Right library, wrong folder. Fix: view the album as the recipient before you invite anyone, and give it a dated name.
- Skipping the test. Fix: open the invite from a logged-out window once, every time you change permissions.
- Forgetting that an Apple ID shares everything. If your family member knows your Apple ID password, they can reach your whole library, not the album. Fix: invite them to the album instead of sharing the sign-in.
- Leaving location data on. Photos from a family trip carry GPS coordinates that mark the house, the school run and the route. Fix: turn off Location for your camera app, or strip location data in your export before sharing a batch.
- Old invitations left active. Fix: review album members once a year.
And one limit worth stating plainly: no service can pull back photos that were already posted publicly. Screenshots have been taken and indexed. If that has already happened, the useful move is to delete the post, report the reposted copies, and stop adding to it.
Frequently Asked Questions
Can my family members see my pictures if I share my Apple ID?
Yes, and that is the problem. Anyone with your Apple ID password and the code sent to your trusted devices can reach your entire iCloud Photos library, including albums you never shared. Invite relatives to a Shared Album instead, and never hand over account sign-in details.
What is the safest way to send private photos?
An invite-only shared album on a service that encrypts data in transit and at rest, with editing turned off for viewers and no public link. Add a password and an expiry date if you must use a link. For the highest protection, use a service offering client-side end-to-end encryption, where the provider cannot read your files at all.
Is FamilyAlbum photo sharing safe for family photos?
FamilyAlbum is built around invite-only family groups, so a group has to be joined deliberately rather than found through a public search. It is popular with parents for a reason, mainly the shared child timeline and the way relatives can contribute without a separate account conversation. The trade-off is that it does much more than hold a gallery, so captions and context tend to live elsewhere.
How do I create a shared album on my iPhone?
Open Photos, tap Albums, then the plus sign and New Shared Album. Give it a name, add photos with Select, then tap the invite button and enter each person’s Apple ID or phone number. Before you tap Done, turn off Allow Editing for anyone who only needs to look, and keep Allow Comments on so they can respond.
Can I revoke access to a shared photo album later?
Yes, and you should. In Google Photos, open the album, tap Share, then Manage access, and tap the three dots beside a person or a link to remove them. In Apple Photos, open the album, tap the people icon, tap a name, then Remove. Remove the person rather than the link when you want to stop one recipient and keep the rest.
How can I share photos with family members who are not technical?
Send the invitation yourself and open it on their phone while you are on a call, so the first thing they see is the album rather than a permission screen. Let relatives add their own photos from the start, since contributors stay engaged, and keep one printed copy for anyone who would rather not manage an app at all.
Start with one album and one event. Create it, name it with the year, add the people you trust, and check the access from a logged-out window before you tell anyone. Once that works, most families add a second album for the next event, and the fiddly part never comes back.