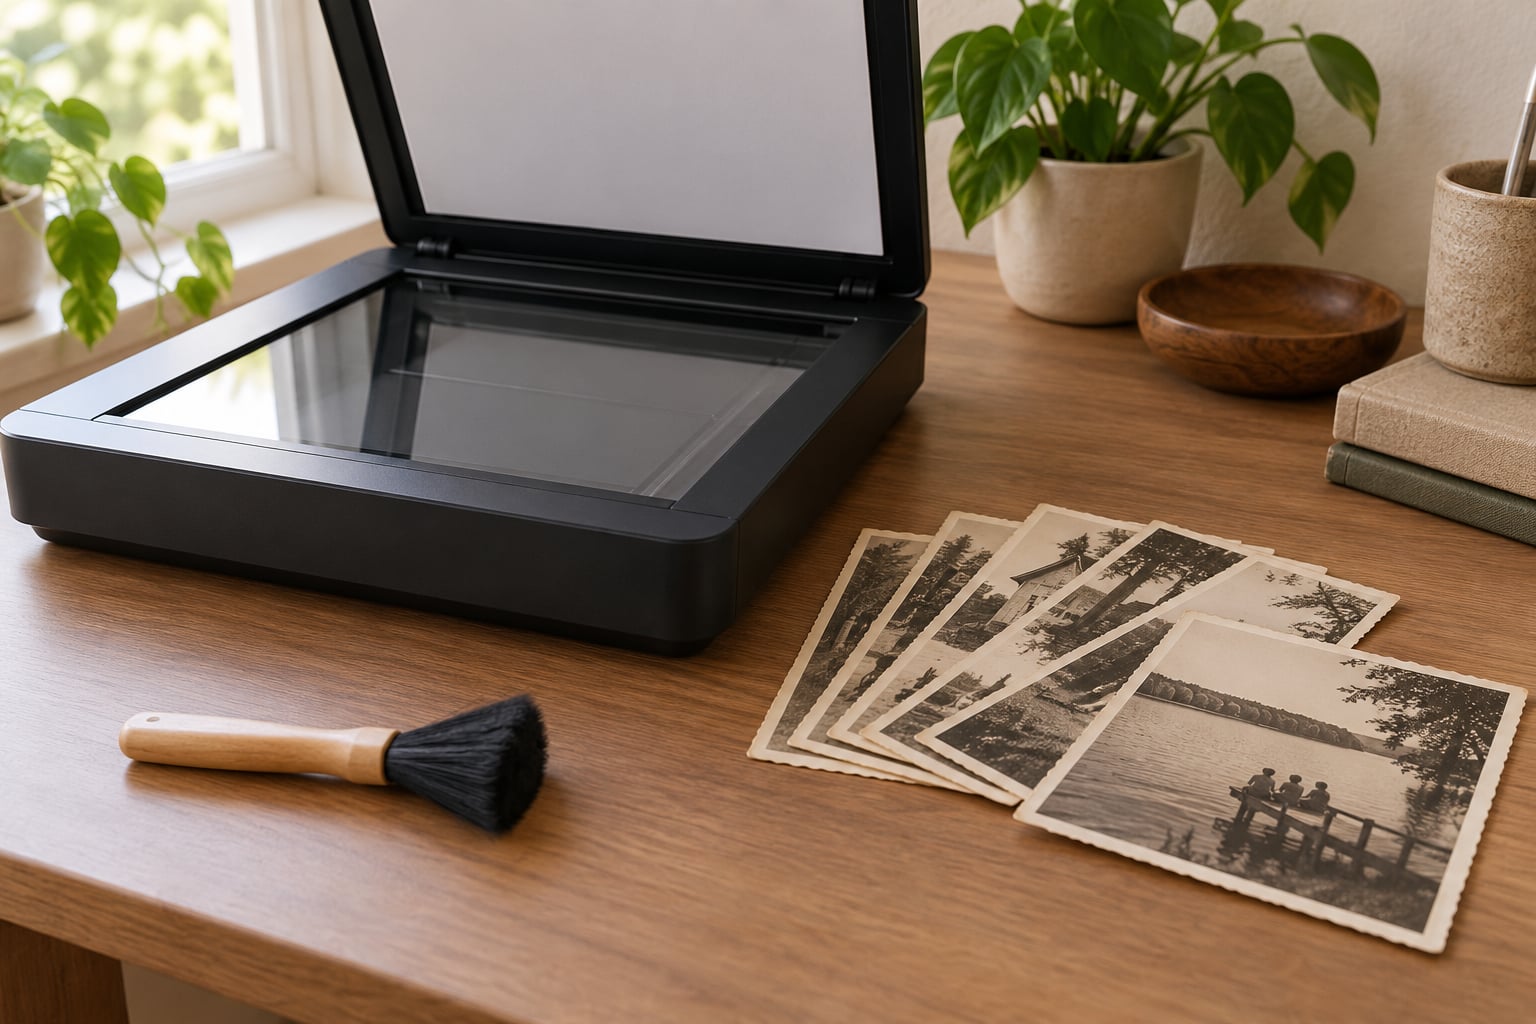
Scan old family photos with a flatbed scanner at 600 DPI, in 24-bit color, and save an uncompressed TIFF as your master file. That setting captures roughly the real detail most prints still hold, keeps a black-and-white photo usable later, and gives you room to crop and restore without re-scanning.
It also matters more than most people expect. Print dyes fade under light and heat, silver mirroring turns the dark areas of old black-and-white prints faintly iridescent, and adhesive from magnetic album pages bonds to the emulsion until the image tears away from the paper. A shoebox in a closet is a single point of failure. A scanned copy in two places is not.
The honest part: scanning is slow because of handling, not because of the scanner. Budget about 20 minutes for a batch of 40 to 60 loose prints once your workflow is set, and expect the first batch to take twice that while you learn your software. This is beginner-friendly work, but it rewards patience more than it rewards expensive gear.
Table of Contents
- What You Need
- The rest of the kit
- Step-by-Step: How to Scan Old Family Photos
- Sort, Identify, and Clean the Photos
- Choose the Right Scanner Settings for Old Family Photos
- Place Each Photo Flat and Scan It
- Scanning Album Pages Whole, Then Bulk Cropping
- Check and Correct the Digital Copy
- Name, Organize, and Back Up the Files
- Store the Originals Safely
- Common Mistakes
- Quick Preservation Tips
- Frequently Asked Questions
- Can You Scan Old Family Photos With a Phone?
- What Resolution Is Best for Scanning Old Family Photos?
- Should Scans Be Saved as JPEG or TIFF?
- How Do You Fix a Shadow or Glare in a Photo Scan?
- What Should You Do With Photos That Cannot Be Flattened?
- Conclusion
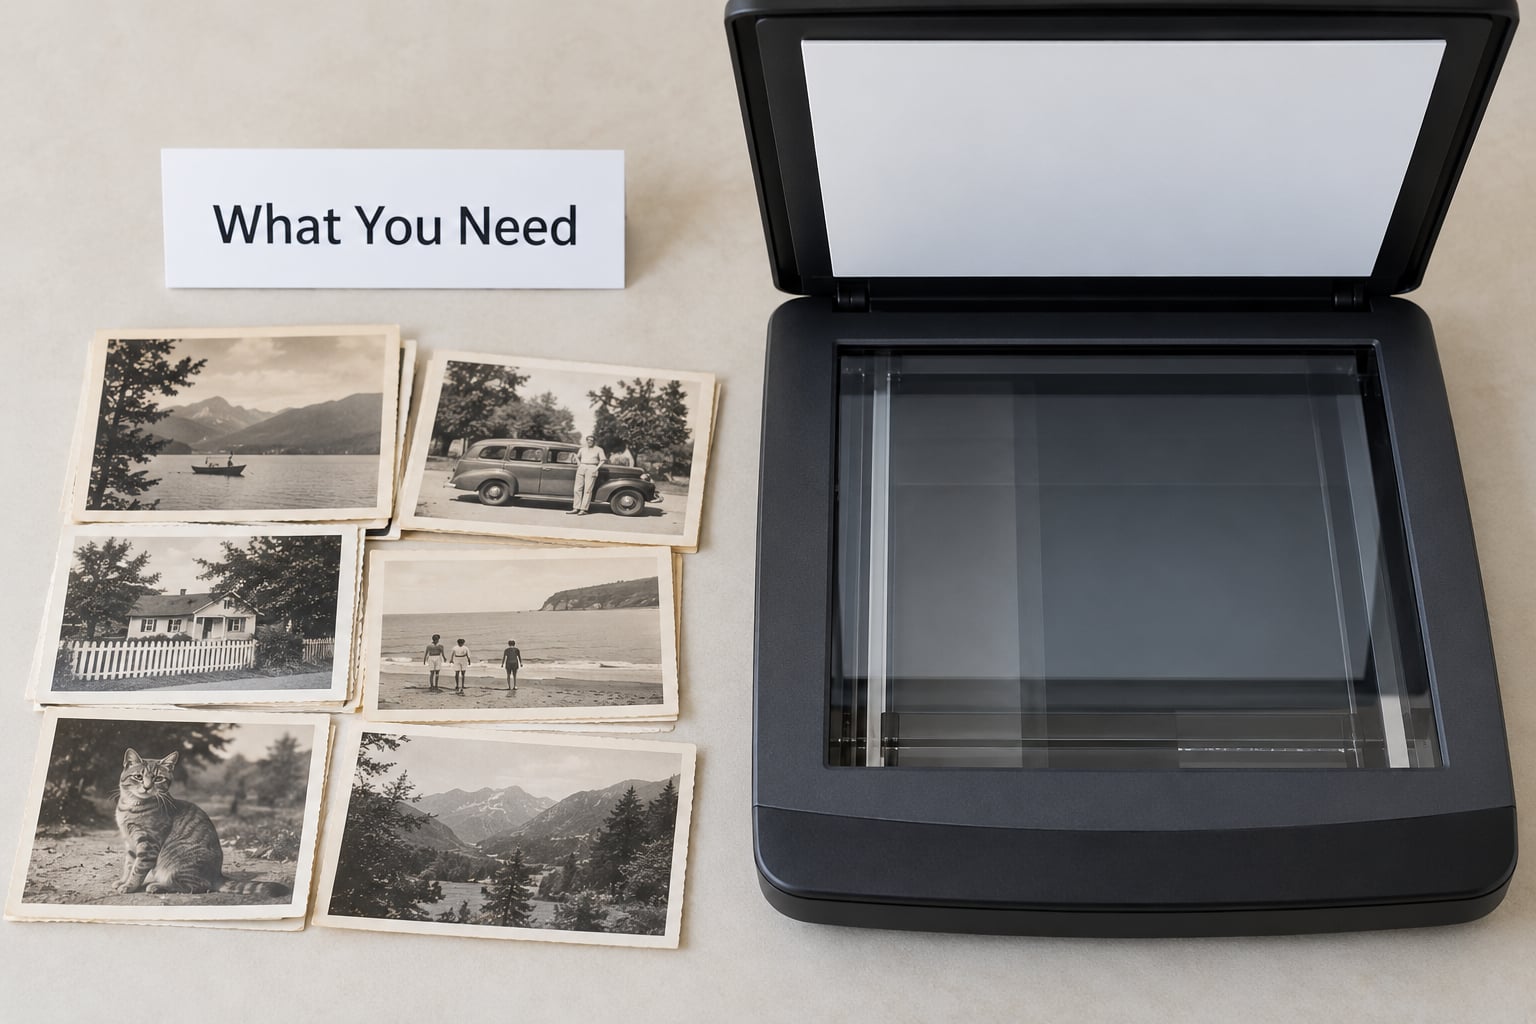
What You Need
Three routes cover almost everything: a flatbed scanner, a camera on a copy stand, or a smartphone. They differ more in consistency than in headline resolution.
| Method | Quality | Speed | Best for | Risk to originals |
|---|---|---|---|---|
| Flatbed scanner | Consistent, colour-accurate, repeatable | About 10 to 20 seconds per print including handling | Loose prints, album pages, anything flat | Very low with a raised lid, no pressure |
| Camera on a copy stand | Highest, adjustable lighting, best on glossy prints | Slower per shot, faster in bursts of variants | Framed photos, 3D heirlooms, curled prints | Low, but you need a stable rig and a careful surface |
| Smartphone scanning app | Good with even light, inconsistent without it | Fastest for a small batch | Previews, quick copies, records with handwritten names | Lowest of the three if you never press on the photo |
| Mail-in service | High, and the only sane option for 1,000+ photos | Days to weeks | Large collections, damaged material, no time | None, they handle it |
I would start with a flatbed scanner. People on r/Genealogy make the same split in one line: a scanner is the better choice for flat items like photos, while a camera and copy stand wins for 3D items like heirlooms and for book scanning. Prints are flat. That is the whole argument.
The rest of the kit
- Clean dry hands or nitrile gloves. Gloves grip less well on slick gloss, so plenty of archivists work with washed, thoroughly dried hands instead. Pick one method and stick with it.
- A soft dry brush for dust, and a lint-free microfibre cloth for the scanner glass. Keep both in the same room as the scanner so you are not walking away mid-session.
- A non-abrasive photo cleaner used only after a patch test on a duplicate print. See the cleaning step below.
- A neutral matte backdrop if you use the copy-stand route. Black or medium grey shows edge problems better than white.
- A computer with storage to spare. A 4×6 print at 600 DPI in 24-bit color lands near 8 MB uncompressed. A thousand prints is a serious archive, not a folder.
- External drive plus cloud for the second and third copies.
- Archival sleeves or folders for the originals once they go back in the box.
Step-by-Step: How to Scan Old Family Photos
Sort, Identify, and Clean the Photos
Start with an inventory, not a scan. Put every photo in one working pile, loose, face up, and give each a stable number in the order you find it. Your filenames will follow those numbers, which means the whole session can be reconstructed later.
Write what you know on small removable slips of paper rather than on the prints themselves. A pencil note on a paper slip beside the photo is safe; a pen mark on the emulsion is permanent. If you only know a surname, write the surname.
- Handle prints by the edges, with two hands, and keep fingernails away from the surface. Oil from skin accelerates yellowing, and the middle of a print is where you touch least safely.
- Brush dust off gently with the dry brush, holding the print at an angle so debris falls away instead of back into the emulsion.
- Never test a liquid on a valuable photograph. If you want to use a cleaner, first print or copy the photo at high resolution, clean the copy, and scan that instead. Photograph conservators routinely handle a photograph only after it has been imaged, for exactly this reason.
Now triage honestly. Glossy prints, curled corners, cracked emulsions, sticky surfaces, Polaroid integral film, and anything stuck to a page all go into a separate fragile pile. What worked out fine: r/DataHoarder threads on archiving family photos keep circling the same warning, that adhesive from magnetic album pages bonds to the emulsion and tears the image off the paper when you pull.
So do not pull. Scan the whole album page with the photos still in place, exactly as described further down. That is both safer and much faster.
Choose the Right Scanner Settings for Old Family Photos
DPI, dots per inch, is how many samples the scanner takes per inch of the original. It is the single setting people argue about most, and the argument is mostly noise once you know what a print can actually resolve.
A 4×6 print at 600 DPI produces about 3,600 by 2,400 pixels. At 1,200 DPI you quadruple the file size and roughly double the pixel dimensions, but the extra detail is invented rather than found: the scanner is interpolating between real samples. Watch for the difference between optical resolution, what the lens and sensor genuinely capture, and interpolated resolution, which the software manufactures. Where those two numbers are printed side by side on a spec sheet, only the optical figure matters here.
Settings that work across most of a mixed family collection:
- 600 DPI as your default. It is the sweet spot for prints that will be viewed on screen and printed at moderate size.
- 300 to 400 DPI for a large batch you mainly want as quick family copies, and for small items like wallet or locket portraits.
- 600 DPI or above when the print contains handwriting, a typed document, or a caption you want readable, and whenever you might print an enlargement.
- 24-bit color, always, even for black-and-white prints. You are capturing the toning and the fading, which is data. Convert to grayscale later, in software, non-destructively.
- Turn off auto-enhance, auto-sharpening, and automatic color correction if the software offers them. These tools guess at what you want, and their guesses are baked into the file. Leave the source clean and decide later.
- Uncompressed TIFF for the master, JPEG for the copy you share.
- Leave the border in. Cropping tight loses a millimetre of edge that can matter when a print is slightly crooked.
| What you are scanning | Resolution | Best format | Why |
|---|---|---|---|
| Standard 4×6 or 5×7 print | 600 DPI | TIFF master, JPEG copy | Holds all available detail without quadrupling storage |
| Black-and-white print, faded or toning | 600 DPI, 24-bit color | TIFF master | Colour holds the toning you would otherwise throw away |
| Photo with handwriting or a typed caption | 600 to 1,200 DPI | TIFF master | Small text needs the extra samples to stay legible |
| Wallet-size or locket portrait | 600 DPI | TIFF master | Small originals need resolution to reach print size |
| Whole album page with several photos | 300 to 400 DPI | TIFF, cropped later | You will crop the individual photos out of one large file |
| 35mm negative or mounted slide | 2,400 to 4,800 DPI | TIFF master | Film has far more resolving power than a print |
| Framed photo or 3D heirloom | As high as the camera allows | RAW or TIFF | Copy stand light can be balanced; a platen cannot |
Place Each Photo Flat and Scan It
Open the lid fully and set it to whatever extended position your scanner offers. Nothing on a classic scanner rests on the glass where the lid presses, which is precisely why you never close the lid on a photo.
Place the photo face down, printed side against the glass. Align it to the edge of the platen rather than the middle, because the usable area usually starts a few millimetres in and you want the longest edge on the long axis. Nudge it with a fingertip at the edge only.
Preview before you commit. Confirm three things on the preview: the full frame is inside the capture area with a small margin, the image is the right way up and not mirrored, and there is no bright bar where a reflection sits. If the preview shows a highlight across the emulsion, lift the photo and rotate it slightly before scanning again.
Scan one print at a time. Batching several loose prints on the platen risks a fingerprint on the wrong scan, a rotation mistake that repeats across the batch, and edge cropping when a print hangs over the boundary.
Two exceptions to the one-at-a-time rule. Album pages get scanned whole, as explained below. And where you have access to a sheet-fed scanner with a transparency unit, negatives and slides feed through in strips rather than one at a time on the glass.
Scanning Album Pages Whole, Then Bulk Cropping
This is the technique people on r/ApplePhotos and r/selfhosted recommend most often for speed, and no ranking guide covers it properly. Scan the full album page once at 300 to 400 DPI, save the single large file, then crop the individual photos out of it in one pass with a bulk crop tool.
You get one file per page instead of one file per photo, hundreds fewer handling operations, and no risk of prying a stuck print off its backing. The compromises are honest ones: each crop is slightly less sharp than a flatbed scan of that single print, and a photo sitting under plastic or behind a page will pick up reflections you cannot fully remove.
Work on the crops in copies. Keep the untouched page scan as the master, do the cropping and any cleanup on a duplicate, and save both.
Check and Correct the Digital Copy
Open every scan at full size and look at it the way you would look at a print held in your hands. Check the corners first, then the centre, then the edges.
- Focus: fine detail in fabric, hair, or foliage should have edges rather than a soft halo.
- Colour cast: a greenish or warm cast usually means the automatic white balance guessed. Set the white point yourself from a known neutral area if the scanner software allows it.
- Fingerprints and dust: visible at full size, invisible when zoomed out. Use a spot removal tool set to a low radius.
- Clipped edges: a white sliver on one side means the print extended past the platen. Re-scan rather than trying to invent the missing area.
- Reversed orientation: rotate in software. Never use mirrored flip to correct a reversed scan.
- Missing image area: if the preview and the file disagree, the scanner cropped something. Re-scan.
Keep corrections restrained and reversible: crop, rotate, levels, white balance, dust spotting, and gentle sharpening at the end. Levels should bring the black point up only if it reads dark grey, because a print’s true black still has some fog, and clipping it destroys detail you cannot get back.
Name, Organize, and Back Up the Files
Use one filename pattern and never deviate from it, because search depends on consistency. A working pattern looks like this:
004_1963_smith-ellen_graduation_plr.tif
Number for stable identity, then approximate year, then the known names, then an event, with the source side as a prefix when a photo has both sides: 004_back_plr.tif. Keep names short, avoid spaces, and always keep the leading number so the sort order matches the physical order of the pile.
For anything you are unsure about, keep a sidecar text file or a catalog spreadsheet keyed to the same number. Write what you know, who told you, and how confident you are. The r/DataHoarder complaint that scans are useless because nothing identifies them is entirely fair; IMG4471.jpg tells a future researcher nothing at all.
Then apply the 3-2-1 rule: three copies, on two different kinds of media, with one copy somewhere physically separate. Your computer holds the working master. An external drive holds a second copy. A cloud account holds the third, and it survives a flood in the house where the drive sits.
Put your originals back in archival sleeves or folders rather than loose in the shoebox, and decide at that point whether the shoebox is a good enough second storage location. It is not, if it lives in a damp basement or an attic that hits extremes of heat.
Store the Originals Safely
Digital copies fail too. Drives corrupt, cloud accounts get closed, formats fall out of support, and restoration choices made today might be made differently in fifteen years. Scanning is not a licence to bin anything.
Acid-free folders or polyester sleeves, one per group, stored flat or upright as the folder allows. Keep the originals separated from loose paper, newsprint, and anything with rubber bands or pressure-sensitive tape. Avoid attics, basements, kitchens, and anywhere with direct sunlight, since all of these swing humidity and temperature faster than indoor closet conditions do.
Common Mistakes
Every one of these is easy to make and hard to undo once the originals are involved.
Reaching for household glass cleaner. It sprays, it streaks, and residue shows up in the scan as haze you will spend an afternoon trying to remove. Use no cleaner on originals at all unless a conservator has told you otherwise.
Closing the lid. On most flatbeds nothing touches the glass, so closing it does nothing except trap dust. On scanners with a raised-image design, closing it can press on curled corners. Leave the lid up.
Pressing curled prints flat. A cracked corner under lid pressure can shear off. Stack several prints and scan only the top one so its curl sits on a friendlier neighbour, or photograph it on a copy stand and accept the curve.
Putting a whole batch on the platen. You will scan a fingerprint, then rotate four photos wrongly, then edge-crop two. One print, one scan.
Scanning at 1,200 or 2,400 DPI because the button is right there. Storage climbs fourfold per doubling, and the extra detail is interpolated rather than real. Unless a print contains text or you plan a large enlargement, 600 DPI is the honest number.
Trusting automatic corrections. Auto-enhance, auto-sharpen, and auto-crop make a cheap-looking scan look like a cheap-looking scan on your screen, then hard-code it into the file forever. Turn them off, keep a clean master, and edit copies.
Saving only JPEGs. Every save loses a little more information. Keep one uncompressed TIFF master per photo and let the JPEGs be derived from it.
Keeping the only copy on one drive. That is the same single point of failure you were digitizing to escape. Three copies, two media, one off-site.
Pulling photos out of magnetic albums. The adhesive takes the image with it. Scan the page whole and crop afterwards.
Quick Preservation Tips
- Handle every print by its corners, every time.
- Keep the originals. Always. Your scan is a copy of a copy of light.
- Never use tape, sticky notes, or adhesives on a photograph. Use a paper slip in a sleeve.
- When a print is uncertain, image it first and experiment on the digital file.
- Record where a photo came from and who told you the names.
- Keep one offline copy, in a different building if you can manage it.
Frequently Asked Questions
Can You Scan Old Family Photos With a Phone?
Yes, and for a small batch it works well. Use the native scan mode in Photos or Google Photos, or a dedicated app such as Photomyne or Adobe Scan. Light the photo evenly from both sides, hold the phone directly parallel above it, and turn the flash off. Shooting at an angle gives you perspective distortion, and a single overhead lamp gives you glare. Phone scans suit previews and quick copies; a flatbed gives you repeatable colour and resolution.
What Resolution Is Best for Scanning Old Family Photos?
600 DPI for almost everything. Use 300 to 400 DPI when you only need screen viewing or copies of a very small print, and 600 or more when the photo carries handwriting or a caption you want legible. Going to 1,200 DPI mostly inflates file size and adds interpolated detail that was never there. Negatives and slides are the exception, needing 2,400 to 4,800 DPI because film resolves far more than a print does.
Should Scans Be Saved as JPEG or TIFF?
Keep an uncompressed TIFF as the master and save JPEG copies for everyday sharing and family members who want files that open anywhere. TIFF holds every sample the scanner recorded and leaves room for restoration later; JPEG discards a little data each time it is saved. r/DataHoarder regulars name specific settings for this kind of archival work, such as 800 dpi and 48-bit color in VueScan Professional, because they want a master they can still work from years later.
How Do You Fix a Shadow or Glare in a Photo Scan?
Prevention beats correction. Raise the lid fully, reposition a glossy print until the highlight falls outside the sensor angle, and diffuse any window light with a sheet of plain white paper. Once scanned, adjust levels or curves to open the shadows, or copy the scan to a new layer and lift the shadowed area by hand. Avoid content-aware fill on a face, which usually produces a convincing smear rather than a recovered image.
What Should You Do With Photos That Cannot Be Flattened?
Do not force them. A curled, cracked, or stuck print flattened under a lid or a heavy book can lose the emulsion permanently. Photograph it on a copy stand in its current shape and keep that as a record scan, which is honest about the condition. For a valuable or especially fragile item, skip home scanning entirely and consult a paper conservator, who can advise on separation techniques that will not cost you the image.
Conclusion
Start with a small batch of 20 loose prints, not the whole album. Inventory them, write names on paper slips, brush off dust with a dry brush, and handle everything by the edges.
Scan at 600 DPI in 24-bit color with auto-enhancement turned off, save an uncompressed TIFF, and inspect each file at full size before you move on. Make two more copies on different media, put the originals into archival sleeves, and only then open the next box.
If you take one habit from this guide, make it the backup rule. A scan on one laptop is barely better than a shoebox, because it is still only one copy of something that existed in exactly one place before.