What is the exposure triangle? It is the name photographers give to the three camera settings that decide how much light reaches the sensor: aperture, shutter speed and ISO. Change one and the photo gets brighter or darker, so you adjust the other two to hold the same brightness. Updated for 2026.
- Aperture — how wide the opening inside the lens is. Wide openings let in more light and blur the background; narrow openings let in less light and keep more of the scene sharp.
- Shutter speed — how long that opening stays open. Fast speeds darken the frame and freeze movement; slow speeds brighten the frame and smear movement.
- ISO — how sensitive the sensor is to the light it receives. Higher ISO brightens a dim scene but adds grainy digital noise.
If you have just moved from a phone to a camera with actual dials, this is the concept that turns those dials from decoration into tools. Once the three parts click together, you stop guessing and start deciding.
Table of Contents
- What Is the Exposure Triangle?
- How Does Each Part of the Exposure Triangle Work?
- How Does Aperture Control Light and Depth of Field?
- How Does Shutter Speed Control Light and Motion?
- How Does ISO Affect Brightness and Image Noise?
- How Do Aperture, Shutter Speed, and ISO Work Together?
- What Is a Stop of Light and How Do Equivalent Settings Work?
- How Do You Balance the Exposure Triangle in Practice?
- Common Exposure Triangle Mistakes and How to Fix Them
- Can You Learn the Exposure Triangle on a Smartphone Camera?
- Frequently Asked Questions
- What is the most important part of the exposure triangle?
- Should I use a tripod to balance the exposure triangle?
- Should I use the widest or narrowest aperture?
- What happens when I stop down by one stop?
- Is there one correct exposure triangle setting for every photo?
- Where Should You Start With the Exposure Triangle?
What Is the Exposure Triangle?
The exposure triangle is simply the trio of settings — aperture, shutter speed and ISO — that together determine the brightness of a photograph, plus the side effects each one leaves behind. Every camera, phone and even a film camera is metering one combination of those three values every single time you take a picture.
The triangle name comes from the trade-off: all three can add or remove light, and the total is what lands on the sensor. Push one up and something else has to come down if you want the picture to stay the same brightness.
One honest caveat, because people argue about it in every photography forum: on a digital camera, ISO does not actually change how much light falls on the sensor. It amplifies the signal after the fact, which is why noise creeps in. It still belongs in the triangle because it changes the brightness and the quality of the result.
The triangle also says nothing about colour, contrast or composition. Those come later, in editing and in where you point the camera.
How Does Each Part of the Exposure Triangle Work?
Here is the short version, side by side, before the deeper dives.
| Setting | How it is written | What it changes | Side effect | Typical settings | Reach for it when |
|---|---|---|---|---|---|
| Aperture | f/1.8, f/5.6, f/16 | How much light passes through the lens | Depth of field, background blur | f/1.8 to f/16 | The background should melt away or the scene should stay sharp end to end |
| Shutter speed | 1/1000s, 1/60s | How long the sensor is exposed | Motion blur or frozen motion | 1/1000s for action, 1/60s for steady handheld work | Something is moving, or the camera is |
| ISO | 100, 800, 6400 | How bright the sensor reads a given amount of light | Digital noise and loss of detail in shadows | ISO 100 to 1600 outdoors, higher indoors | The light is genuinely low and you have run out of other options |
How Does Aperture Control Light and Depth of Field?
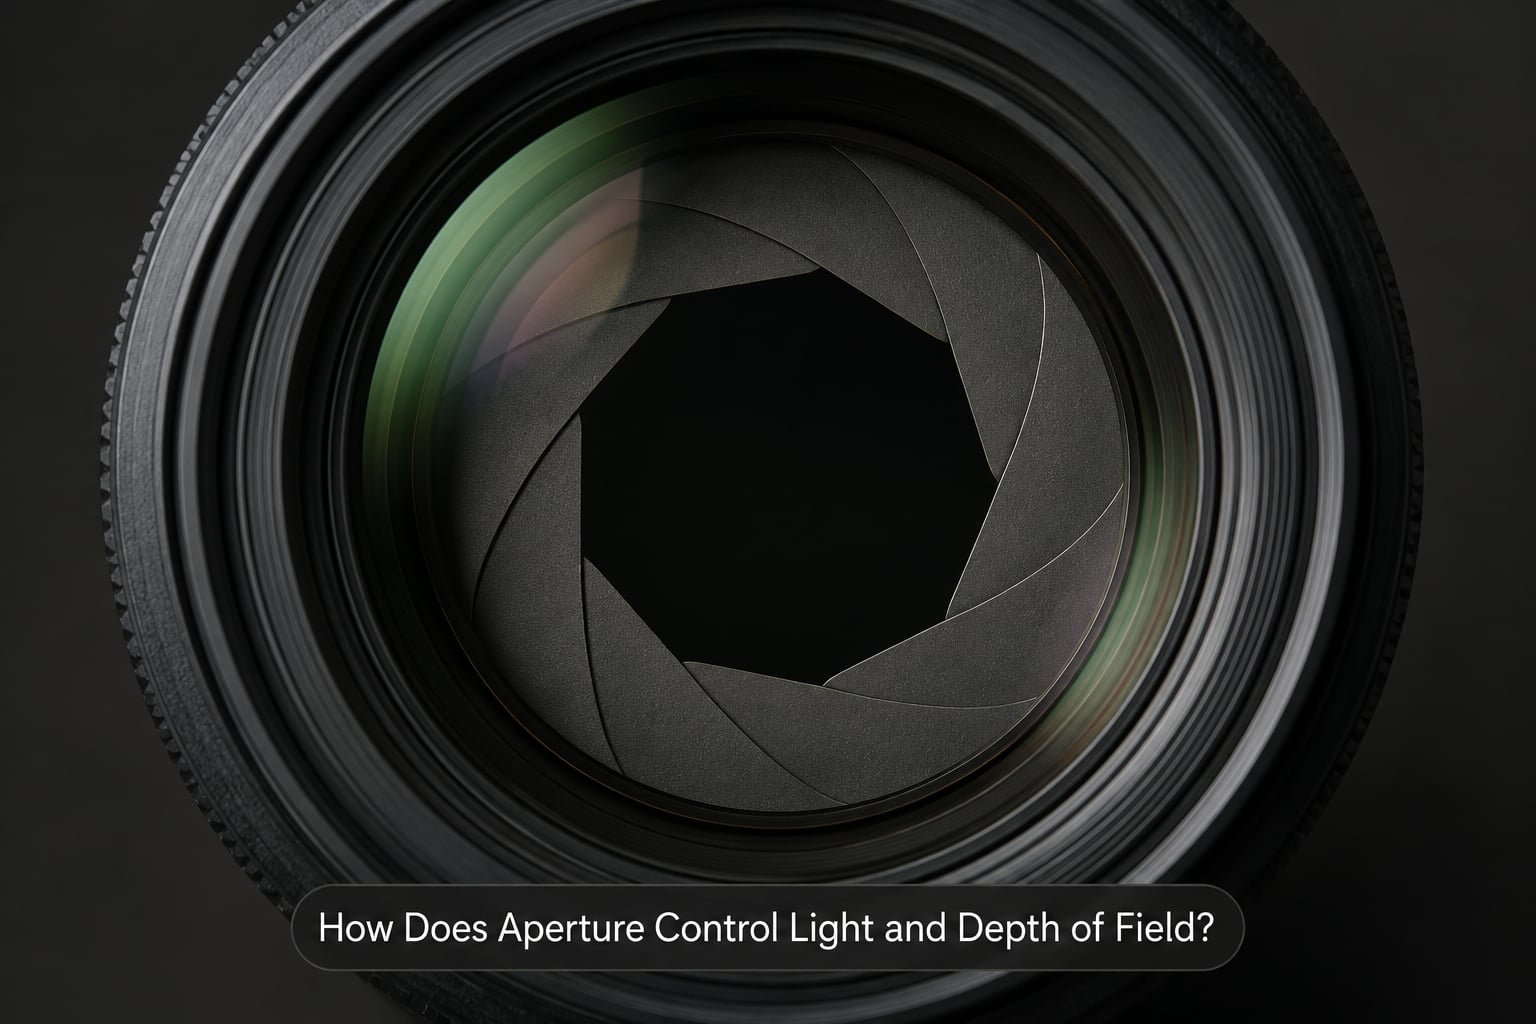
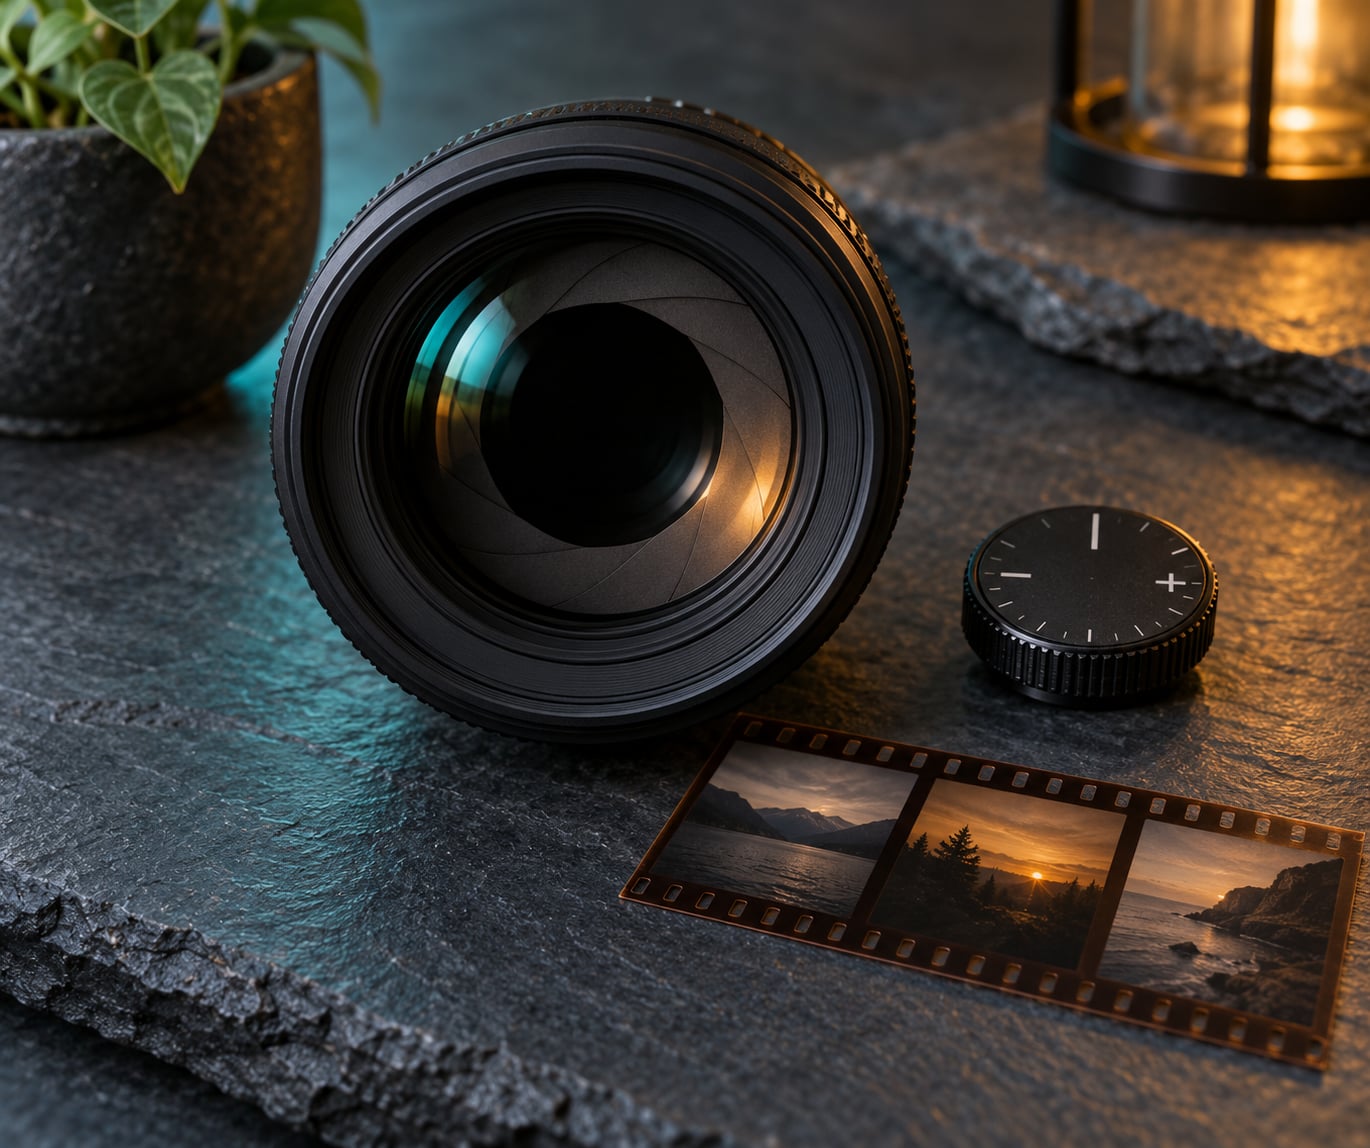
Aperture is the hole inside your lens, and its size is written as an f-number such as f/1.8 or f/11. The strange part trips up nearly everyone: the small number is the big hole. f/1.8 is a wide opening full of light, while f/22 is a narrow pinhole.
That is because the f-number is a fraction. The number is the focal length divided by the diameter of the opening, so f/2 on a 50mm lens means a 25mm opening and f/16 means a 3mm opening. Bigger hole, bigger number in the denominator, smaller number written down.
Beyond brightness, aperture governs depth of field — the slice of the scene that looks sharp. At f/1.8 you might have a few centimetres in focus and everything past that dissolving into smooth blur, which is the creamy background portrait shooters chase.
Stop down to f/11 and that slice stretches from foreground to horizon. In a garden, photograph a single flower head at f/2 and its stem and the path behind it go soft. The same flower at f/8 keeps petals, stem and background readable.
How Does Shutter Speed Control Light and Motion?
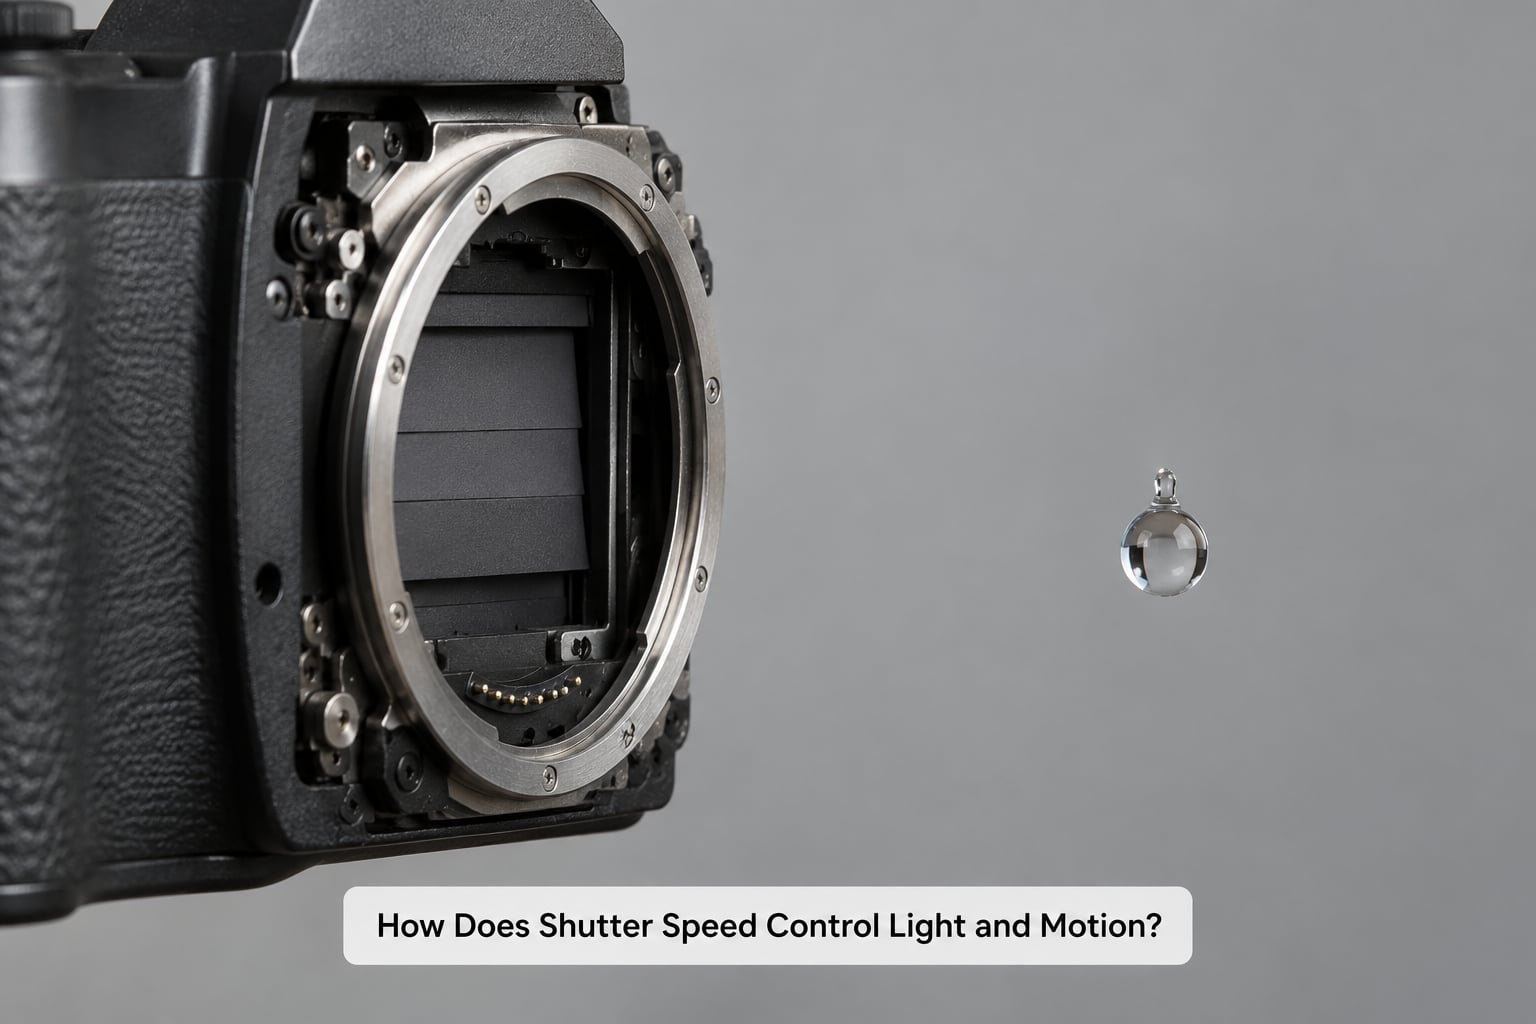
Shutter speed is a fraction of a second: 1/1000s means the sensor is exposed for a thousandth of a second. The smaller the fraction, the shorter the exposure, the less light, and the less chance anything moves during it.
That gives you two kinds of blur beginners need to separate. Hand movement blur comes from you swaying while the shutter is open. Subject motion blur comes from your subject moving while the shutter is open. They need different fixes, and the difference is worth naming out loud when you are diagnosing a soft photo.
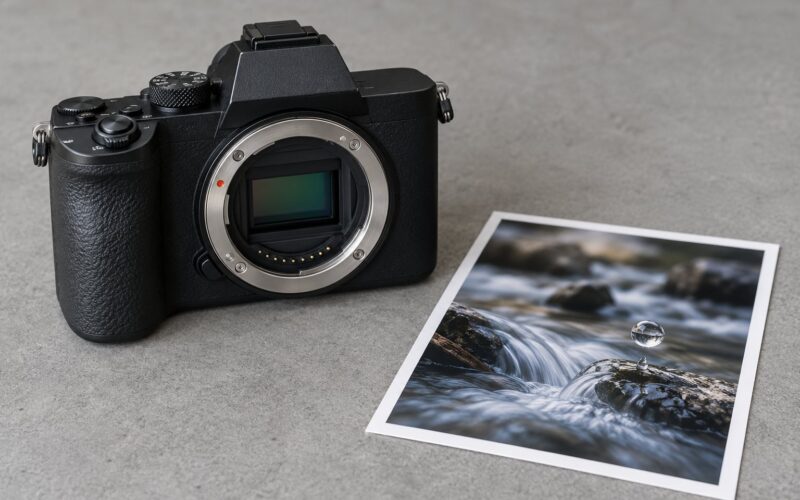
Leaves in a breeze are the easy demo. At 1/15s each leaf smears into a streak. At 1/500s the same leaf is a crisp shape. Falling water behaves the same way — a 1/8s shutter turns a tap into silk, and 1/1000s catches individual droplets hanging in the air.
For handheld work, a reliable rule is to keep the shutter speed at least as fast as one over the focal length. On a 200mm lens that means 1/200s or faster, and on a wide 24mm lens, 1/60s is a comfortable floor. Image stabilisation buys you a few stops of static-subject sharpness, but it does nothing at all for a moving subject.
How Does ISO Affect Brightness and Image Noise?
ISO is the sensor’s sensitivity setting. It originated as a film speed rating, and on digital cameras it works differently: the sensor still collects the same amount of light, but the camera amplifies the signal and treats it as if it were more sensitive.
That amplification is where noise comes from. Low ISO values give clean files with smooth gradients. Push to ISO 6400 on a typical camera and shadows start breaking into blotchy colour patches, and fine detail in dark areas flattens out. Modern bodies handle it well, but the noise is still there.
Because of that, ISO is the setting most beginners waste. The reflex is to raise ISO every time a shot comes out dark. In bright daylight, opening the aperture or slowing the shutter instead is usually free — no quality cost at all — while ISO is the only one of the three that always charges you something.
Save ISO for evening interiors, concerts, night markets and indoor sport, where the light simply is not there and no setting can conjure it.
How Do Aperture, Shutter Speed, and ISO Work Together?
The three settings are not independent. Every full step in any one of them doubles or halves the light, so a balanced shot is one where you have exchanged one setting for another without changing the brightness.
Here is the method I use when a shot comes out wrong:
- Decide what must not blur. If a person is walking, fix the shutter speed first. If the background must stay soft, fix the aperture first.
- Set the light you need. Open the aperture as wide as the depth of field allows. A wide f/1.8 setting is free brightness if you wanted blur anyway.
- Slow the shutter only as far as you can hold it. Drop to about 1/focal length, and no further without a tripod.
- Spend ISO last. Whatever light is still missing after those two choices goes to ISO.
In bright daylight, ISO 100 with f/8 at 1/250s is a solid starting point for scenery. Add two stops of brightness by opening to f/4, and you may now need 1/500s to hold the same exposure — unless you want that extra light and can accept slower.
For an indoor portrait, choose f/2 for the background, then 1/125s to avoid subject blur, then raise ISO until the meter is happy. In a dim scene where a child is running around, freeze the motion at 1/500s, accept f/4, and let ISO climb into the thousands rather than accept a blurred child.
Fireworks are the opposite problem — too much light for too long. Shut the aperture to f/11, drop to a two-second exposure on a tripod, and keep ISO low so the sky stays deep and clean.
What Is a Stop of Light and How Do Equivalent Settings Work?
A stop of light is a doubling or halving of light. That single idea is the whole balancing act, and once it lands, the triangle stops being three separate dials.
One stop down means half the light. One stop up means twice the light. Aperture, shutter speed and ISO all move in these half steps, which is why they can substitute for each other.
| Change | Aperture | Shutter speed | ISO |
|---|---|---|---|
| One stop more light | f/5.6 to f/4 | 1/125s to 1/60s | 800 to 1600 |
| One stop less light | f/5.6 to f/8 | 1/125s to 1/250s | 1600 to 800 |
Modern dials click in half and third stops too. Half a stop is a gentler nudge, and thirds are useful for fine tuning on a tripod or in very bright light.
Exposure compensation is the shortcut version of the same math. Dial in plus one stop and the camera brightens the shot by a stop without you touching anything else — which is handy, but it changes the recorded brightness, not the aperture or shutter speed. For creative control, change the settings yourself.
That equivalence is also how photographers communicate. “F/8 at 1/125s at ISO 400” tells another photographer exactly what you saw, and the numbers carry the trade-offs with them.
How Do You Balance the Exposure Triangle in Practice?
A repeatable routine beats improvisation every time. Pick a subject, set a priority, establish a baseline, check, adjust one setting, repeat.
Start with the effect you want. Before touching a dial, finish this sentence: I want the background blurred, or I want everything sharp. Then add: I want the movement frozen, or I want it streaked. Those two sentences name your aperture and shutter speed for you.
Establish a baseline. For a sharp, deep-focus scene in good light, f/8 and 1/125s at ISO 100 is the classic starting point. For a blurred-background portrait, f/2 and 1/125s at ISO 100. Write the baseline down the first few times; muscle memory takes over quickly after that.
Check the histogram. The camera meter reads reflected light and can be fooled by bright skies or dark coats. Play back the shot and look at the histogram. Highlights pushed hard against the right edge are clipping, and clipped highlights come back as flat white with no detail. Raw files hold a little recovery room, which is why a slight overexposure is usually fixable and a heavy one is not.
Adjust one setting at a time. When the shot needs more light, move one setting a stop and check again. Changing all three at once teaches you nothing about which one mattered.
A few starting points to keep in your head: wide scenes and scenic work, f/8 to f/11 with a steady shutter; close-up flower work, f/4 to f/5.6 with a slow-ish shutter on a tripod for wind; children and pets, 1/500s or faster at f/2.8 or f/4 with ISO doing the rest; everyday street and family frames, f/5.6 and 1/250s, adjusting as the light fades.
Common Exposure Triangle Mistakes and How to Fix Them
| Symptom | Likely cause | Fix |
|---|---|---|
| Blown-out sky, dark subject | Meter read the dark subject and exposed for it | Shoot RAW, dial in negative exposure compensation, or meter off the bright area |
| Everything too dark | Not enough light for the settings you chose | Open the aperture one stop, then raise the shutter speed, then ISO |
| Whole frame looks soft, subject is still | Shutter too slow for handheld, camera movement | Use at least 1/focal length, or steady on a tripod |
| Subject soft, background sharp | Subject moved during a slow exposure | Shutter speed needs to be faster; a stabiliser will not help |
| Nothing out of focus in a portrait | Aperture too narrow for the blur you wanted | Open up two stops and raise ISO or shutter speed to compensate |
| Grainy, blotchy shadows | ISO pushed high out of habit | Reset ISO to base and find the light elsewhere |
| Confused by f-numbers | Reading the number as a physical size | Remember it is a fraction — small number, wide hole |
Can You Learn the Exposure Triangle on a Smartphone Camera?
Mostly through automation. Phone cameras run the same three variables behind the scenes, adjusting them for you with computational photography, so you get a usable exposure without touching anything.
The manual controls worth learning are the ones that map directly to the triangle: EV compensation (an exposure bias in stops), ISO, and shutter speed on models that expose it. Look for those in the stock camera app or in a manual mode such as Pro, Manual or Custom.
The habit matters more than the button. Learning that a faster shutter darkens the frame, or that ISO adds noise, on a phone transfers straight to any interchangeable lens camera you pick up later.
Frequently Asked Questions
What is the most important part of the exposure triangle?
None of them is more important in absolute terms; the right one depends on the subject. For people and pets, shutter speed matters most because a sharp subject cannot be fixed in editing. For portraits, aperture decides how the background looks. For dim scenes, ISO is what gets you any image at all. Most beginners do best by choosing their priority for the shot and treating the other two as adjustable.
Should I use a tripod to balance the exposure triangle?
A tripod frees your shutter speed, which is the biggest gain a tripod offers. Once the camera is not being held, you can drop to a two-second exposure or slower for waterfalls, star trails or fireworks and still get sharp results at low ISO. For handheld work, a tripod is unnecessary; hold the shutter speed above one over your focal length instead. Many tripods have a hook for the centre column that helps on windy days.
Should I use the widest or narrowest aperture?
It depends on what you are photographing, not on which one gathers more light. Wide apertures such as f/1.8 give shallow depth of field and smooth background blur, which suits portraits and close-ups. Narrow apertures such as f/11 or f/16 give deep focus from foreground to background, which suits scenery and architecture. The widest setting is also the softest rendering, so landscapes usually look sharper a couple of stops down.
What happens when I stop down by one stop?
Stopping down one notch narrows the aperture and halves the light reaching the sensor, from f/4 to f/5.6 for example. You also gain depth of field, so more of the scene looks sharp. To hold the same brightness you then double either the shutter time or the ISO. The same maths runs in reverse when you open up a stop: twice the light, less depth of field, and you may need a faster shutter or lower ISO.
Is there one correct exposure triangle setting for every photo?
No, and the idea that there is one is what makes beginners feel stuck. Many combinations produce the same brightness, and each carries a different trade-off. That is also the freedom in the triangle: at the same meter reading you can choose frozen motion or blur, shallow or deep focus, clean shadows or a brighter frame. The settings that matter are the ones that suit the picture you are making, not a single magic number.
Where Should You Start With the Exposure Triangle?
Pick one subject and shoot it for a week. Decide whether you want the background blurred or sharp, decide whether you want the movement frozen or streaked, then set aperture and shutter speed to match and let ISO take up the slack.
Check the histogram before you change anything. That is the whole of what is the exposure triangle in practice: three numbers, one trade-off, and a verification step that tells you whether you got it right. Keep it up, and the guessing stops.