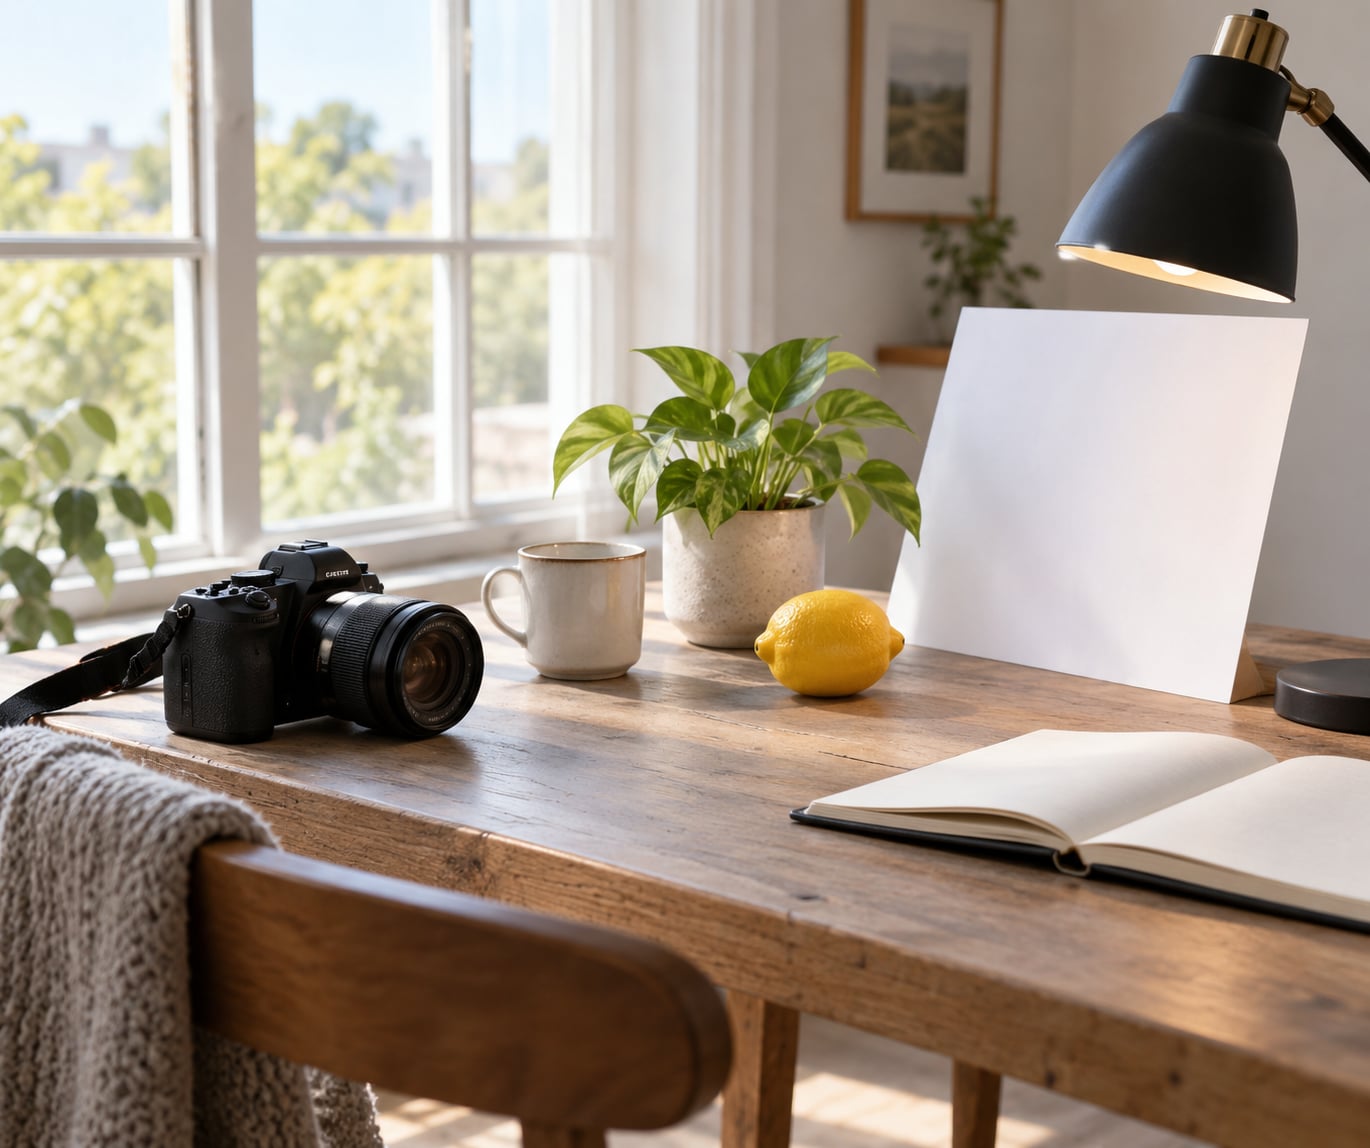
To practice photography at home, pick one skill, choose a subject you already own, and shoot it repeatedly while changing only that one variable. Window light, a single lamp, a phone or any camera, and a table are enough. Ten focused minutes beats a month of random shooting.
That is the whole idea. Photography gets easier when your hands learn the controls and your eye learns to read light, and both of those can be trained in a small flat with no sunset, no model, and no budget.
Most people stall indoors because they treat practice as “take nice photos.” It is closer to a rehearsal. You repeat a specific thing, look at the result, decide what was wrong, and do it again with one change. Seven routines below do that, and each one takes ten to twenty minutes.
Table of Contents
- What You Need
- Step-by-Step: How to Practice Photography at Home
- Step 1: How to Practice Photography at Home Without Expensive Gear
- Step 2: Shoot the Same Scene in Different Light
- Step 3: Practice Composition With a Limited View
- Step 4: Create a Small Indoor Nature Study
- Step 5: Photograph Food, Crafts, or Everyday Objects
- Step 6: Make One Subject in Ten Ways
- Step 7: Edit, Compare, and Keep a Practice Log
- Common Mistakes
- Frequently Asked Questions
- Can I practice photography at home with just a smartphone?
- What subjects can I photograph indoors when I do not have studio equipment?
- How can I improve indoor photos when the lighting looks uneven?
- Is it better to practice with a camera or a smartphone?
- How often should I practice photography at home each week?
- What should I edit on a beginner photography practice photo?
- Conclusion
What You Need
Almost nothing. If you have a camera or a phone, a window, and an object within arm’s reach, you can start today. Everything else just removes friction.
- A camera or smartphone. A recent phone is genuinely capable. Manual controls on the stock camera app, or a free app with manual mode, are a bonus, not a requirement.
- A north-facing or shaded window. Side light from a window gives shape and texture. Direct midday sun through the same window is harsher, which is useful too, just not on your first session.
- Two or three everyday objects. A mug, a folded jacket, a bunch of keys, a glass, a book. Objects with texture beat shiny ones when you are learning.
- A surface. A table, a desk, a white sheet of paper, a towel.
- Something to steady the camera. A stack of books, a leaning wall, a full glass of water on a windowsill. A cheap tripod is nice, not required.
- White paper or foil card. This is your reflector. Bounce light back into the shadow side of a subject and the contrast drops instantly.
- One lamp. For low-light practice later on, an ordinary desk lamp with a bare bulb gives you harder, more directional light than any ceiling fixture.
Editing needs almost nothing too. A free mobile editor handles exposure, contrast, and a black-and-white conversion. If you already own a fuller editing program, use it, but do not delay a practice session because the software feels too advanced.
Step-by-Step: How to Practice Photography at Home
Step 1: How to Practice Photography at Home Without Expensive Gear
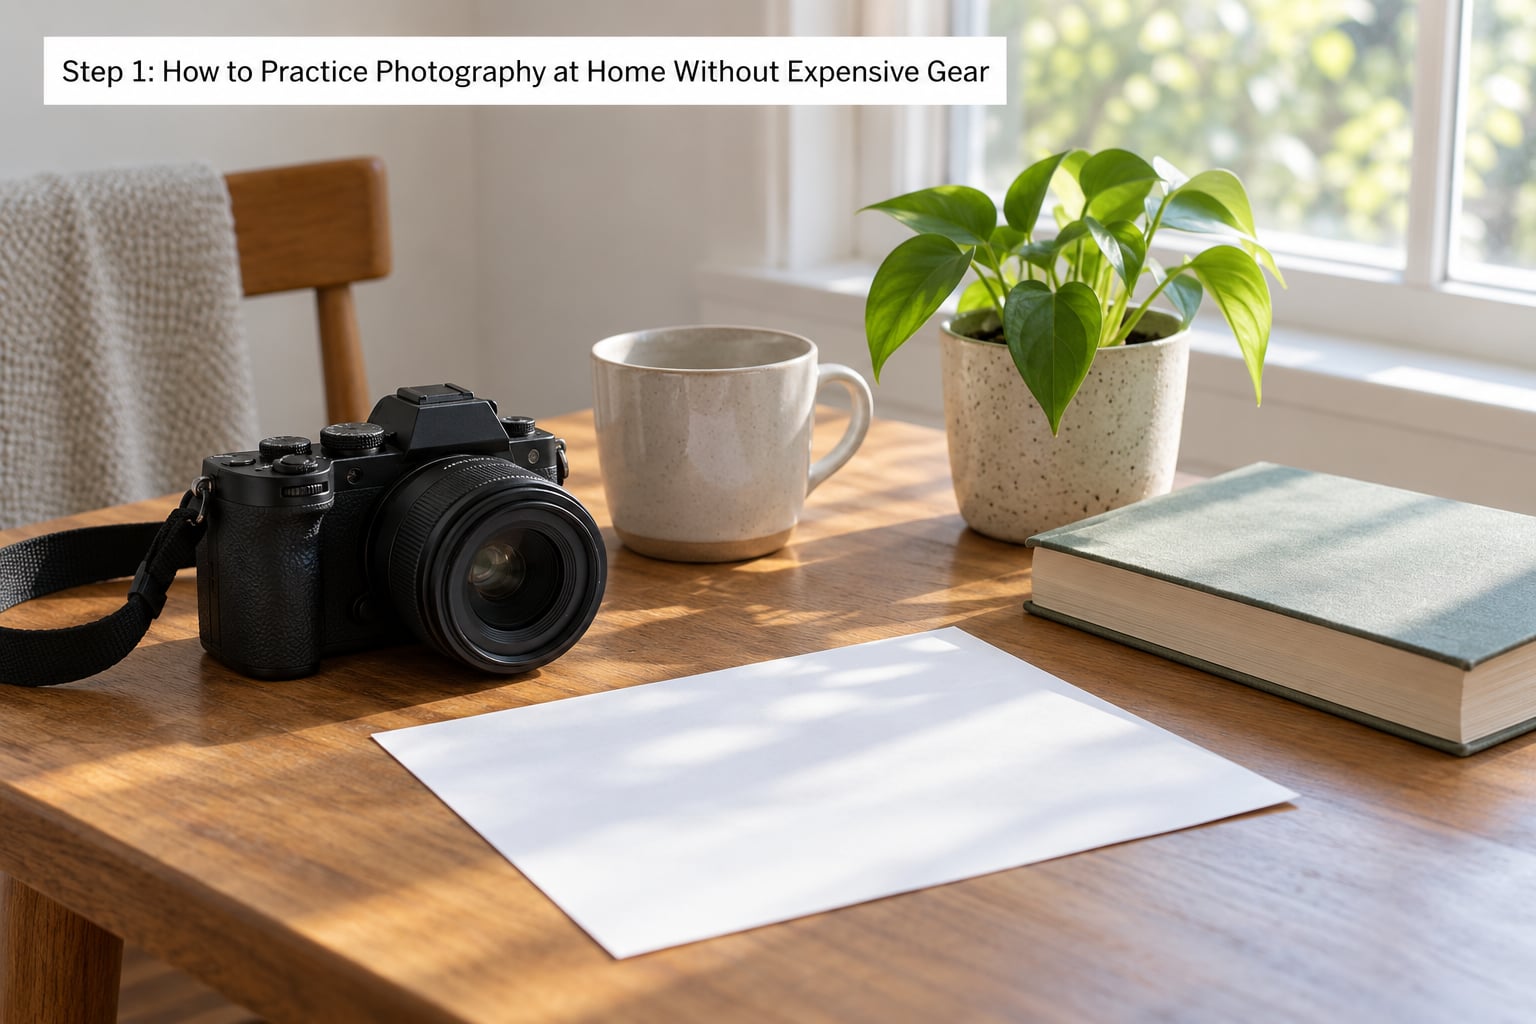
Put three objects on a table beside a window and make twenty frames of the same arrangement. Do not move anything between shots. The goal of this first session is the least glamorous skill there is: setting up, framing, focusing, and firing the shutter without thinking about it.
Turn off the flash and the overhead light first. Both will fight the window and give you flat, colour-cast results that teach you nothing. Use the window as your only source and let the rest of the room stay dim.
Check the first and tenth frame side by side. If the tenth is better framed, steadier, and correctly exposed, the routine worked. If they look identical, you probably changed nothing between shots, which means the next session needs a stricter rule.
Time: 15 minutes. Difficulty: easy. What it trains: setup speed, focus, and trust in your own gear.
Step 2: Shoot the Same Scene in Different Light
Keep the camera and the subject exactly where they are, and change only the light. Four frames is enough: window light from the side, light straight from the window, light with the window behind the subject for a silhouette, and light with a single lamp switched on. This is the single most useful exercise on the list, because reading light is the thing that separates snapshots from photographs.
| Light source | Character | Best for | Setup |
|---|---|---|---|
| Window, side on | Soft, directional, cool | Texture, everyday portraits, still life | None |
| Window, behind subject | Hard, high contrast | Silhouettes and shape | None |
| Window plus white card | Soft both sides, low contrast | Beginner portraits, food | One sheet of paper |
| Single desk lamp | Hard, warm, controllable | Shadow shape, low-light practice | Move lamp around subject |
| Ceiling fixture | Flat, unflattering | Learning what to avoid | None |
Write one line per frame describing where the shadows fell. Later, when you are outdoors, you will be looking for the same three things: where the light comes from, how hard it is, and how much of it bounces back.
Time: 20 minutes. Difficulty: easy. What it trains: light direction, shadow shape, exposure judgement.
Step 3: Practice Composition With a Limited View
Pick one object and stay within arm’s reach of it. From that fixed distance, make ten frames that each apply one compositional idea: rule of thirds, leading lines from something in the room, negative space, a frame within a frame using a doorframe or a mug handle, symmetry, and reflections off glass or a polished surface.
Do not crop in afterwards to rescue a bad frame. The point is to make the decision before pressing the shutter. Move the camera, not the subject, and keep the horizon straight without a level tool, just by watching the edges of doorways and table lines.
Time: 15 minutes. Difficulty: easy. What it trains: framing, balance, and the habit of committing to one idea per frame.
Step 4: Create a Small Indoor Nature Study
Houseplants, cut flowers, fruit, seed pods, a fallen branch, and even a windowsill after rain give you a subject that is alive, moving, and completely free. Fill the frame with one leaf rather than photographing the whole plant, which forces you to work on focus and texture instead of composition.
Set the smallest focus distance your kit allows and shoot close. Then back off and shoot wide. The difference between the two sets of frames teaches depth of field faster than any settings diagram, and it is a skill that transfers straight to portraits and food.
Time: 15 minutes. Difficulty: easy to moderate. What it trains: close-up focus, texture, and patience with a subject that moves.
Step 5: Photograph Food, Crafts, or Everyday Objects
Make something simple: a bowl of fruit, a cup of tea, a slice of bread, a half-finished craft, a pair of shoes by the door. Then work on the background instead of the subject. Plain paper, a wooden board, or an empty patch of wall is all you need, and clearing the clutter around the frame fixes more amateur photos than any editing trick.
Shoot from three angles: straight on, from about 45 degrees, and directly overhead. Overhead is the hardest because it exposes every messy edge, which is exactly why it is worth repeating. Add a single directional light and watch the shadow define the shape of the food.
Time: 20 minutes. Difficulty: easy. What it trains: styling, backgrounds, angles, and working with a short, fixed session.
Step 6: Make One Subject in Ten Ways
Choose one thing you own and photograph it ten times, changing one decision each time: viewpoint up, down, and level; wide, normal, and close; portrait and landscape orientation; rotating the subject; changing the background; adding a second object for contrast. The constraint is what makes this exercise work, because it forces you to notice what each decision actually does.
At the end, line the ten frames up and pick the one that feels like a photograph rather than a record. Then work out which single change got you there. Repeat next week with a different subject and the same ten decisions, and the choice starts to become instinct.
Time: 20 minutes. Difficulty: moderate. What it trains: deliberate creative decision-making.
Step 7: Edit, Compare, and Keep a Practice Log
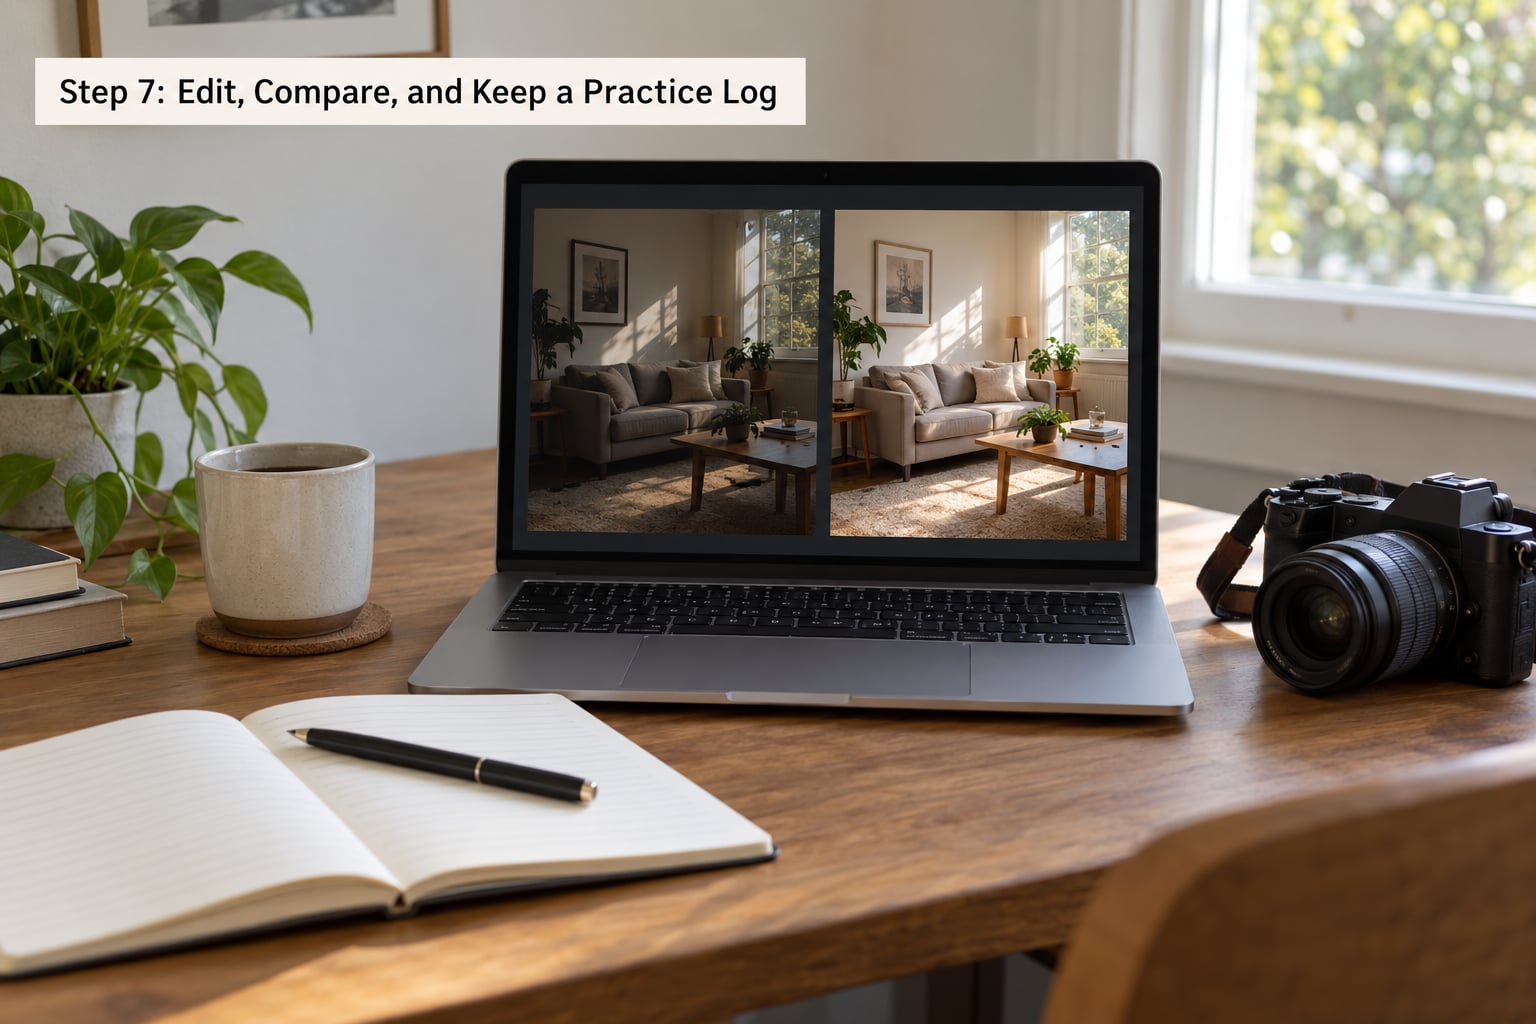
Editing practice and shooting practice are the same habit, and skipping the review is why most people cannot tell whether they are improving. Choose two frames from the session, put them side by side on one screen, and give yourself a real edit rather than a preset.
Work in the same order every time: crop, straighten, exposure, contrast, then colour. Make the smallest change that fixes the problem, and convert one frame to black and white to see which images relied on colour to hold them together.
Then write three lines in a notebook: what you were trying to do, what the photo actually does, and one thing to change next session. That last line is the reason for the log. Practicing photography at home without a record of decisions is just shooting, and shooting without a record feels like standing still.
Time: 15 minutes. Difficulty: easy. What it trains: editing judgement and the feedback loop that makes practice count.
Common Mistakes
Mixed lighting. A window plus a ceiling fixture plus a lamp gives you two colour temperatures and a shadow that goes nowhere. Turn off everything except your chosen source.
Cluttered backgrounds. Ask what your eye lands on first in each frame. If the answer is a plug socket or a bin, move the subject or shoot tighter rather than planning to crop it out later.
Too many settings at once. Beginners often change aperture, shutter speed, and position in a single frame, then learn nothing. Change one variable, take five frames, then change the next.
Shaky camera handling. Rest your elbows on the table, breathe out before firing, or stack books under the camera. A blurred frame teaches you less than a clean one, and blur is the fastest way to lose confidence.
Shooting into the sun by accident indoors. When light is behind the subject, expose for the highlights or move the subject. Otherwise every room becomes a silhouette exercise you did not plan.
Skipping the review. The shoot is half the work. Twenty minutes of shooting followed by five minutes of comparing frames and writing one line is the minimum that turns repetition into progress.
Saving everything. A folder of two thousand unsorted frames helps nobody. Keep ten, delete the rest, and keep a small edit you are happy with. If you do not practice photography at home with any intent, the frames pile up and teach you nothing.
Frequently Asked Questions
Can I practice photography at home with just a smartphone?
Yes. A recent phone camera handles exposure, focus, and low-light shooting well enough to learn every skill in this guide. Use manual mode if your camera app offers it, tap the subject to lock focus and exposure, and shoot in the raw format if it is available. Most phone lenses are wide and fixed, so back up rather than zooming to avoid digital cropping and lost detail.
What subjects can I photograph indoors when I do not have studio equipment?
A home is full of usable subjects. Fruit, a mug, houseplants, flowers, shoes, a book, hands, a pet, a half-made craft, rain on a window, or your own reflection in a dark screen all work. The trick is the same for each one: pick a plain background, choose one light source, and shoot twenty frames rather than five.
How can I improve indoor photos when the lighting looks uneven?
Uneven light usually means two or more sources are fighting each other. Switch off the overhead fixture and use only the window or a single lamp, then place white paper opposite the subject to bounce light into the dark side. If one part of the frame is still too dark, move the subject closer to the light rather than editing brightness later.
Is it better to practice with a camera or a smartphone?
Use whatever you have on hand, because the skill is in the decisions rather than the device. A dedicated camera gives you manual control over aperture, shutter speed, and ISO, which makes settings drills far easier. A phone is lighter and always in your pocket, so you are far more likely to complete a short practice session. Start with the phone and move up when you want specific controls.
How often should I practice photography at home each week?
Three short sessions of ten to twenty minutes beat one long weekend attempt, because repetition is what builds familiarity with the controls. A useful pattern is one session per routine per week, so the whole list takes about two weeks to cycle through. Keep a note of one goal per session, and treat a missed week as a reason to restart small rather than a reason to stop.
What should I edit on a beginner photography practice photo?
Edit in a fixed order: straighten, crop, exposure, contrast, then colour. Make the smallest adjustment that fixes the specific problem you spotted when reviewing the frame, and change only one thing at a time so you can see its effect. Converting a copy to black and white is the quickest way to learn which images are strong on shape and light rather than on colour.
Conclusion
These seven routines cover the skills that actually decide how a photograph looks: setup, light, framing, close-up focus, background control, creative choice, and review. The only equipment required is what you are already holding.
Start today with the first one. Put three objects beside a window, turn off the overhead light, and take twenty frames without moving anything. Then open the first and the last, write one line about what changed, and that is a practice session done properly.