To get everything in focus front to back, you need a small aperture, a wide or short lens, and the focus point placed where the scene’s depth is centred. On a tripod, focus about one third of the way into the scene and take a test shot before you commit. If one frame still cannot hold both ends of the scene sharp, stack a few overlapping exposures and blend them.
Most soft landscapes are not a camera fault. They are an aperture choice, a focus placement, or a shaky tripod working against each other, and all three are fixed in about ten seconds at the camera. Here is how to work through it in the order that actually matters.
Table of Contents
- What You Need
- Step-by-Step
- Choose the Right Focus Technique
- Set the Camera for Maximum Depth of Field
- Focus and Capture the Scene
- Use Focus Stacking When One Exposure Is Not Enough
- Common Mistakes
- Frequently Asked Questions
- What aperture do I need to get everything in focus front to back?
- Can I focus stack a landscape with a regular camera and tripod?
- Why is the foreground blurry even when I use a small aperture?
- Is f/22 better than f/16 for maximum depth of field?
- How many photos do I need for a focus stack?
- Does focus stacking work with a moving subject or windy scene?
- Start With a Smaller Aperture and Check the Result
What You Need
The good news is that nothing here requires new gear. Any camera with manual or single-point autofocus will do the job, and most of these steps work on a phone too.
- A tripod. Non-negotiable if you want to learn where the real limit is. At f/11 you may need a second or two, and at f/16 longer.
- A remote release or the two-second self-timer. Pressing the shutter with your hand moves the camera more than most people expect.
- A wide lens if you have one. A 16mm to 35mm gives far more depth of field at the same distance than a 70mm to 200mm.
- Manual focus, or back button focus if you shoot DSLR. Autofocus hunts on high-contrast foregrounds, which is exactly what a landscape has plenty of.
- Live view magnification or focus peaking. A screen at arm’s length cannot tell you whether a distant ridge is sharp. Zooming in can.
- A lens cloth. A hazy front element costs you contrast at every aperture, and it looks exactly like a focus problem on the camera back.
- Software for the blend. Anything that layers and masks frames will do the job, and the blur-tolerant versions handle the alignment for you.
Step-by-Step
Before touching a dial, work out how much depth you are actually dealing with. Measure or estimate the distance to your nearest subject and to the farthest one. Two metres to infinity is a wide-angle job. Thirty centimetres to two metres is a stacking job, and no f-number will talk you out of it.
Choose the Right Focus Technique
Three methods get you there, and picking the wrong one wastes an afternoon. Deep depth of field suits wide scenes where the foreground sits a metre or two away. Hyperfocal focusing suits anything reaching toward the horizon. Focus stacking suits close subjects and scenes deeper than any single frame can hold.
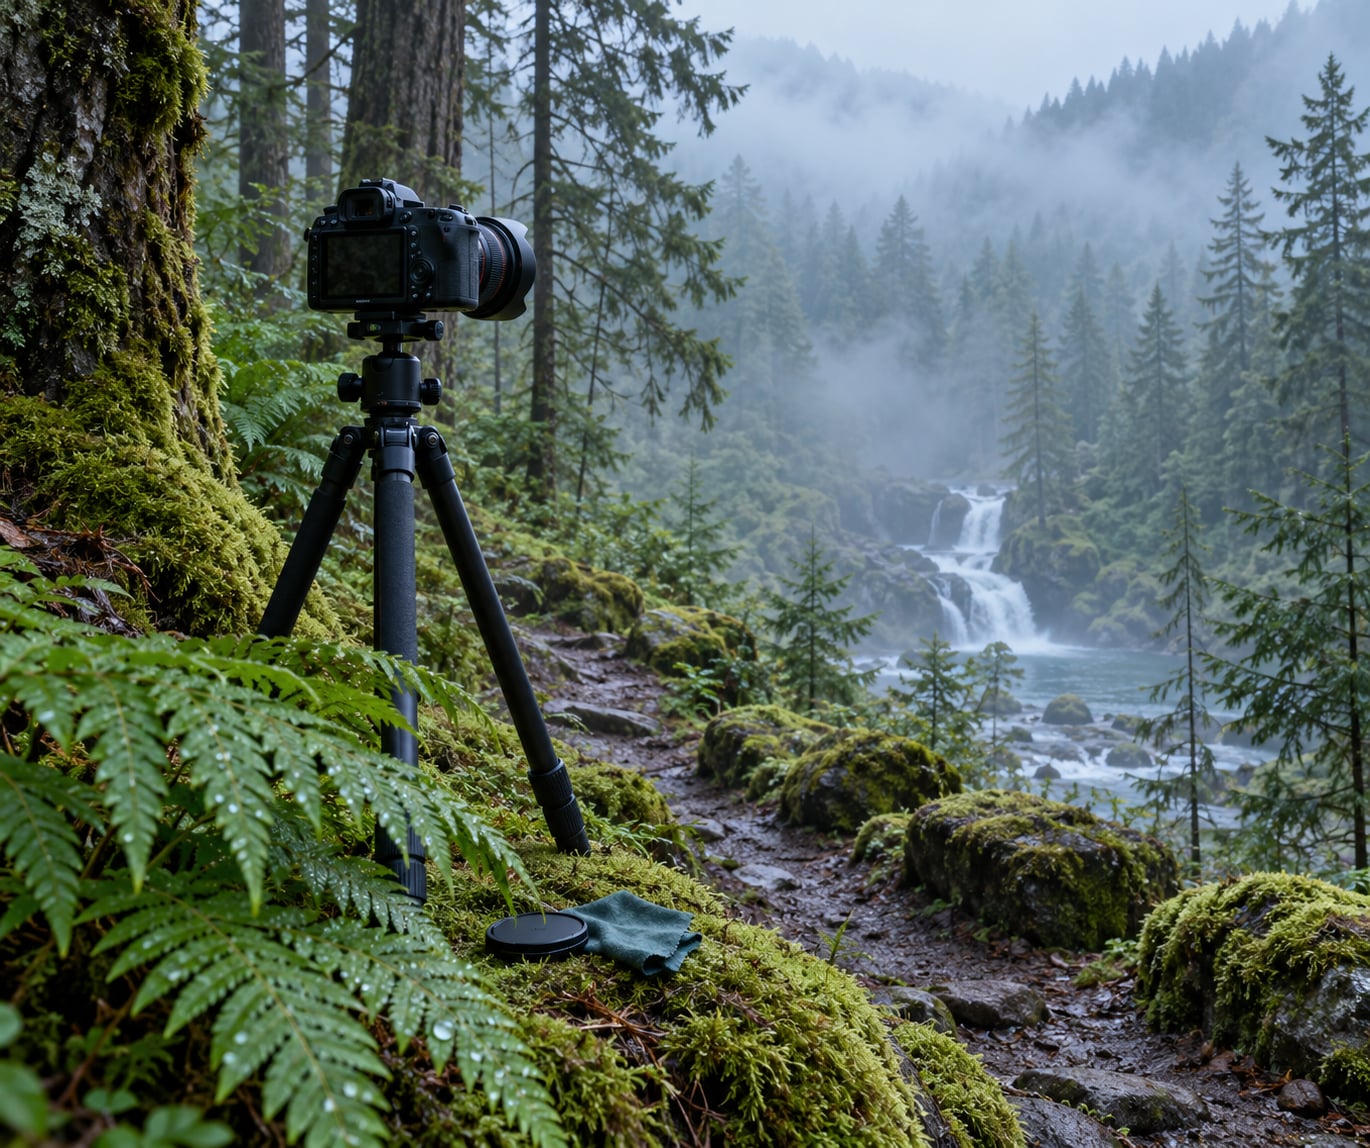
A useful test: look at the near and far edges of your frame and ask whether a single frame could physically contain both. For a forest path with a fern 60cm from the lens and a tree line 80m away, it cannot. That is a stacking job.
Set the Camera for Maximum Depth of Field
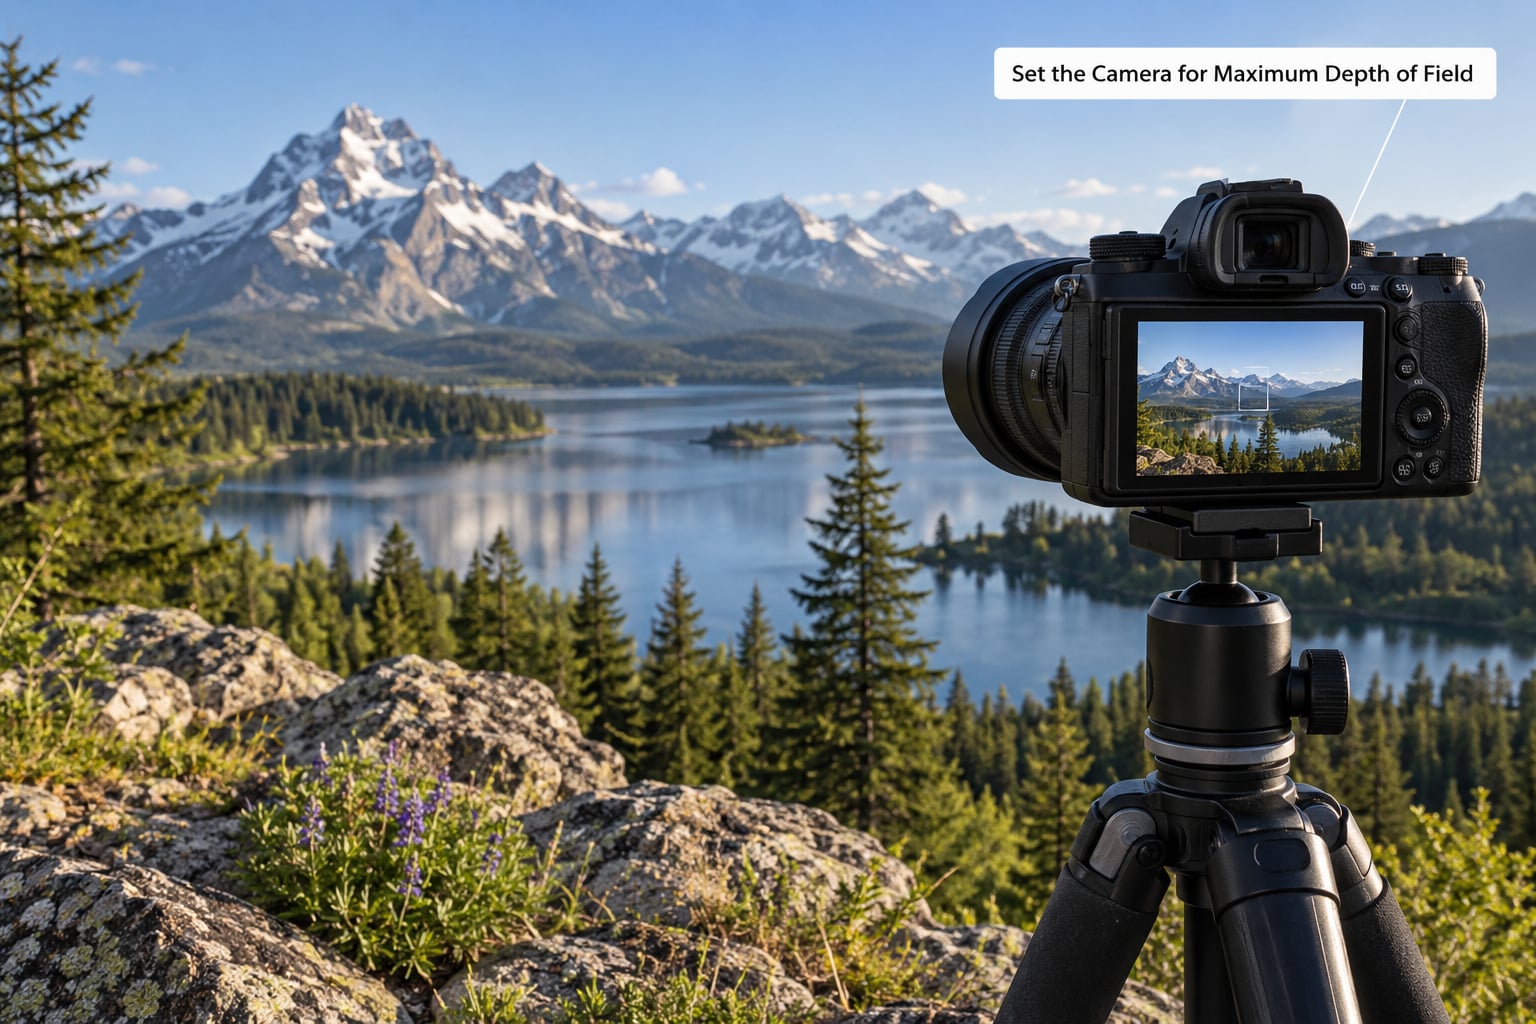
Put the camera on the tripod first, then choose the aperture. Depth of field grows as the f-number rises, as the lens gets wider, and as you focus further away. In practice that means f/11 or f/16 on a full-frame body, ISO 100, and a shutter speed long enough that your tripod can carry it.
Set the drive mode to single shot and release the shutter with a timer or remote. Turning off stabilisation on a tripod-mounted camera saves a second of fiddling, because some systems hunt when they think the camera is moving.
Keep exposure in manual. Auto mode will brighten each frame to compensate for the darkening that stopping down causes, which is fine for one shot and a problem when you are stacking twenty.
Focus and Capture the Scene
Place the focus point roughly one third into the scene rather than on the nearest object. Depth of field extends further behind the focus point than in front of it, so a third in keeps the foreground generous without stranding the background.
Magnify to check before you shoot. Switch to manual focus, focus on a mid-distance object, and zoom the display to about 100%. If you cannot resolve texture in the distant tree line, your aperture is too wide or your tripod is moving.
The full-frame numbers below show how quickly depth of field collapses as the lens gets longer. Note that a crop sensor needs roughly 1.5 times the distance for the same result, so the numbers read about 1.7 times larger on APS-C.
| Focal length | Hyperfocal at f/8 | Hyperfocal at f/11 | Hyperfocal at f/16 | Near limit at f/16 |
|---|---|---|---|---|
| 16mm | 1.1m | 0.8m | 0.5m | 0.3m |
| 24mm | 2.4m | 1.7m | 1.2m | 0.6m |
| 35mm | 5.1m | 3.7m | 2.6m | 1.3m |
| 50mm | 10.4m | 7.6m | 5.2m | 2.6m |
| 70mm | 20.4m | 14.8m | 10.2m | 5.1m |
| 100mm | 41.7m | 30.3m | 20.8m | 10.4m |
| 200mm | 166.7m | 121.2m | 83.3m | 41.7m |
Hyperfocal distance is the distance you focus at so everything from half that distance to infinity looks acceptably sharp. The calculation is f squared, divided by the f-number multiplied by the circle of confusion. For a 24mm at f/11 that is 1.7m, so anything from roughly 0.9m out is fair game.
With no distance scale on your lens, the shortcut works anyway: measure to the nearest object you want sharp, double it, and focus there. If that puts your focus point behind the horizon, pull back until it does not.
Use Focus Stacking When One Exposure Is Not Enough
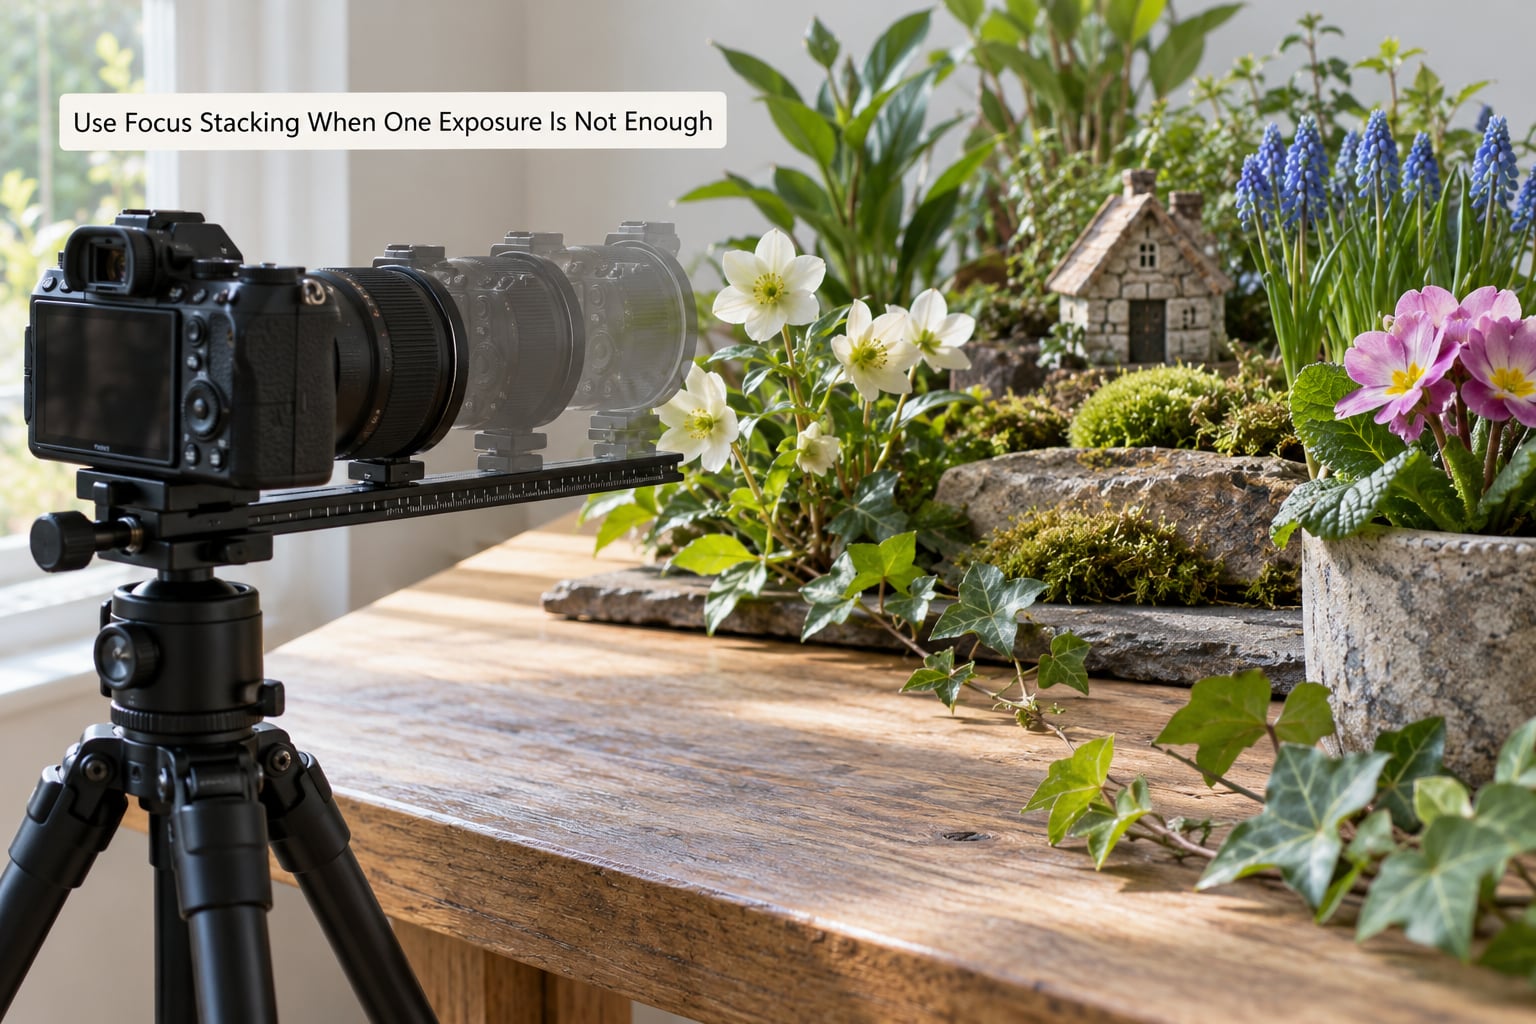
Stacking is the answer for macro work, tabletops, tight interiors, and any landscape where a single frame physically cannot hold both ends. The rule is simple: lock the camera down and change nothing but the focus distance.
Shoot the first frame at the nearest edge of the scene, then step the focus a third of the remaining depth each time. Every frame needs to overlap the one before it by roughly a third, or the blender has gaps to fill and will invent them.
Manual exposure, manual focus, and a fixed ISO are non-negotiable across the run. Most cameras also offer an electronic shutter or a bracketed capture mode that varies focus rather than exposure, which removes most of the ways people get this wrong.
A standard landscape usually needs four to eight frames. Someone shooting a row of vintage lenses across a table in r/AskPhotography was trying to solve it with f/22 and never got there, because at that distance the near limit sits a few centimetres past the front object. Stacking it at f/8 would have taken five frames.
Blur in the blend is worth a quick check before you shoot: leave the lens on manual focus and take a short burst at one fixed distance. If the framing shifts, fix that first. In-camera stacking modes on most cameras handle the step automatically, and they save a lot of fiddling when the scene is still.
Common Mistakes
Treating a smaller f-number as more depth of field. It is the reverse. The confusion matters because it also hides the other problem: past roughly f/16 on full frame, diffraction starts softening detail across the whole frame, so you lose sharpness everywhere to gain it nowhere.
Stopping down instead of stabilising. A tripod at f/11 beats a shaky camera at f/22 every time. If the viewfinder blurs when you press the shutter, the aperture is not your limiting factor.
Focusing on the foreground and hoping. The focus point is a door that depth of field extends through in both directions. Place it a third in.
Letting auto exposure drift between frames. It looks fine on the camera back and produces a blended mess when you stack, because each frame has a different brightness.
Not overlapping enough. Stacks with gaps show sharp, sharp, soft, sharp, sharp. Overlap by a third and the blend has data to work with.
Diagnosing the result takes ten seconds if you know what to look for.
| Symptom | Likely cause | Fix |
|---|---|---|
| Foreground soft, background sharp | Focus set too far back | Move the focus point toward the camera and recheck |
| Foreground sharp, background soft | Aperture too wide or focus too close | Stop down one stop, or move further back |
| Both soft | Camera movement | Tripod, timer, ISO 100 |
| Sharp in the centre, soft at the edges | Diffraction or field curvature | Open up half a stop and re-shoot |
| Whole frame hazy and low contrast | Dirty front element or a filter | Clean the glass, shoot a test without the filter |
Frequently Asked Questions
What aperture do I need to get everything in focus front to back?
For most scenes, f/11 to f/16 on a full-frame camera with a wide lens, focused about a third into the scene. At f/16 a 24mm keeps everything sharp from about 0.6m to infinity. Longer lenses need more distance, so a 70mm at f/16 starts at roughly 5m. On a crop sensor, move about 1.7 times further back to get the same coverage.
Can I focus stack a landscape with a regular camera and tripod?
Yes, and it is the standard way to handle a deep landscape. Set manual exposure, manual focus and ISO 100, shoot four to eight frames stepping the focus a third of the scene depth each time, then blend them. The requirement is that nothing moves between frames, so wind-blown grass and flowing water are the two things that will break the result.
Why is the foreground blurry even when I use a small aperture?
Because at close distances the near limit is the wall you hit, not the f-number. Focus closer and depth of field shrinks in front of the focus point faster than behind it, so a subject 30cm from the lens may need f/2.8 to stay sharp. Pull the camera back so the foreground sits further away, or stack several frames to cover the near end.
Is f/22 better than f/16 for maximum depth of field?
Only slightly, and it usually costs you. Depth of field gains a little at f/22, but diffraction begins softening fine detail across the whole frame, and the total sharpness often drops. On full frame, f/16 is generally the practical ceiling for landscape work. If you need more depth than f/16 gives, step back or focus stack instead of stopping down further.
How many photos do I need for a focus stack?
Four to eight frames covers a typical landscape, and macro or tabletop scenes often need ten or more because the depth is compressed. Each frame should overlap the previous one by about a third of the scene depth. More frames with tighter overlap is safer than fewer frames with gaps, since the blender fills gaps with guesswork rather than detail.
Does focus stacking work with a moving subject or windy scene?
Not reliably. Anything that shifts between frames, including people, animals, branches in wind, and moving water, ends up ghosted or doubled in the blend. For those scenes, choose the single frame approach and accept a softer background, or use a graduated neutral density filter to hold the sky and foreground exposure together at a wider aperture.
Start With a Smaller Aperture and Check the Result
If you do one thing this week, make it this. Get the camera on a tripod, set ISO 100, choose f/11, and place the focus point about a third into the scene rather than on whatever is closest to you. Take one shot, magnify the far edge, and look.
Most of the time you will find you needed half a stop more, or that the focus sat a metre too far back. Both take seconds to fix. Only when a test image still shows a soft end after those corrections is it worth stacking, and then a handful of overlapping frames on manual settings will beat anything a single aperture can do.