Metering mode is the setting that tells your camera which part of the frame it measures light from when calculating exposure. Different modes prioritise the whole frame, the centre of the frame, or a tiny spot you place yourself — and that single choice decides whether a backlit portrait works or turns into a silhouette.
Short answer for most people: leave your camera in evaluative or matrix metering, which is the default on almost every camera, and switch to spot metering only when the light genuinely fights you. If you want to know what is metering mode and which to pick for your kind of shooting, the table below gives you the short version, and the rest of the guide explains why each mode behaves the way it does.
I have shot with cameras from every major brand, and the honest truth is that the default is right far more often than beginners expect. Experienced photographers on r/AskPhotography repeat the same advice in different words: stay in the multi-zone default, switch deliberately, and check the histogram before you assume the mode was the problem.
Updated for 2026.
Table of Contents
- What Is Metering Mode and Which to Pick? at a Glance
- How Does Camera Metering Determine Exposure?
- Evaluative Metering: The Best All-Round Choice
- What Is Metering Mode in Evaluative Metering?
- Matrix Metering: Best for Most Everyday Scenes
- Center-Weighted Metering: Best for Portraits and Backlit Subjects
- Spot Metering: Best for Precise Highlights and Small Subjects
- Average Metering: Best for Controlled Studio and Carefully Planned Scenes
- Partial Metering: Best for Subjects Slightly Off Center
- How Exposure Compensation and Metering Work Together
- Which Metering Mode Should You Choose?
- Frequently Asked Questions
- What is the best metering mode for beginners?
- Should I use evaluative or spot metering?
- Does spot metering make the camera expose for the spot?
- Does metering mode work the same in aperture priority and manual mode?
- Why does my camera underexpose a snow scene?
- Are matrix, evaluative, and multi-segment metering the same mode?
- Conclusion: Pick a Default and Switch Deliberately
What Is Metering Mode and Which to Pick? at a Glance
Here is the whole comparison in one table. Five modes, what each one actually reads, where it earns its keep, and where it falls down.
| Metering mode | How it reads brightness | Strongest use | Main limitation |
|---|---|---|---|
| Evaluative (Canon) / Multi (Sony, Fujifilm) | Analyses the whole frame in multiple zones, weighing brightness, colour and contrast together | Everyday shooting, travel, family, most scenes | A large bright or dark area can still pull the whole frame off target |
| Matrix (Nikon) / Multi-segment (Pentax) | Same multi-zone idea as evaluative; the name differs by brand | General purpose default, scenic outdoor scenes | Pattern recognition still cannot read your mind about the subject |
| Center-weighted average | Reads the whole frame but gives the greatest weight to the centre | Portraits where the face stays near the middle | A dark subject edge-to-edge will still drag the reading down |
| Spot | Reads a small circle, often 2 to 4 percent of the frame | Backlit subjects, bright skies, distant small subjects | Point it at the wrong patch of light and the result is worse than the default |
| Partial | Reads a mid-sized circle, roughly 8 to 10 percent of the frame | Subjects slightly off centre that will not fit a spot circle | Still an average, so mixed brightness inside the circle flattens the result |
Two more modes show up on some bodies and are worth knowing: average (or entire screen avg) metering, which reads everything as one number, and highlight-weighted metering, which actively works to keep bright areas from clipping.
How Does Camera Metering Determine Exposure?
A camera does not measure brightness, it measures light and then guesses brightness from it. The whole process takes a few milliseconds and runs in four steps.
- Sample the light. The sensor behind the lens receives light through the lens that is actually focused in front of you. This is called TTL, or through-the-lens metering, and it is why the reading matches what the lens sees rather than the scene in front of the lens.
- Choose an area. Your metering mode decides which part of that light gets weight. Evaluative splits the frame into zones, center-weighted applies a bias toward the middle, and spot or partial read a defined circle.
- Calculate an exposure value. The reading is converted into an EV number. The camera then compares it with a reference — roughly middle grey — and works out how much light it thinks it needs to render that as an acceptable tone.
- Set the exposure. In any automatic or semi-automatic mode, the camera picks aperture, shutter speed and ISO to hit that value. You can override it with exposure compensation or switch to manual and keep the reading yourself.
Two things this process does not do, which trip up most beginners. First, metering mode is not exposure mode: P, A, S and M tell the camera how to set the exposure, while the metering mode tells it what to measure. They work together, and you set them separately.
Second, a metering pattern does not identify your subject. No mode knows the person in the frame is the one you care about. A face-detection priority option is the closest thing to subject awareness, and even that is a hint rather than a guarantee.
Evaluative Metering: The Best All-Round Choice
Evaluative metering is the strongest default because it does the most thinking for you. The camera divides the frame into multiple zones, measures each one, and combines brightness, colour and contrast data to decide what the scene is actually about.
That combination is why it handles situations that defeat simpler modes. A face against a bright window, a dark jacket against pale concrete, a street with a deep shadow on one side and sun on the other — evaluative reads all of it and usually lands close to what you wanted without any correction.
Reach for something else when a single area is large and extreme. A white sky filling the top two-thirds of the frame, or a dark tunnel exit around a small bright opening, can drag the result off even though the algorithm is smart. That is a scene-level problem, not an algorithm failure.
What Is Metering Mode in Evaluative Metering?
The term is confusing mainly because manufacturers named the same algorithm five different ways. If a tutorial says matrix and your menu says evaluative, they are the same mode and the advice transfers directly. Check your own brand’s label before you assume a writer is describing something else.
- Canon: Evaluative
- Nikon: Matrix
- Sony: Multi
- Fujifilm: Multi
- Panasonic and Olympus: Multi-pattern or multi-field
- Pentax: Multi-segment
That naming mismatch is the single most repeated confusion in photography forums, and it is a naming problem rather than a technical one. The same applies to the centre-weighted family, which Canon calls center-weighted average, Nikon calls center-weighted, Sony simply calls Center, and Fujifilm calls Center Weighted.
Matrix Metering: Best for Most Everyday Scenes
Matrix metering is the Nikon’s name for the multi-zone approach, and it is what you are using any time a camera is set to its factory default. Because the name causes so much confusion, it is worth thinking about it as behaviour rather than branding.
It earns the default slot on scenic outdoor work, travel days, family photos and anything with mixed lighting. The zone analysis is genuinely good at scenes where the subject is not clearly the brightest or darkest thing in the frame, which describes most photographs people actually take.
Where it struggles is the same as evaluative, because it is the same algorithm. Put a large, evenly bright area such as snow, white sand or a blown-out sky through most of the frame and the camera will try to render it as a mid-tone, so it comes out grey. Big dark areas cause the opposite: a night scene renders too bright. Both are fixed with exposure compensation far more often than with a mode change.
Center-Weighted Metering: Best for Portraits and Backlit Subjects
Center-weighted average metering reads the entire frame but applies the strongest weighting to the middle of it, typically something like 60 to 80 percent of the reading coming from the central region. The exact weighting varies by camera, but the practical effect is simple: whatever sits in the middle of the frame sets the exposure.
That makes it a natural fit for portraits when the face is near the centre and the background is doing something complicated. It also gives you more predictable behaviour than evaluative when the subject is close to the lens and the background is wildly brighter, because the camera is deliberately ignoring the distraction at the edges.
Be honest about the limit. Center-weighted is still averaging, so a subject that fills the frame edge-to-edge in dark clothing will still render too bright. It helps with composition-driven problems, not with tone problems. If you want a reading taken from the subject itself and nothing else, that is spot metering.
Spot Metering: Best for Precise Highlights and Small Subjects
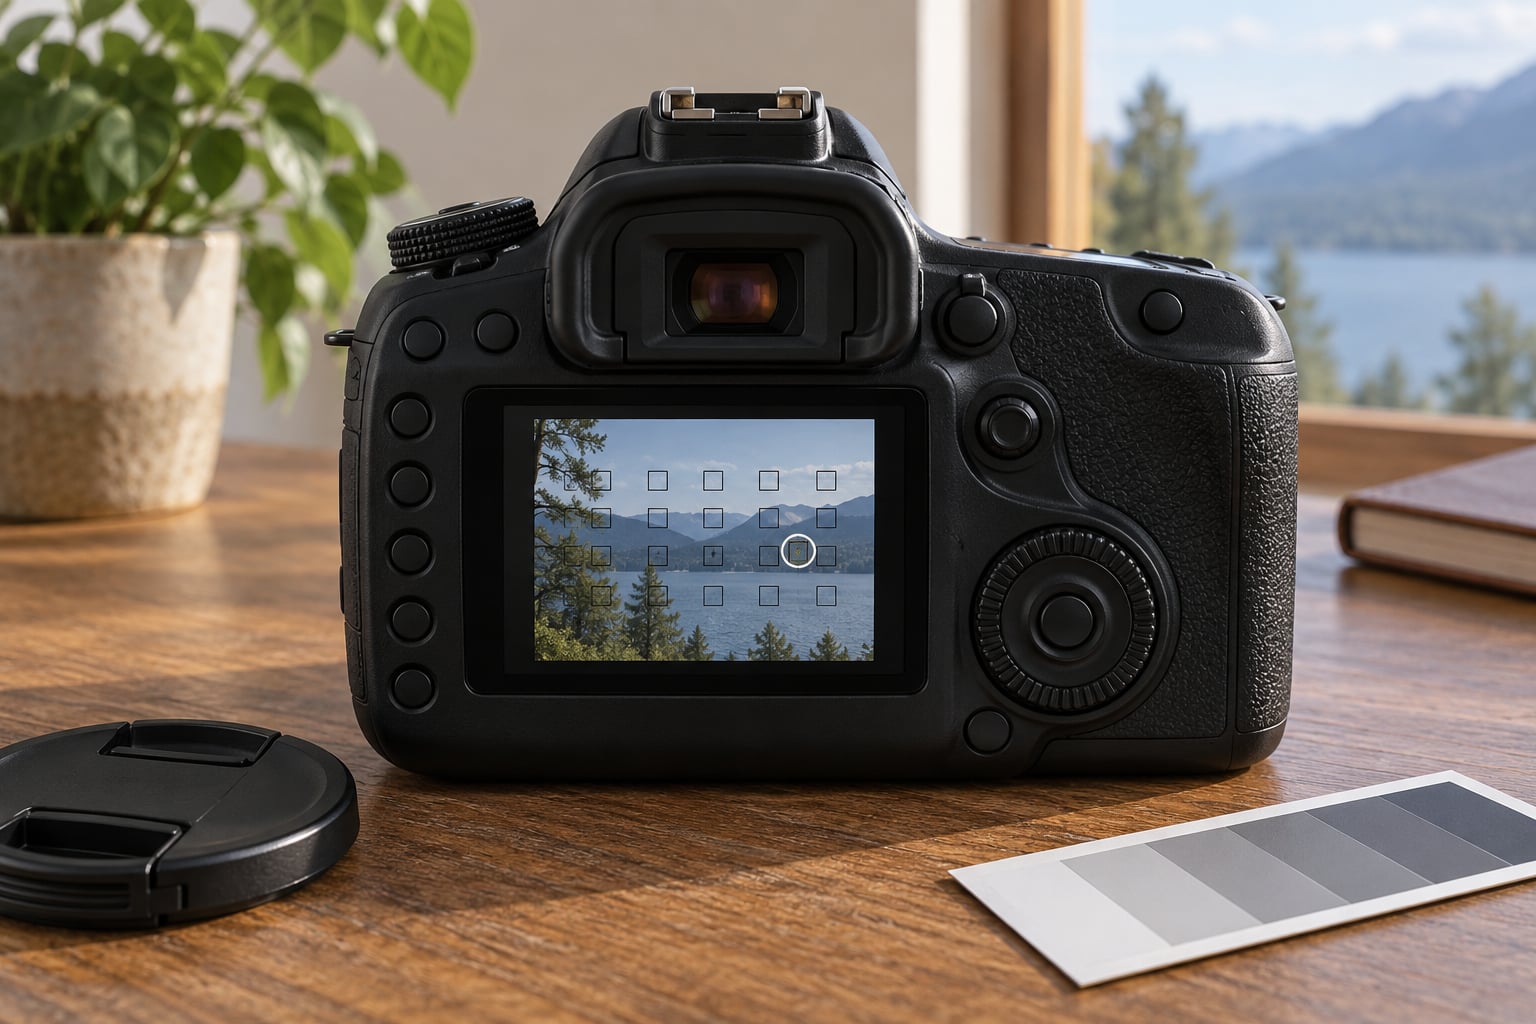
Spot metering reads a small circle, often only a few percent of the frame area, and treats everything outside that circle as irrelevant. Because it ignores the rest of the scene, it lets you tell the camera exactly what a mid-tone looks like in your specific situation.

The classic use is a backlit portrait. Put the spot on the face, take a reading, and the camera exposes the face properly even when the sky behind is several stops brighter. The same logic protects a bright sky over a dark foreground, or a distant bird against pale water where the bird is far too small for the other modes to treat separately.
The workflow is simple and worth learning properly:
- Switch to spot metering and, if your camera allows it, link the metering circle to the active autofocus point so it follows your focus.
- Place the spot on the area that should render as a middle tone — a face, not the sky behind it.
- Press the AE lock button (AE-L on Canon and Nikon bodies, AEL on Sony) or hold the shutter halfway down on some cameras to freeze that reading.
- Recompose without changing the exposure, confirm focus, and shoot.
The failure mode is predictable and is the reason people complain about spot metering. Aim the circle at a bright cloud, a white shirt collar or a specular highlight, and the whole frame goes dark, often with the ISO climbing in low light. If you cannot point the spot at something you know should be mid-grey, the default mode is the better tool.
Average Metering: Best for Controlled Studio and Carefully Planned Scenes
Average metering — called Entire Screen Avg on Sony bodies — adds up the light across the whole frame and treats it as one number. There is no weighting toward the centre and no special treatment for bright areas.
That predictability is the appeal. In a studio with controlled lights on a seamless background, where you know exactly what is in the frame and how much light each thing returns, averaging everything gives a result that is easy to reason about and easy to repeat. It is also useful when you genuinely want the scene’s overall brightness to define the exposure rather than one part of it.
Outdoors it becomes unpredictable fast. A scene with half bright sky and half dark foreground returns a number that matches nothing you care about, and the same composition can swing wildly as you pan. If you shoot average metering on location, treat every frame as a separate decision and check your work on the rear screen every time.
Partial Metering: Best for Subjects Slightly Off Center
Partial metering is the middle ground between center-weighted and spot. It reads a circle noticeably larger than the spot one — roughly 8 to 10 percent of the frame on typical bodies — and it treats that circle as a plain average with no centre bias.
Use it when the subject fills a decent part of the frame but does not sit in the middle, and when a spot circle is too tight to give a stable reading. Portrait sessions composed off-centre, a performer standing off to one side of a stage, or a product sitting near the edge of a table are all cases where partial gives you a clean read on the subject without the tight framing discipline spot demands.
It is also the friendliest mode to learn on, because a larger circle forgives small aiming errors. If your camera offers it and you feel unsure, partial is a low-risk place to start experimenting.
How Exposure Compensation and Metering Work Together
Switching modes is not the only lever, and on many scenes it is the wrong one. Exposure compensation shifts the exposure by a set number of stops without changing which part of the frame is measured, and it is reversible in a way a mode change is not.
Use negative compensation when the frame is full of light and you want the brightness to sit lower. A snow scene is the classic case: the camera sees a lot of white and tries to render it as a mid-tone, so you get grey snow. Dial in minus one or minus two thirds of a stop and the white reads as white. This is also why many working photographers shoot slightly under — once a highlight is clipped in a JPEG it is gone, while slightly dark data still holds recoverable detail in a RAW file.
Use positive compensation for scenes that render darker than you want: a night street, a shadowed interior, a backlit subject in evaluative mode that came out as a silhouette. Adding half a stop or a stop recovers what you intended.
Highlight warnings, the blinking markers in your viewfinder or on the rear screen, are the fastest way to decide. If a section blinks, the camera is throwing light at that section and the data is already clipped — metering mode and compensation both matter there. If nothing blinks and the histogram looks well spread, the mode is doing its job.
Which Metering Mode Should You Choose?
Start in evaluative, matrix or multi — whichever your camera calls it — and stay there until the histogram tells you otherwise. Move off the default only when a scene has a subject you want isolated from a background that is much brighter or darker, or when you need the result to repeat exactly across a series.
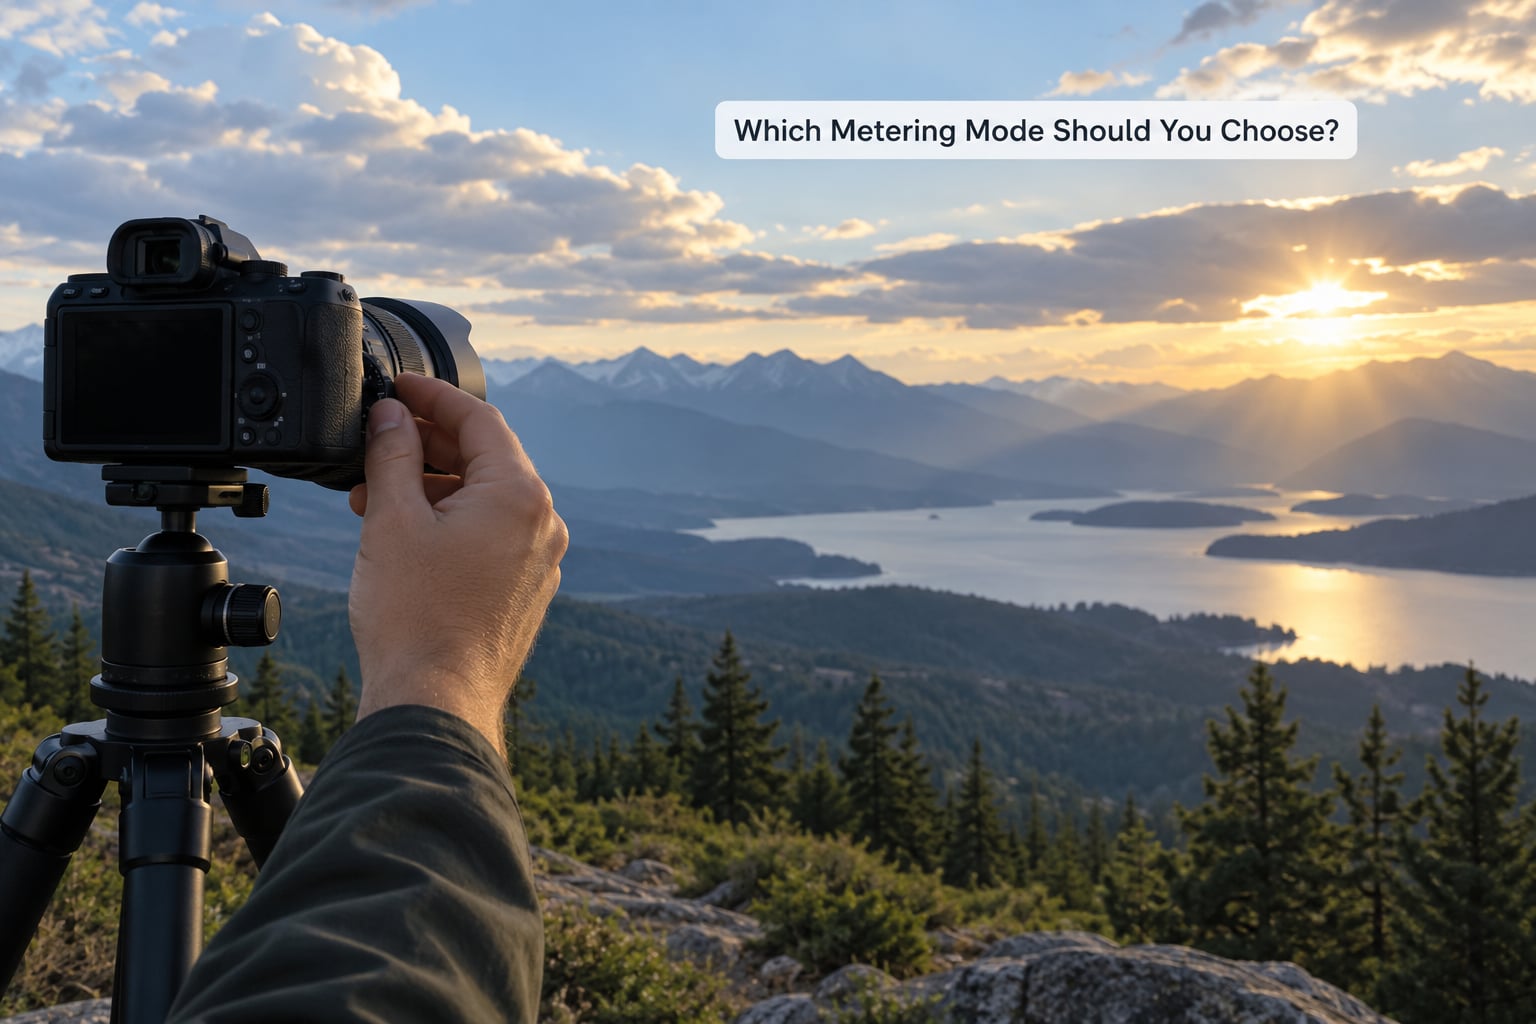
Scene by scene, here is what I would pick:
- Portrait, subject lit from the front or side: Evaluative or matrix. Correct a face that reads dark with a small amount of positive compensation.
- Backlit portrait or anything shot into the sun: Spot metering on the face, with AE lock and recomposition. This is the single clearest case for changing modes.
- Wide outdoor scenes, travel, family groups: Evaluative or matrix, no changes. Add negative compensation for snow, pale sand or a blown sky.
- Stage lighting, concerts, night interiors: Evaluative in aperture priority, then compensate. Spot metering in a dark room tends to push ISO up for no real gain, which is a complaint you will see repeatedly in r/concertphotography.
- Small distant subject against a busy background: Spot metering linked to the focus point, or partial if the subject is slightly bigger than the circle.
- Studio, seamless background, product on white: Average or center-weighted. You know the setup, and predictable behaviour beats cleverness.
- A shot that must match the one before it: Any mode in manual with a locked reading. The mode stops mattering the moment you take the camera off automatic.
One practical note, since finding the setting is the most common complaint in camera forums. On most bodies it is a button marked with a metering icon, and pressing it while turning a dial cycles through the modes, with the current one shown in the viewfinder or on the rear screen. On newer mirrorless and on some Fujifilm and Olympus models it lives in the shooting menu instead. If the symbol is not obvious, check the manual’s button list for anything labelled with a circle or a rectangle containing a smaller shape — that icon family is all metering.
And if your photos are still wrong after a mode change, check the list of usual suspects before blaming metering again: exposure compensation left over from a previous scene, a filter or a lens hood eating light, the wrong ISO, or a shutter speed fast enough that the camera lifts ISO to compensate. The mode is one variable among several, and it is rarely the one that is wrong when the tone is off.
Frequently Asked Questions
What is the best metering mode for beginners?
Evaluative metering, or matrix, or multi, whichever your camera labels it that way. It is the factory default on nearly every camera and it handles most scenes without correction. Learn it first, then switch to spot metering only when a subject is much brighter or darker than its background. Beginners who change modes constantly end up debugging exposure problems they created themselves.
Should I use evaluative or spot metering?
Use evaluative for anything general, and spot when the light is fighting you. Backlit portraits, bright skies behind dark subjects, and small distant subjects are the cases worth the extra steps. If you point the spot circle at something that should be white, like a cloud or a highlight, the whole frame goes dark. When in doubt, stay with evaluative and use exposure compensation instead.
Does spot metering make the camera expose for the spot?
Yes. The camera reads only the light inside the small circle and treats everything outside it as irrelevant, then exposes so that area renders as a middle tone. That is why it works so well on a backlit face and why it fails badly when the circle lands on a bright cloud or a specular highlight. Read from something you know should be mid-grey, not from something that looks bright.
Does metering mode work the same in aperture priority and manual mode?
The meter still measures the same way in both, but manual does not act on the reading. In aperture priority the camera applies it by choosing a shutter speed and ISO. In manual you read the meter, set aperture, shutter speed and ISO yourself, and keep that reading for as many frames as you want. In manual the metering mode only tells you what the camera suggests.
Why does my camera underexpose a snow scene?
It usually does not underexpose, it renders snow as a mid-tone and the snow ends up looking grey. The meter sees a frame full of white and tries to average it down to middle grey. Dial in negative exposure compensation, around minus one to minus two thirds of a stop, and the white reads as white again. Highlight warnings and the histogram will show you when the correction is right.
Are matrix, evaluative, and multi-segment metering the same mode?
Yes, they are the same multi-zone algorithm under different brand names. Canon calls it Evaluative, Nikon calls it Matrix, Sony and Fujifilm call it Multi, Pentax calls it Multi-segment, and Panasonic and Olympus use Multi-pattern or Multi-field. If a tutorial uses a different word from your camera menu, it is describing the same behaviour, so the advice still applies.
Conclusion: Pick a Default and Switch Deliberately
Set your camera to evaluative, matrix or multi and leave it there. Switch to spot metering only when a subject needs isolating from a background that is several stops brighter or darker, and use exposure compensation for everything else. Before you blame the mode, check the histogram, watch the highlight warnings, and look at the frame on the rear screen — that is where the answer usually is.